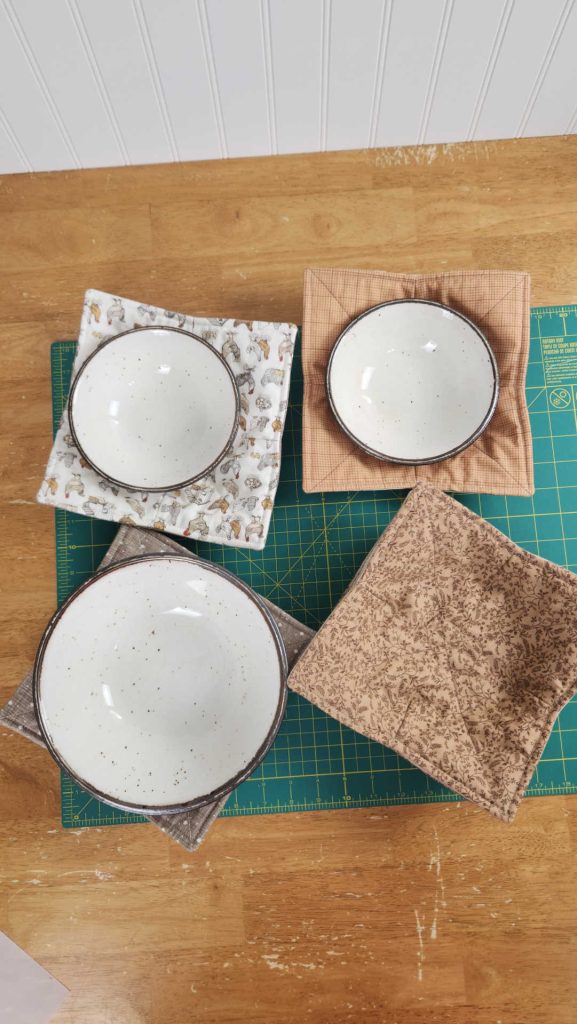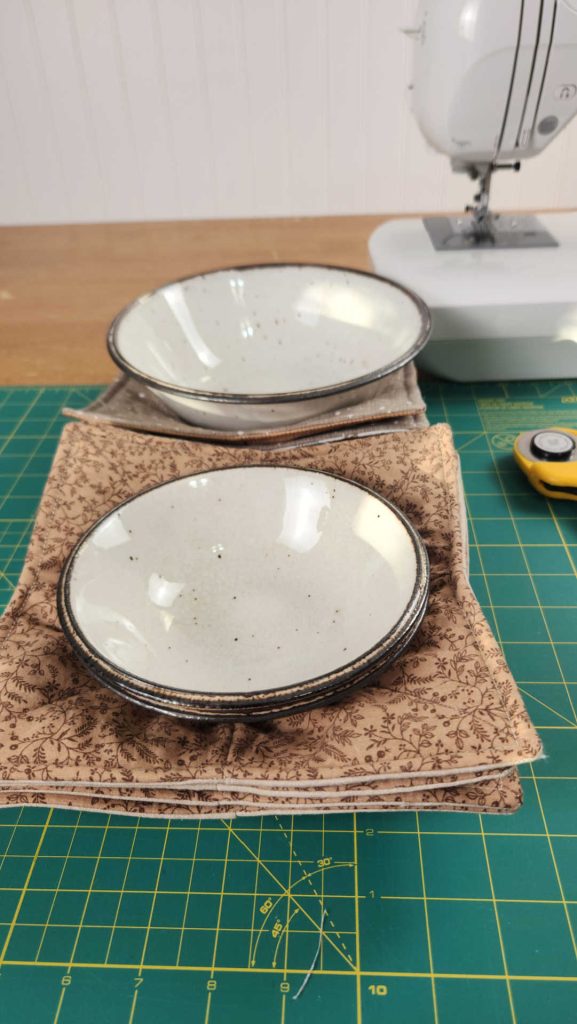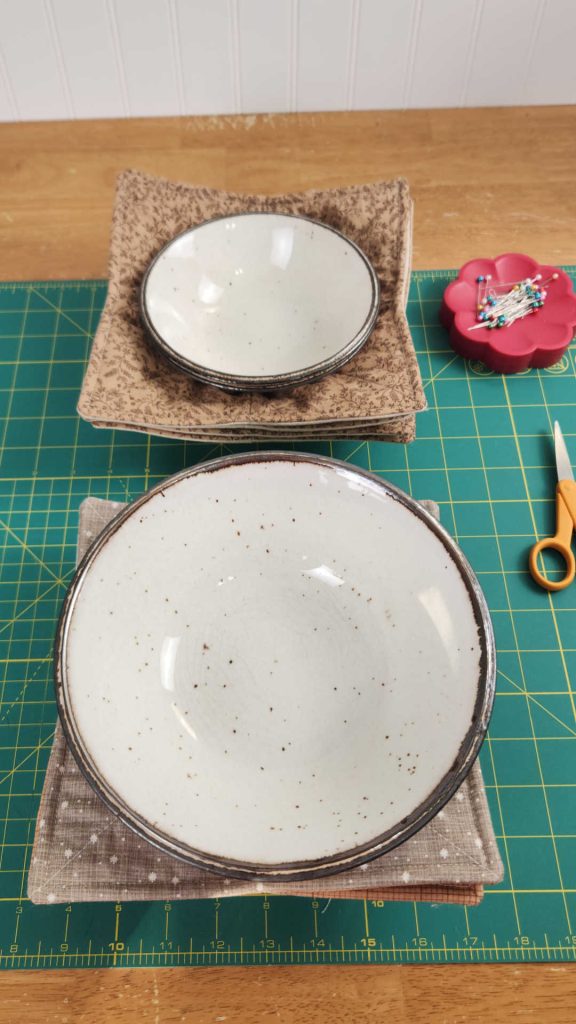


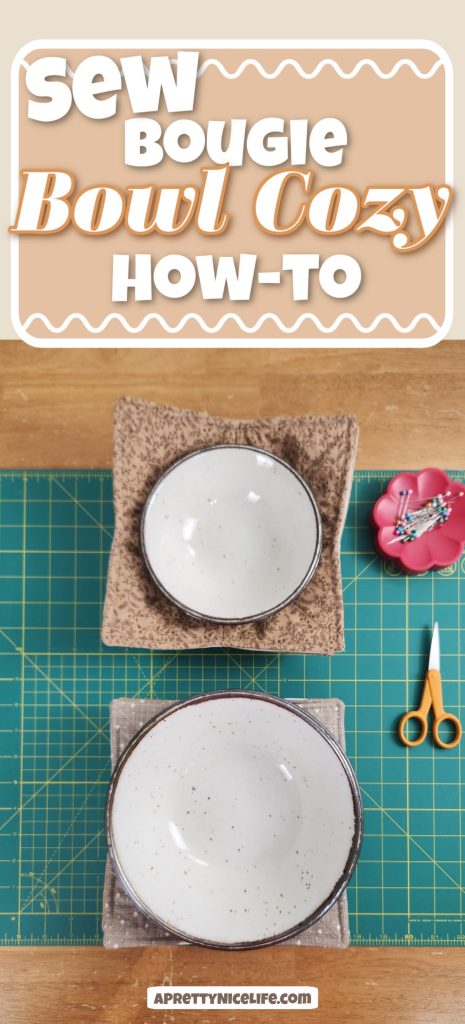
One of my favorite things I never knew I needed is a fabric bowl cozy. These are so easy to sew, add pretty fabric touches to your kitchen, and are so practical and useful. Fabric bowl cozies are an easy beginner sewing project!
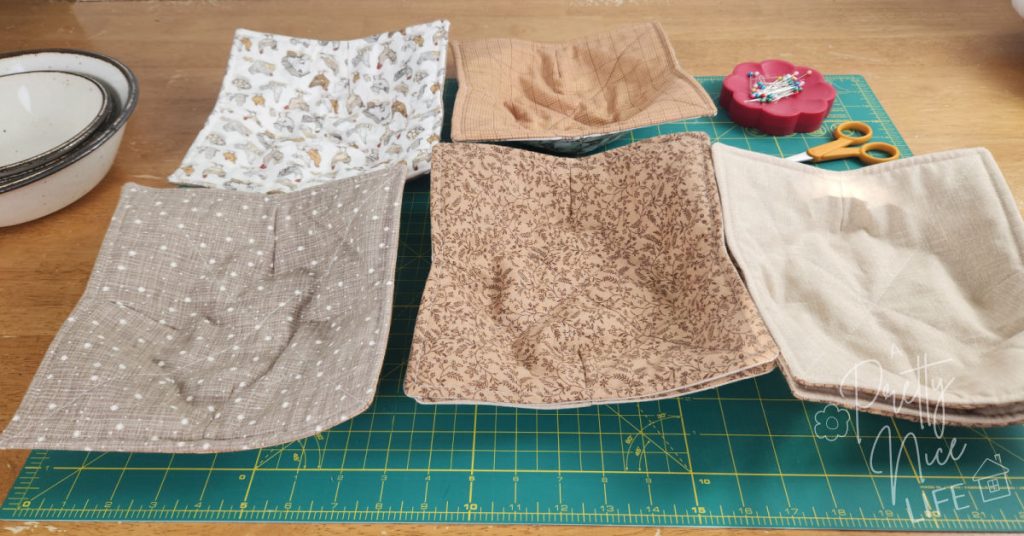
Our daughter recently moved into a wonderful farmhouse with three roommates and I asked if I could make her some bowl cozies as a housewarming gift. She shared pictures of their decor with me so we could find some fabric that is “bougie” enough for the girls’ upscale fancy choices. I think these are going to work! But honestly, one thing I love about sewing for the kitchen is how you can give your decor a mini makeover with the seasons and with your mood.
Bougie Bowl Cozies: A Sewing Tutorial
These simple, quilted bowl cozies are the perfect beginner project and make gorgeous gifts. Each bowl cozy set takes just a few hours and uses basic sewing skills.
Bowl cozies are quilted fabric holders that insulate hot bowls. To make one, sew two 10-inch fabric squares to batting with an X pattern, mark and sew four darts to shape each piece, then nest the pieces right-sides together and sew around the edges except for a 2-inch opening. Turn right-side out, close the opening with topstitching, and your cozy is ready to use or gift.
Bowl Cozy Quick Facts
- Project Level: Beginner
- Time Required: 1 to 2 hours per set
- Finished Size: Fits standard 6″ to 8″ soup bowls and this version can also fit larger serving bowls
- Microwave Safe? Only if made with 100% cotton fabric, 100% cotton batting, and 100% cotton thread. Polyester or synthetic blends could melt or catch fire.
What You’ll Need – Bowl Cozy Materials
Safety note: If your bowl cozy will be used in the microwave, everything needs to be 100% cotton, because polyester or other synthetic fibers will melt. I don’t personally put my bowl cozies in the microwave, but because I don’t know how my gift recipients will use them, I generally stick to the advice of using all cotton. (You could also use linen, which would make these bowl cozies REALLY bougie.)
- Two 10″ squares of 100% cotton or 100% linen fabric (natural fibers won’t melt if the cozy gets put in the microwave)
- Two 9.5″ squares of 100% cotton batting
- Sewing machine
- 100% cotton thread
- Scissors
- Pins or clips
- Iron
- Point turner (crochet hook, paintbrush, etc. for pushing out corners)
Step 1: Quilt the Cotton Fabric to the Batting Squares
Place one piece of fabric wrong side up. Lay one piece of batting centered on top of it.
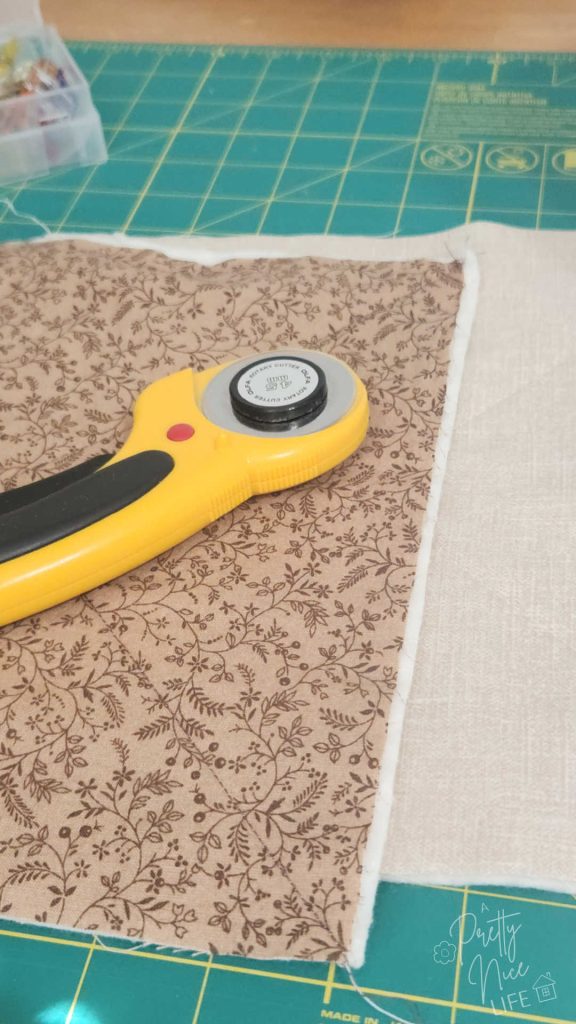
Using a longer stitch length (3 or more on most machines), sew an X from corner to corner. This means two lines of diagonal stitching: one from the top left corner to the bottom right corner, and one from the top right corner to the bottom left corner.
Repeat this process with the second piece of fabric and the second piece of batting.
Step 2: Mark and Sew the Bowl Cozy Darts
The darts are what give the bowl cozy its shape. You will mark and sew four darts – one on each side of the fabric square.
Fold one quilted square in half.
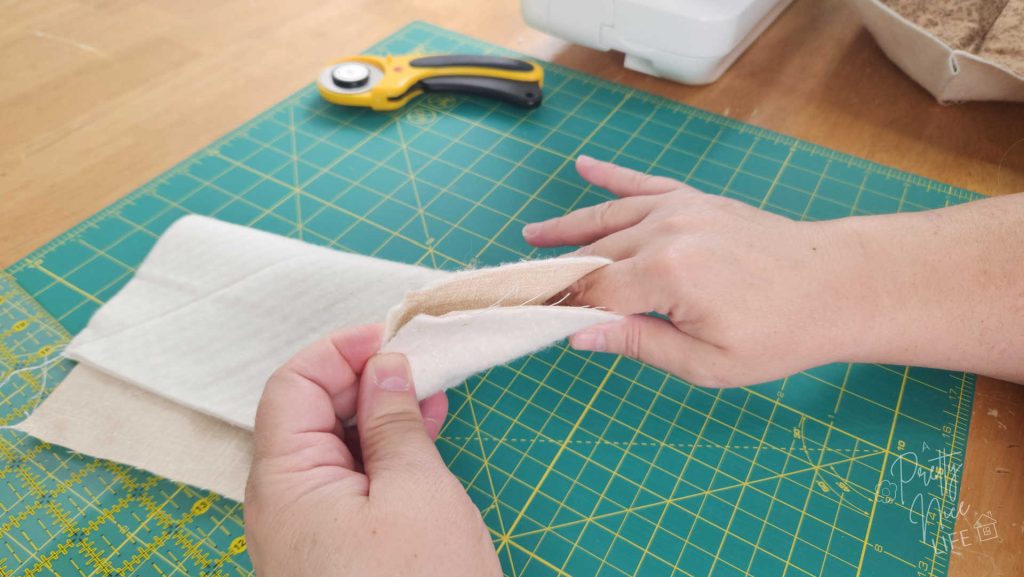
Along the fold on the edge, measure and mark a point 2″ deep. Measure and mark a point 5/8″ to the side of your first mark. Draw a diagonal line connecting these two points.
Repeat this on all four sides of the fabric square, so you’ll have four marked dart lines in the exact center of each side.
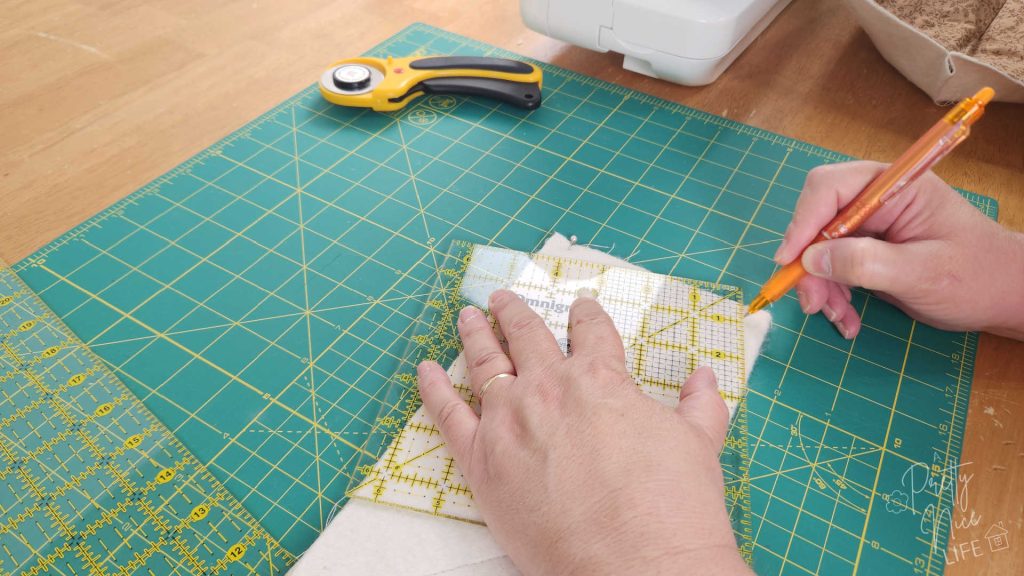
Sew along each of the four diagonal lines you’ve marked. This forms the darts.
Repeat this entire process with the second quilted square.
Step 3: Trim After Sewing the Darts
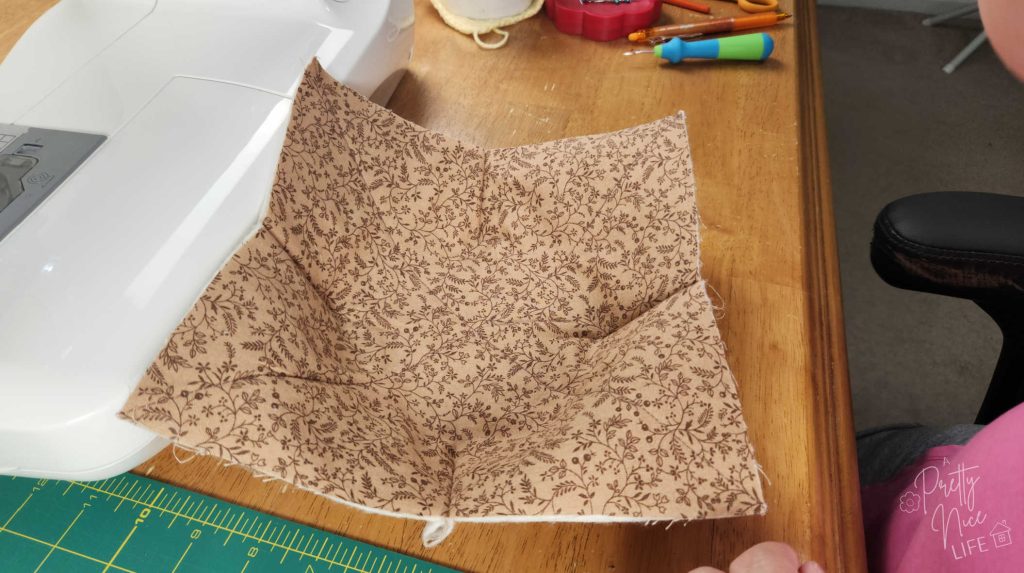
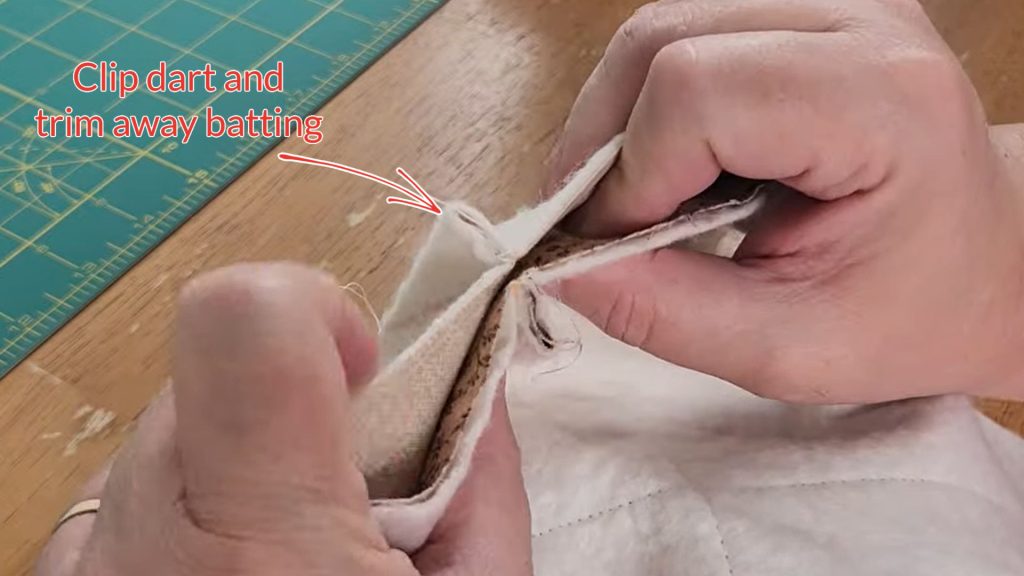
After sewing all four darts on each square, carefully cut along the fold of each dart channel, cutting almost up to your 2″ mark (don’t cut into your stitches). Open up the seam allowances.
Trim away the excess batting from each side of the dart. The bulk of the extra batting will be removed here.
You now have two shaped pieces that cup slightly, like the bottom of a bowl.
Step 4: Nest and Pin the Two Cozy Pieces Together
Line up your two pieces right sides together (fabric facing in, batting facing out).
Match up all four darts carefully, using pins or clips. Pin or clip the four corners as well.
At the darts, you can either open the seam allowances or nest them (press them to opposite sides). Either way reduces bulk. Choose whichever method feels comfortable to you.
Step 5: Mark the Opening
Now that your two pieces are clipped together, use your ruler to mark an opening on one edge that is at least 2″ long. This is where you’ll turn the cozy right side out later. You won’t sew between the marks on this 2″ section.
Step 6: Sew Around the Edge
Return your stitch length to the machine default (usually 2.5).
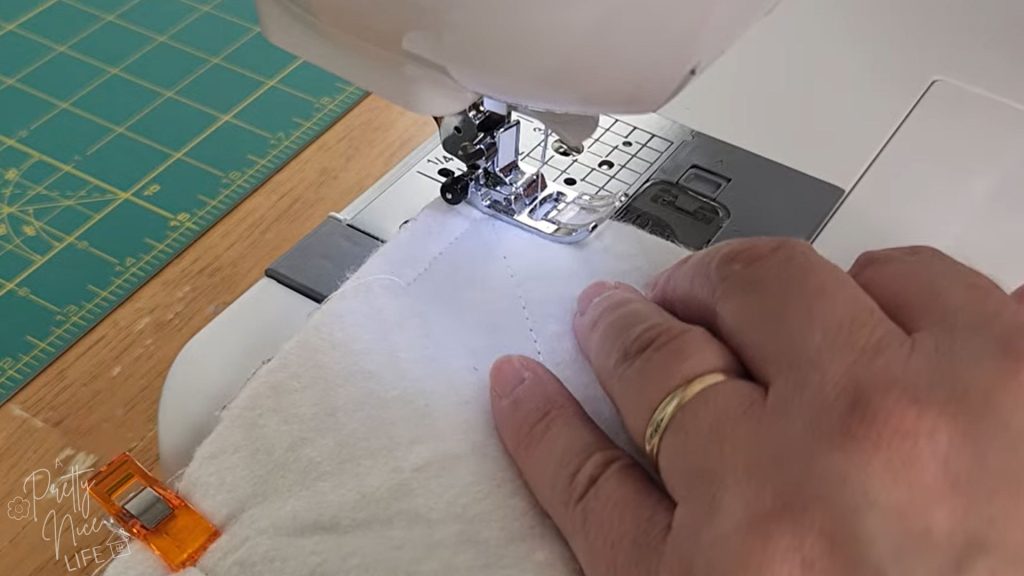
Sew a 3/8″ seam allowance all the way around the cozy, except for the opening you marked. Start and end with a backstitch to secure the stitches near the opening.
Step 7: Clip and Trim
Trim away the excess batting all the way around the project, paying special attention to the four corners and the darts (this is where most of the bulk will be).
Carefully trim the excess fabric at the corners as well. You don’t need to get right up against the stitches; just remove the bulk.
Step 8: Turn Right Side Out
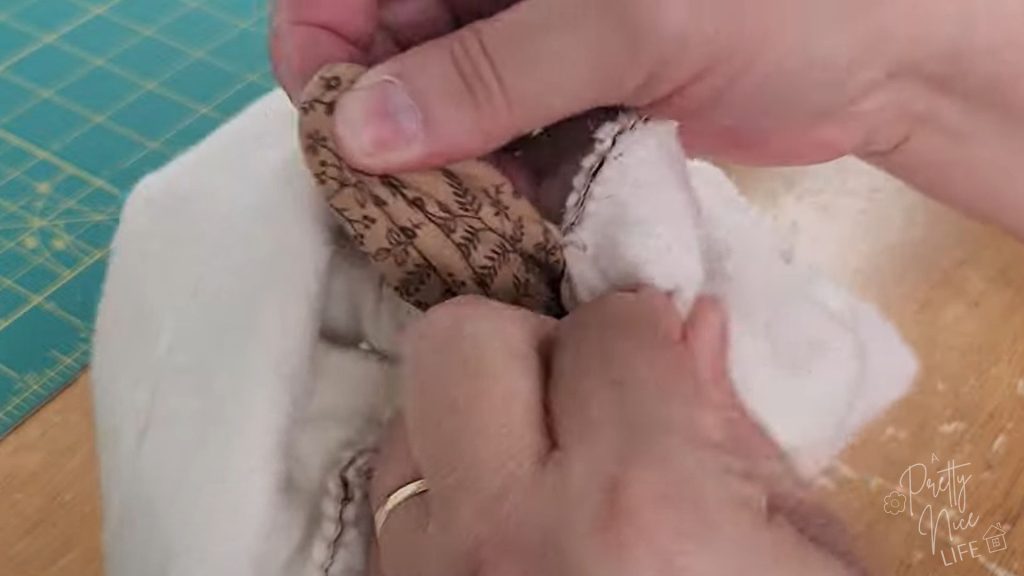
Turn the cozy right side out through the opening you left. Use the blunt end of a crochet hook, paintbrush, or point turner to gently push out the four corners. I also like to run it along the inside of the seam line to push it out.
Roll the seams between your fingers to straighten them, then press with the iron.
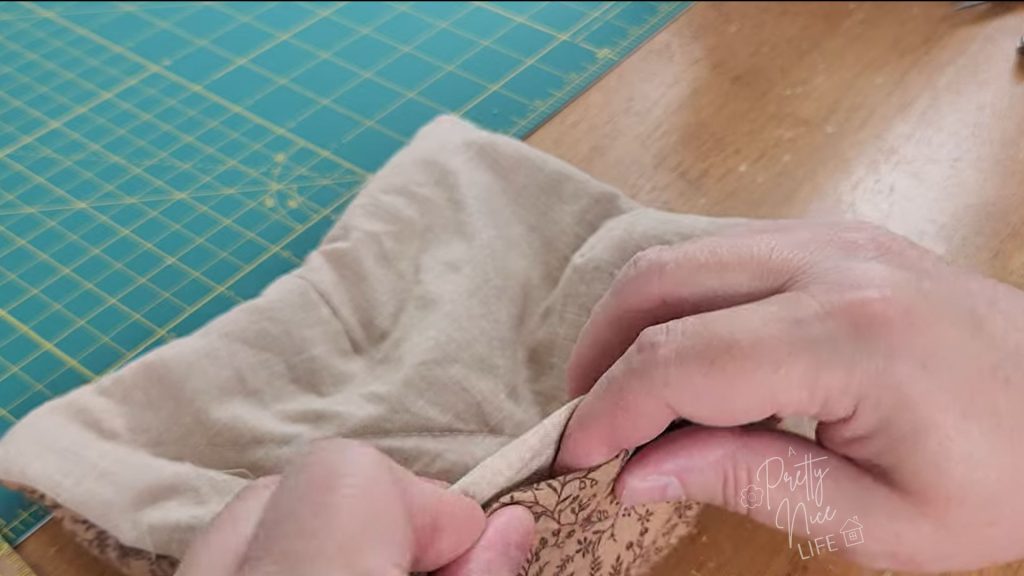
While you’re at the iron, fold under the 3/8″ seam allowance of the opening to the inside and press so the opening is invisible.
Step 9: Topstitch
Lengthen your stitch back to 3 (or whatever you used when sewing your X).
Topstitch 1/4″ from the edge all the way around the cozy. Make sure your topstitching catches the seam allowances of the opening to close it securely.
You’re Done!
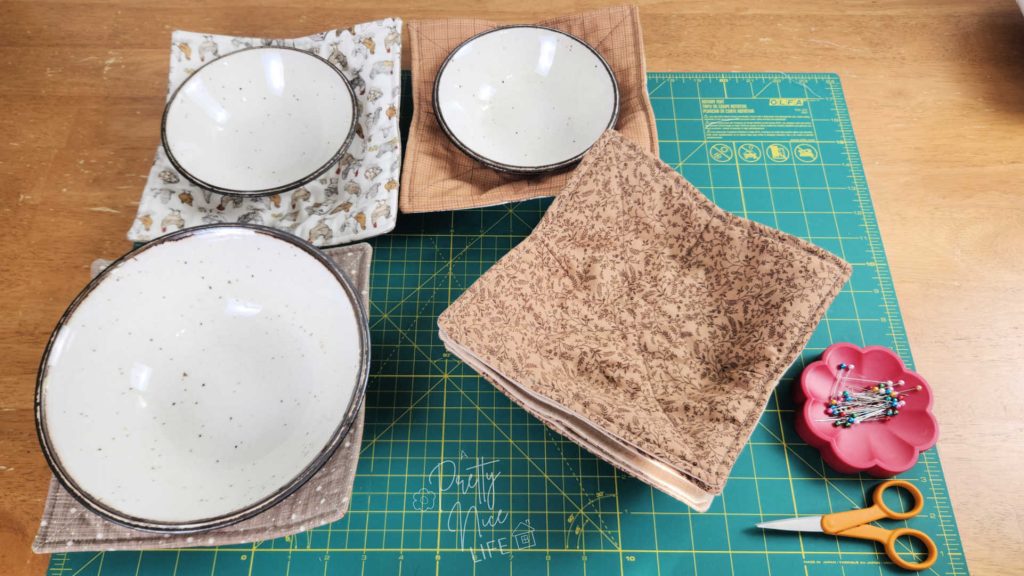
Your bowl cozy is ready to use. Use it to protect your hands from hot bowls, or gift it to someone who appreciates thoughtful, handmade kitchen items.
More wonderful handmade how-tos:
Holiday Gifts to Sew – Pretty and Practical
How to sew a grocery bag holder
Things you can sew for your kitchen