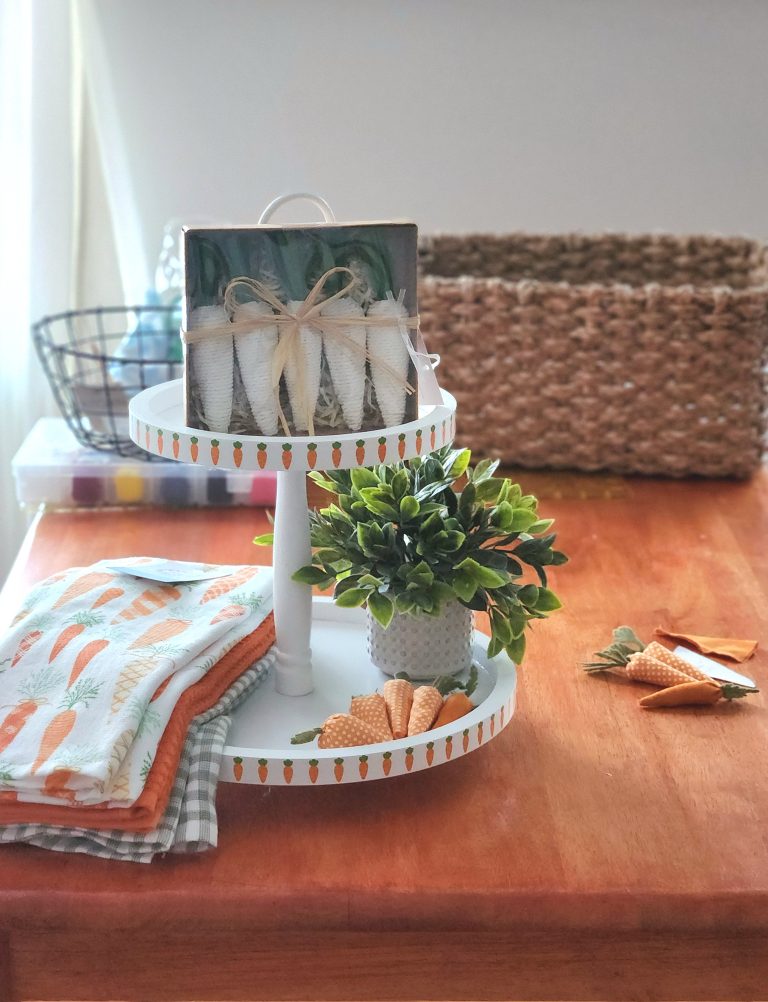
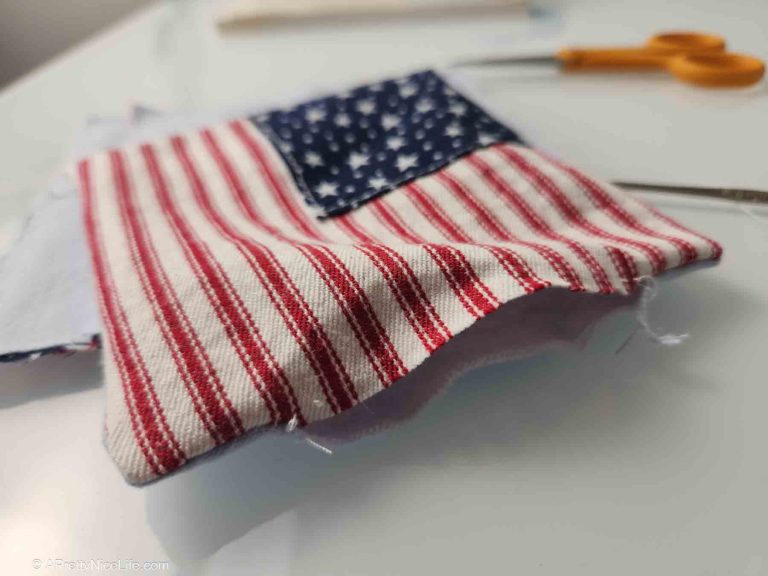
Here’s a ‘berry’ easy and fun fabric strawberry tutorial and (free!) pattern you can download for the Cricut or for cutting by hand. These little fabric strawberry bowl fillers are the cutest and bring spring to mind! Not only are they cute, adorable, and easy to make, this is a great scrap-buster project.

You know what else I like about it? I love that I get to keep little scraps of my pretty fabric around on display.
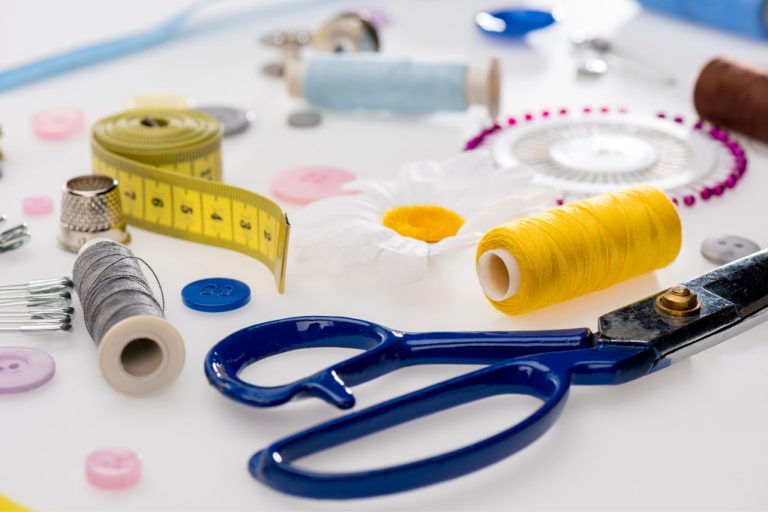
Materials Needed
Links provided to materials will be affiliate links whenever possible. As an Amazon associate, I earn from qualifying purchases.
You probably won’t even have to go to the store for these:
- Pre-washed fabric scraps
- Green felt for the strawberry leaf tops
- Stuffing (fiberfill or more scraps)
- Hand sewing needle or embroidery needle
- Green thread or embroidery floss
- Scissors
- Wooden pencil with eraser (optional)

Sometimes I go fishing through the remnant bins or I’ll find some small pieces I just have to have. But then I like them too much to use them, and they sit in my stash where no one gets to see them. Now, if I just make some strawberries out of them, I can put them in bowls or apothecary jars and have them out on display in my home.

It’s a fun sew-your-own decor project!!


Also cute spring crafts:
You can make them entirely by hand with fabric, needle, and thread or you can go high tech and fancy and use your sewing machine and Cricut or other cutting machine. I’ve given you the .svg file to make the strawberry bodies and the felt strawberry leaves, or caps, as I call them.

The strawberry caps were actually the hardest part for me to figure out, but I finally decided on a couple variations I like the best – and if you like them too, you can use my fabric strawberry pattern for FREE. If you’re someone who likes to design your own, then go for it! Either way, you can’t lose. These are a great little scrap buster sewing project that has just aaaadorrrrabllle results.
Materials and Equipment for Strawberry Bowl Fillers

Supplies you’ll need for making fabric strawberries:
- Pre-washed fabric scraps in red, pink or any color really*
- Green felt for the strawberry leaf tops
- Polyester fiberfill (one common name brand is Polyfill) or tiny bits of leftover scrap fabric, often called “crumbs” for stuffing the strawberries
- Hand sewing needle or embroidery needle and thread
- Green thread or embroidery floss
- Scissors
- Regular old wooden pencil if you have one
*Note about fabric scraps: Prints are more fun than solids, in my opinion, but you go with your vision for these fabric strawberry bowl fillers! The scraps don’t *have* to be pre-washed, but if they’re not colorfast, their dye might transfer onto other fabrics in your home. To make medium size strawberries using my pattern, scraps should be at least 5 1/4″ wide.
Optional supplies:
- Cricut, fabric mat, rotary cutting blade (if you want to cut out the free pattern file I’m offering below)
- Sewing machine and thread (I like using my machine to sew the fabric into cones, but you totally don’t need to)
Step-by-Step Instructions Fabric Stuffed Strawberries

To start, print the patterns or make your own and cut out your shapes. The basic strawberry body shape is like a half-circle with a sliver pie-piece cut off both sides.
The strawberry leaves are a five- or six-pointed star cut from your green felt. The star points are rounded, with blunt ends.

To make the strawberry body, fold the half-circle, right sides together, making a cone shape. Sew the straight edges together, on the wrong side of the fabric.
Turn the strawberry body right-side-out.
With a hand-sewing needle threaded with green thread or embroidery floss, make a running stitch around the top edge of the cone. When you pull one side of the thread or floss, the edge will gather together, closing up the top of the strawberry.

Fill the strawberry with polyester fiberfill, stuffing it until it’s nice and plump. It helps to push a little bit of the stuffing down into the pointy end with the eraser end of the pencil. (We’ll use that pencil for another step too.)

Pull the gathering thread until the strawberry is all the way closed at the top, then use your needle and thread to stitch it in place. Sorry I don’t have a picture. It’s impossible to pull on the thread, hold the strawberry, and get a picture at the same time. (Well, not impossible. But awkward.)
Now to make the strawberry leaves…

Tie a hefty not in one end of your green embroidery floss or thread. Use a large running stitch around the center of the leaf cut-out. See photo for the I dipattern I used.

Place the eraser end of your pencil into the center of the leaf cut-out and pull the floss until the leaves come up and curl around the pencil.

Then flip the pencil over and wrap the embroidery floss or thread around the center several times, securing it by stitching through the felt a couple of times.

Sew your finished felt strawberry cap over the top of the strawberry, covering the raw, gathered edges. You can just sew in a circle in the center of the cap, or see my tips later for making a cute button top with the eraser end of your pencil.
Done! Enjoy your cute little stuffed fabric strawberry on its own or keep making more until you have a whole bowl full.

Resources and other tutorials
When researching this project, which I first saw on Pinterest, I came across a multitude of examples. Some of them were on YouTube as early as 2012, which is basically ancient times in Internet years. Most of the fabric strawberry tutorials had very similar steps; I saw some size variations, a few different techniques and fabric choices. They provide great inspiration! Here are some of them, listed here for your delight. (Also, if you’re like me, I like to look at a hundred different designs before I land on my own.)
- Fabric strawberries in real time (YouTube, 2012)
- Fabric strawberry pattern and tutorial (Her leaves are each cut out individually and stems are rolled from felt painstakingly, to beautiful effect.)
- How to make fabric strawberries (These have a cute little flower addition.)
- Briar Hill strawberries – a free pattern (They use regular fabric, starched and pinked, for the leaves. The best thing I like about them is their fabric choices!)
I’m working on making the free .svg files for the strawberry body and the strawberry leaf caps available. (Technology!) In the meantime, if you’d like my Cricut pattern, just leave me a comment below and I’ll email it to you!
Printable Strawberry Pattern
Here’s the strawberry pattern you can print out to cut your shapes by hand.

I don’t see the svg files?
Ope, you’re right! Forgive me. I need to find a way to send the files. It wasn’t as easy as I initially thought to upload the svg format. I will work on this! (In the meantime, I can email the files to you.)
I can’t find a “print the pattern” option. I would like to sew them since they are very cute!
Thanks for you help!
Pat
I would like the SVG. files too. Thank you so much. Can’t wait to make them
Hi Barbara. I emailed them to you. Enjoy!!
Pls send printable strawberry bowl filler patterns?
Thx bunches
Check your email! I sent you the link, but the printable pattern is also linked up in the post (toward the bottom). Enjoy! I would love to hear how you liked making the strawberry bowl fillers!
I would love the SVG file! These strawberries are adorable!
I just sent it!
Can I please get the svg file as well? Thank you so much
Sent!
Could I have the pattern also? Thank you!
Emailed you! 🙂
I would love the svg pattern. Thank you in advance.
Hi! Can I get the SVG file as well?
Please send me the SVG file
Thanks
I would love the Cricut files. This is adorable!
Can you PLEASE send me the cricut files?? Totally adorable!! TIA!
If you still have the svg file for fabric strawberry, I would love to have. Thank you