A very simple but handy sewing project for beginners is to make up a quick DIY grocery bag holder. You need very few supplies, you only need to sew a couple seams, and there’s nothing tricky in this plastic bag holder sewing pattern at all. In fact, you don’t even need a pattern.
To be honest, you really don’t even need measurements. How simple is that?
This really is an easy sewing project and the end result is something useful if you ever find yourself with plastic grocery bags taking up space in drawers, cabinets, under the kitchen sink, in the garage, and so on.
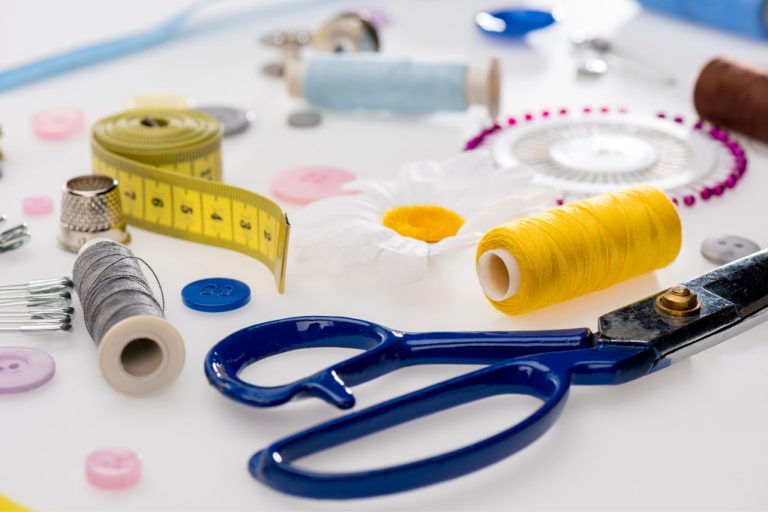
Materials needed to sew a plastic bag holder
Here are the materials you’ll need for this kitchen sewing project:

Links provided to materials will be affiliate links whenever possible. As an Amazon associate, I earn from qualifying purchases.
- A rectangle of fabric (you can use a fat quarter or any remnant that’s at least 12″ x 15″ or larger; I share my favorite size below) Even a kitchen towel or cloth napkin will get the job done.
- Sewing thread
- Scrap of elastic (the length of your elastic depends on the size of your project, but you’ll want a scrap at least four or five inches long) Something like this at Walmart or this white or colorful elastic at Amazon will work.
- Ribbon, string, or strip of fabric
- safety pin or bodkin

(I’ve heard some states don’t have plastic grocery bags anymore. Do people in those states still end up with a bunch of plastic bags – bread bags, or maybe plastic bags from other retail stores?)


Another thing I love about this project is it makes for an easy and inexpensive shot of color or pattern in your kitchen. Sewing cute and easy bag holders is a way to change up kitchen decor with very little commitment or money.
This is so, so simple and such a forgiving first project. And again, it’s an uber useful project to sew up for your home or even for your camper.
Instructions for sewing plastic bag holder/dispenser
Pre-wash your fabric

You can skip this step, but think if you’re putting the time into sewing something for your home, you probably want to keep it for a while. That means you’ll want to throw it into the washer at some point. If you’re not about dyes running into your other laundry or your pretty new grocery bag holder shrinking up to the point it looks awful, go ahead and give your fabric a wash and a press with a hot iron.
It’s easy, really.
Square up the sides

The first step is to square up the sides of your fabric remnant if you need to. After washing and then drying or ironing the fabric, cut off any irregular areas until it has four nice, fairly straight sides. (Or live dangerously and skip the pre-wash. But you should still square up your piece of fabric.) Now is the time to cut it to size.
What size should you make your plastic bag holder?
Consider the space where you’ll be hanging it and how many bags you’ll hold. I have one of these in several rooms of the house, and I find I prefer different sizes. The one in my pantry needs to hold the most, so a large size is what I use. But the one in my sewing room doesn’t need to hold as many bags. (It’s stuffed full of Hobby Lobby and Michael’s bags, lol.) A medium size works well there. I’m planning to make one for each of the bathrooms, too, to hold wastebasket bags. (I save the white bags just for this purpose.) Because I might be hanging them under the sink, I’ll make them pretty short.
These sizes are approximate and just give you some place to start. As I said before, your bag holder can be just about any size.
- Large Plastic Bag Holder: 15 x 18 finished size: 14 1/2″ x 16″
- Medium: 13″ x 16 finished size 12 1/2″ x 14″
- Small: 11 x 14 finished size 10 1/2″ x 12″
I don’t recommend starting with fabric smaller than 11″ on the short side because you need enough room to get your bags in and out; too much smaller than that and your bag holder won’t really be usable.
Fold the hems


Fold over 1/4″ seam on the long edge and press. Then fold it over again and press well or baste sew up the side hems. Fold over 1/4″ seam on the short ends and press. Then fold over a 1″ hem on both short edges. Pin or press if necessary to hold it in place and then sew those seams in place.
Sew the tube

Fold fabric lengthwise in half, right sides together. (So that you have an inside out bag holder, basically.) Sew the two long ends together, STOPPING before you get to your short-end hems. You’ll want to be sure to leave those casings open so you can thread your elastic and/or ribbon through.
Thread the elastic

Safety pin an end of your elastic and thread it through the bottom casing of your bag holder. You can sew or tie the free ends of the elastic together. Push the elastic through the casing, adjusting until the unsightly join is hidden.
Insert your ribbon tie

Safety pin one end of your ribbon and thread it through the top casing of your bag holder. This ribbon (or string, or fabric strip, etc.) will do two things: It is a drawstring that will close your bag at the top, and it provides a way to hang the grocery bag holder from a hook or doorknob.
Enjoy your finished project!

Turn your plastic bag holder inside out and voila! You have a cute kitchen accessory you sewed yourself.
See the pictures below. I tried to get an image for every step of the tutorial.
How to sew a plastic grocery bag holder
How to make a DIY plastic bag holder dispenser. Step-by-step sewing tutorial - easy project for beginners! In fact, this is a great first sewing project.
Materials
- cute cotton or cotton-blend fabric
- coordinating thread
- thin elastic - 1/4" wide or thinner
- ribbon
- safety pin
Tools
- Scissors or rotary cutter, ruler, and cutting mat
- Sewing machine or needle and thread
Instructions
- Prepare the fabric. (Wash, dry, iron if needed.)
 Cut a rectangle of fabric; I like the results I get with a rectangle about 15" x 18" but the size is up to you!
 Fold over 1/4" hem on each short end of the fabric rectangle; press in place.
![Final casing width on your plastic bag holder sewing project will be about 3/4", or you can make it wider if necessary to accommodate your elastic or ribbon]() Fold again, about 3/4" and press, then pin. This will become the casing for your ribbon and elastic, so if yours is wider, you can make the casing wider to accommodate it.
Fold again, about 3/4" and press, then pin. This will become the casing for your ribbon and elastic, so if yours is wider, you can make the casing wider to accommodate it.![Sew hem of plastic bag dispenser tutorial]() Sew both hems close to the edge, backstitching at the beginning and end.
Sew both hems close to the edge, backstitching at the beginning and end.![]()
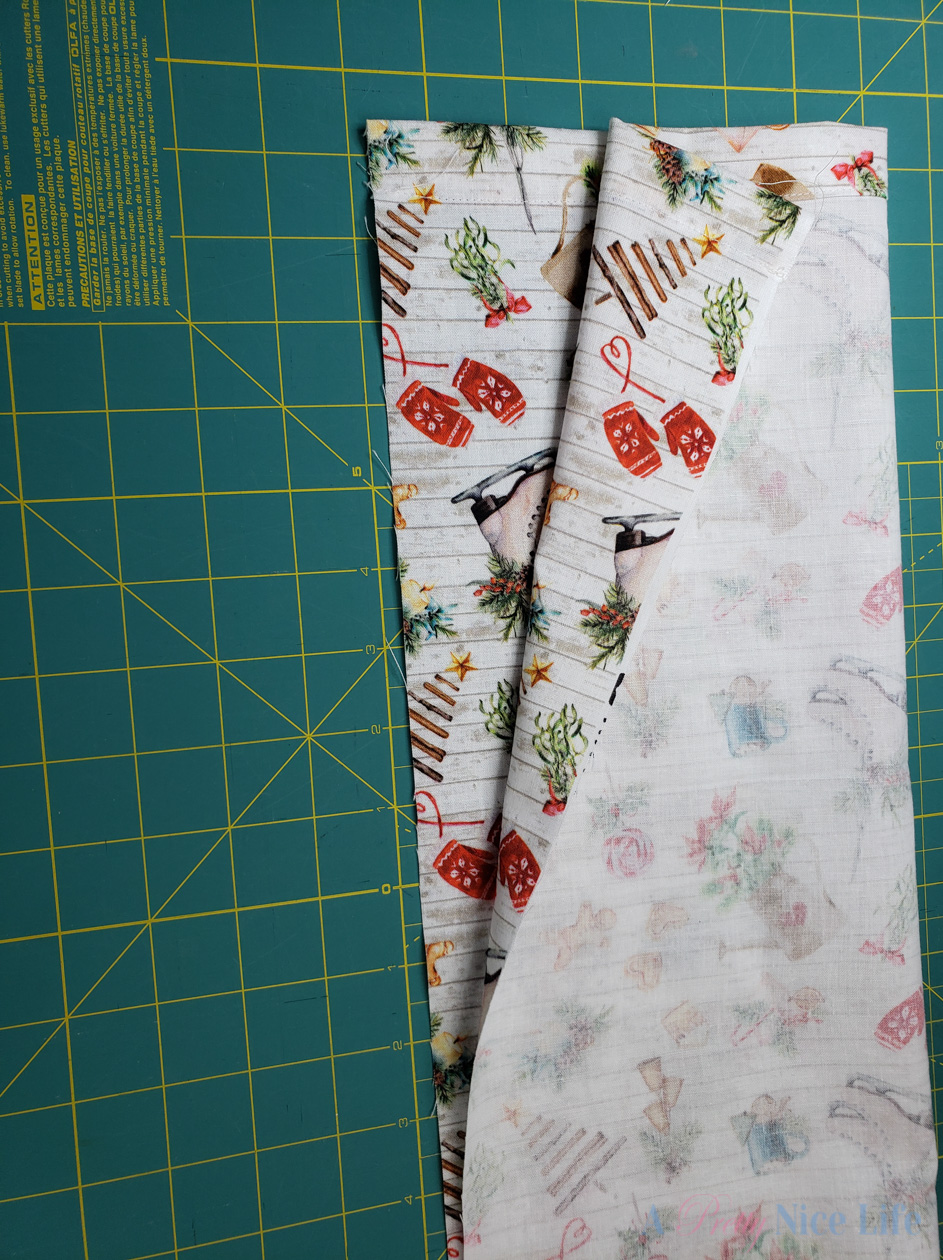
![Prepare to sew the length of your plastic grocery bag holder by folding your hemmed fabric rectangle in half lengthwise]() Fold the hemmed fabric in half lengthwise, right sides together.
Fold the hemmed fabric in half lengthwise, right sides together.![Sew the center seam, being sure to leave the casing open]() Using a 1/4" seam allowance, begin at the very bottom of one casing and sew the length of the fabric, stopping short of the other casing. (In other words, sew the length of the fabric to form a tube but don't sew the casings closed.)
Using a 1/4" seam allowance, begin at the very bottom of one casing and sew the length of the fabric, stopping short of the other casing. (In other words, sew the length of the fabric to form a tube but don't sew the casings closed.)![thread the elastic through the bottom of your new bag holder, then tie it off]() Use a safety pin attached to one end of your elastic, thread the elastic through the bottom casing. The length of elastic you need depends on how wide your opening is and how stretchy your elastic is. (You could start with elastic a half-inch shorter than the width of the fabric; you'll shorten the elastic further when you tie it closed.) Once you have it gathered the way you want it, cut the elastic and tie it very securely.
Use a safety pin attached to one end of your elastic, thread the elastic through the bottom casing. The length of elastic you need depends on how wide your opening is and how stretchy your elastic is. (You could start with elastic a half-inch shorter than the width of the fabric; you'll shorten the elastic further when you tie it closed.) Once you have it gathered the way you want it, cut the elastic and tie it very securely.![thread ribbon through top casing of fabric plastic bag dispenser]() Use the safety pin to thread your ribbon or string through the top casing. Be sure to leave it long enough to allow for hanging on a doorknob or hook inside your cabinet.
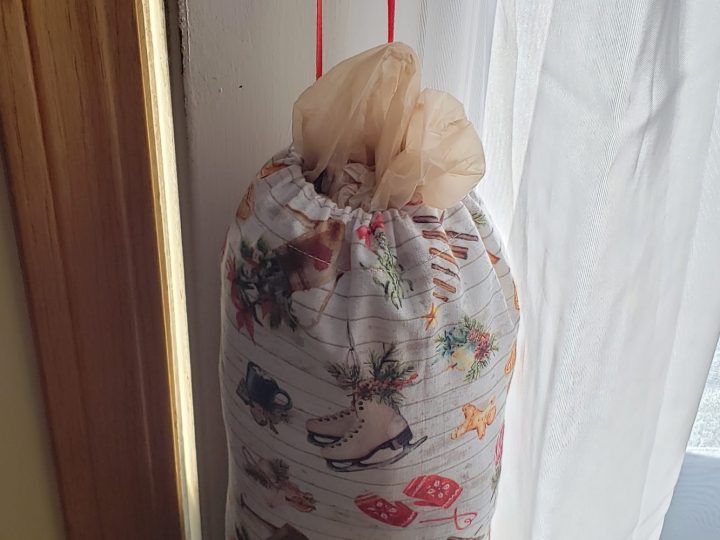
Use the safety pin to thread your ribbon or string through the top casing. Be sure to leave it long enough to allow for hanging on a doorknob or hook inside your cabinet.![Knot the ends of the ribbon]() Knot the ends of the ribbon.
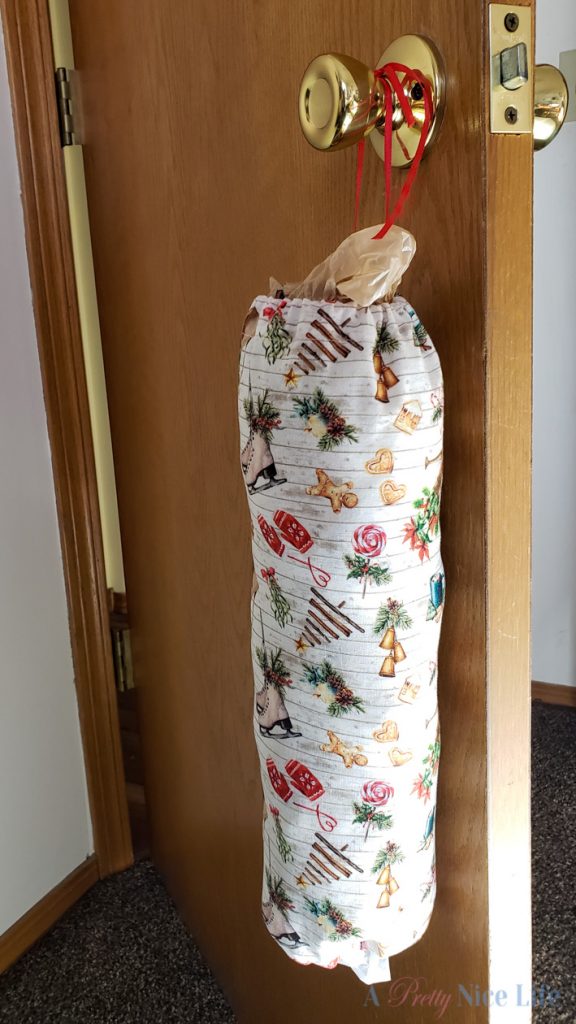
Knot the ends of the ribbon.![Look over your completed plastic bag sewing project to ensure everything is finished correctly.]() Voila! Look at your project to ensure all seams are closed, threads are clipped, and your elastic/ribbon are tied securely.
Voila! Look at your project to ensure all seams are closed, threads are clipped, and your elastic/ribbon are tied securely.![]() Stuff it with plastic bags and hang in your kitchen!
Stuff it with plastic bags and hang in your kitchen!
 Cut a rectangle of fabric; I like the results I get with a rectangle about 15" x 18" but the size is up to you!
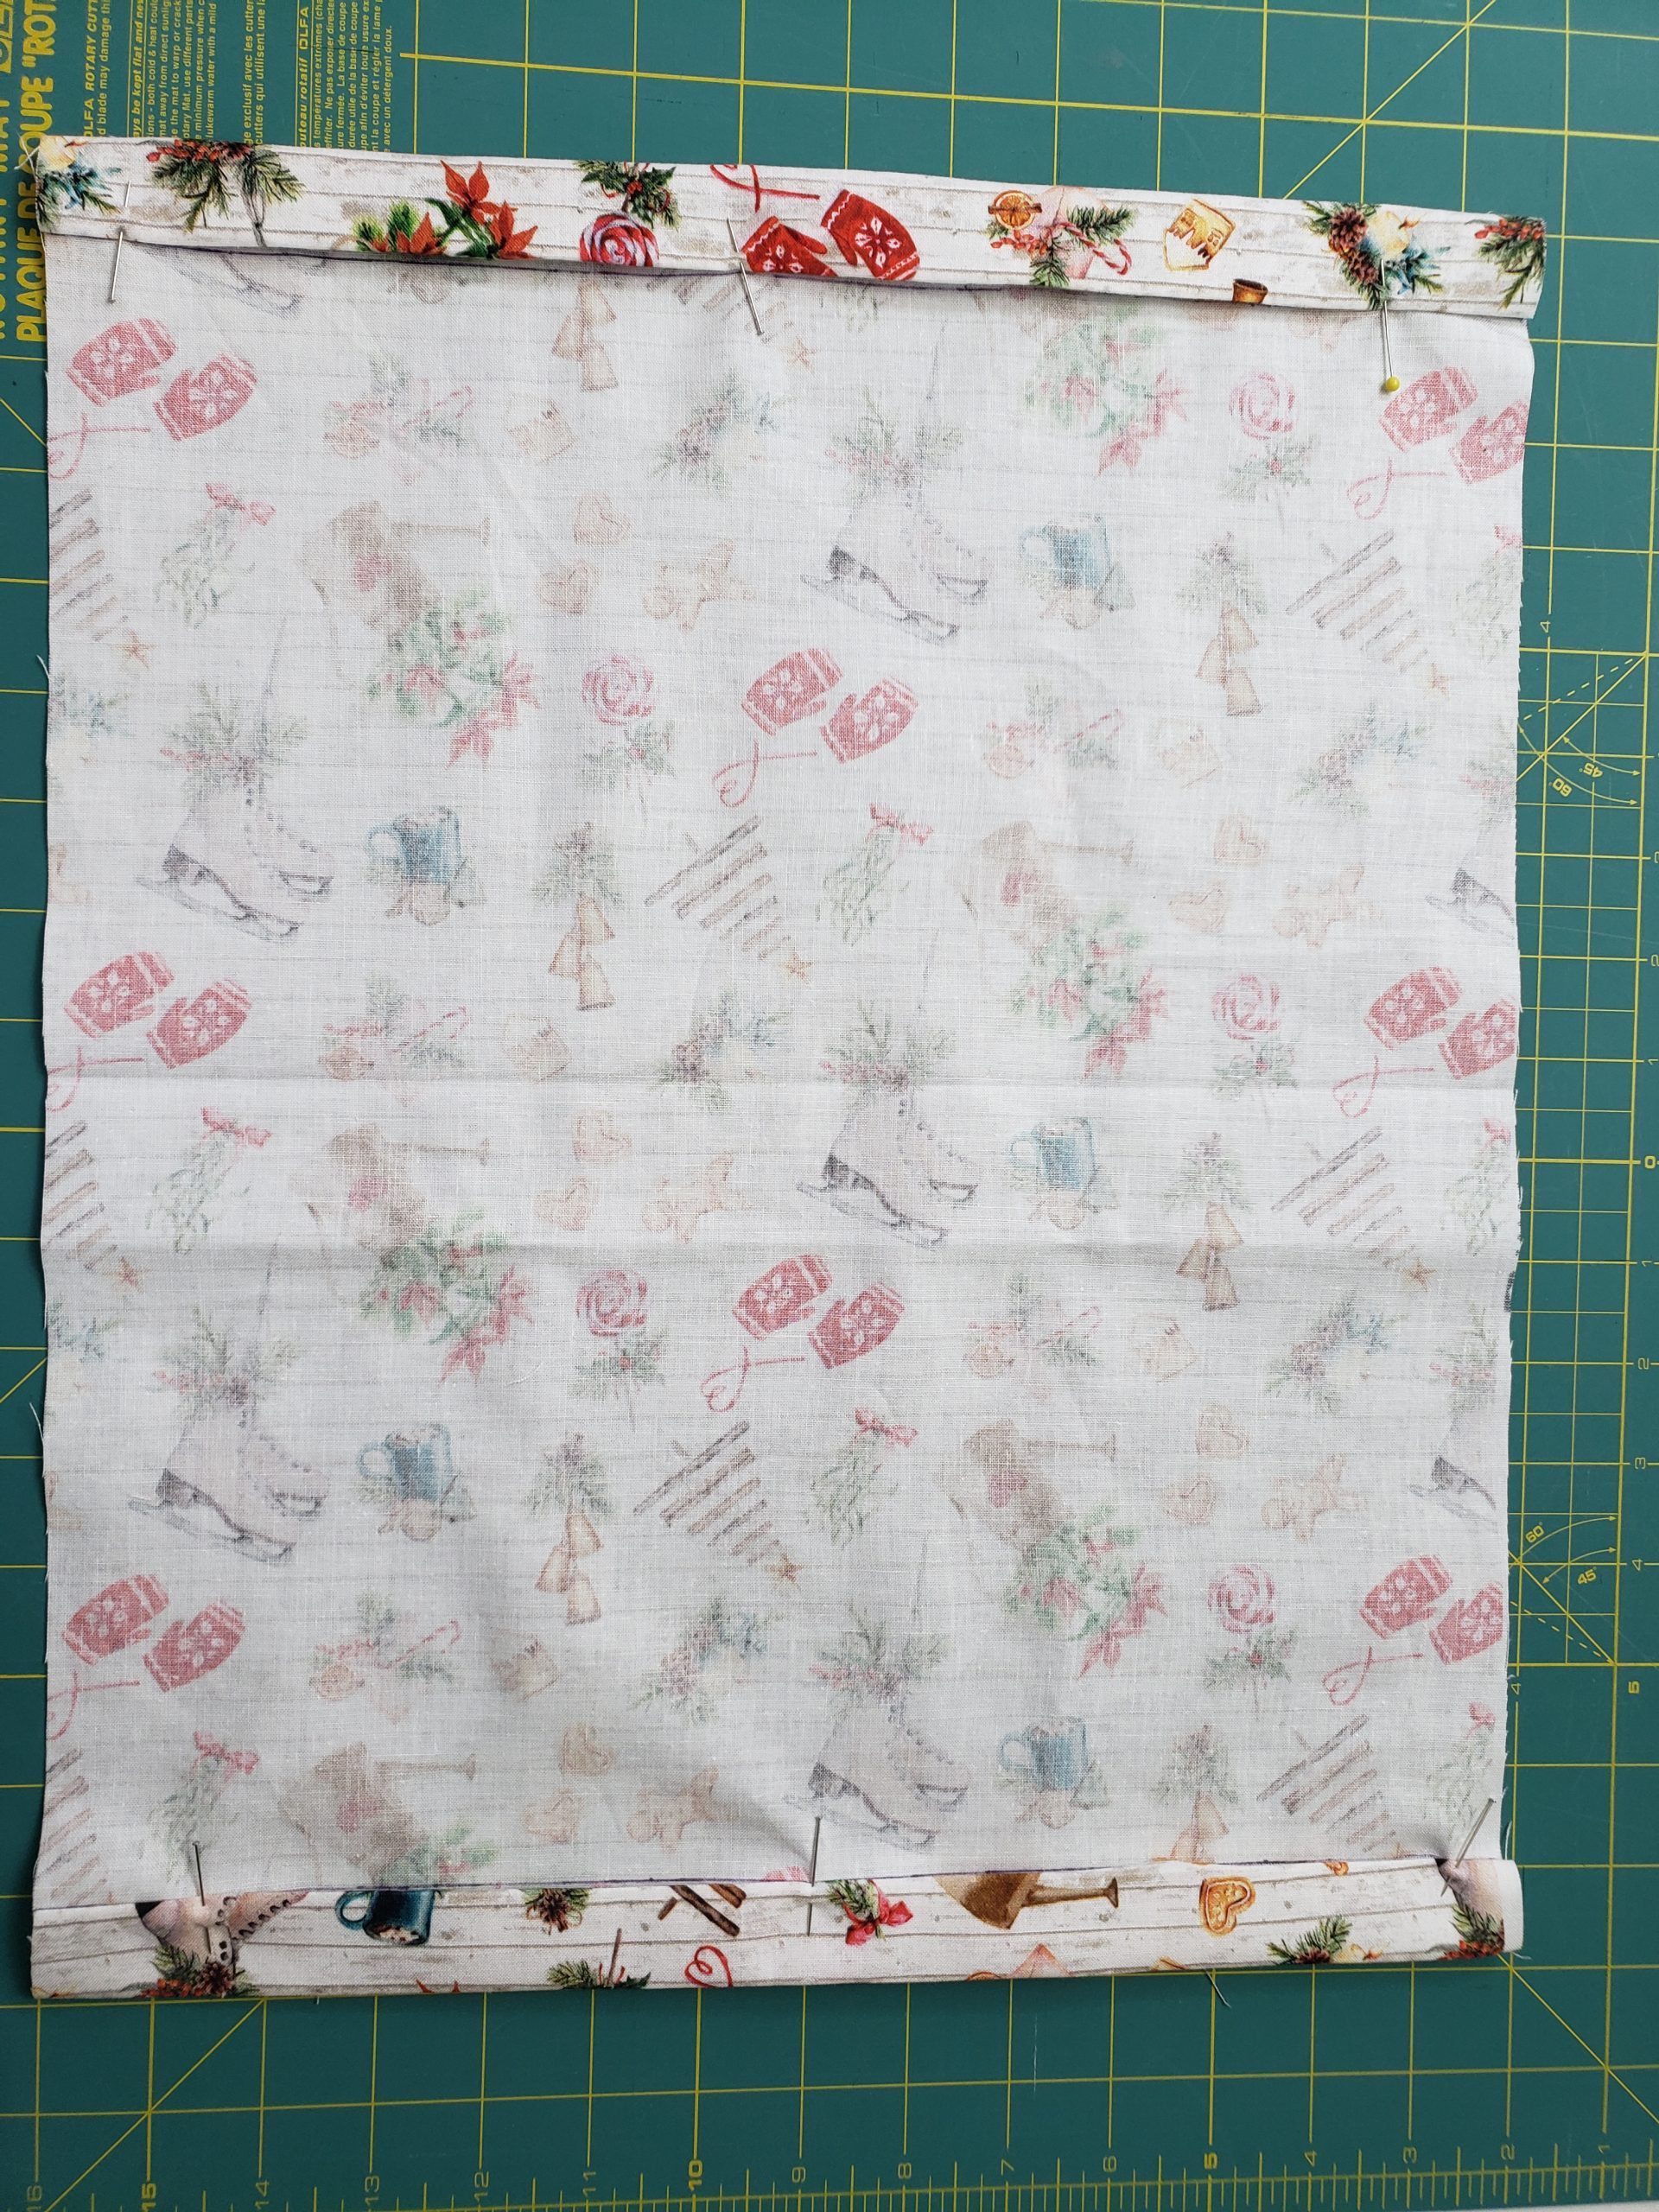 Fold over 1/4" hem on each short end of the fabric rectangle; press in place.
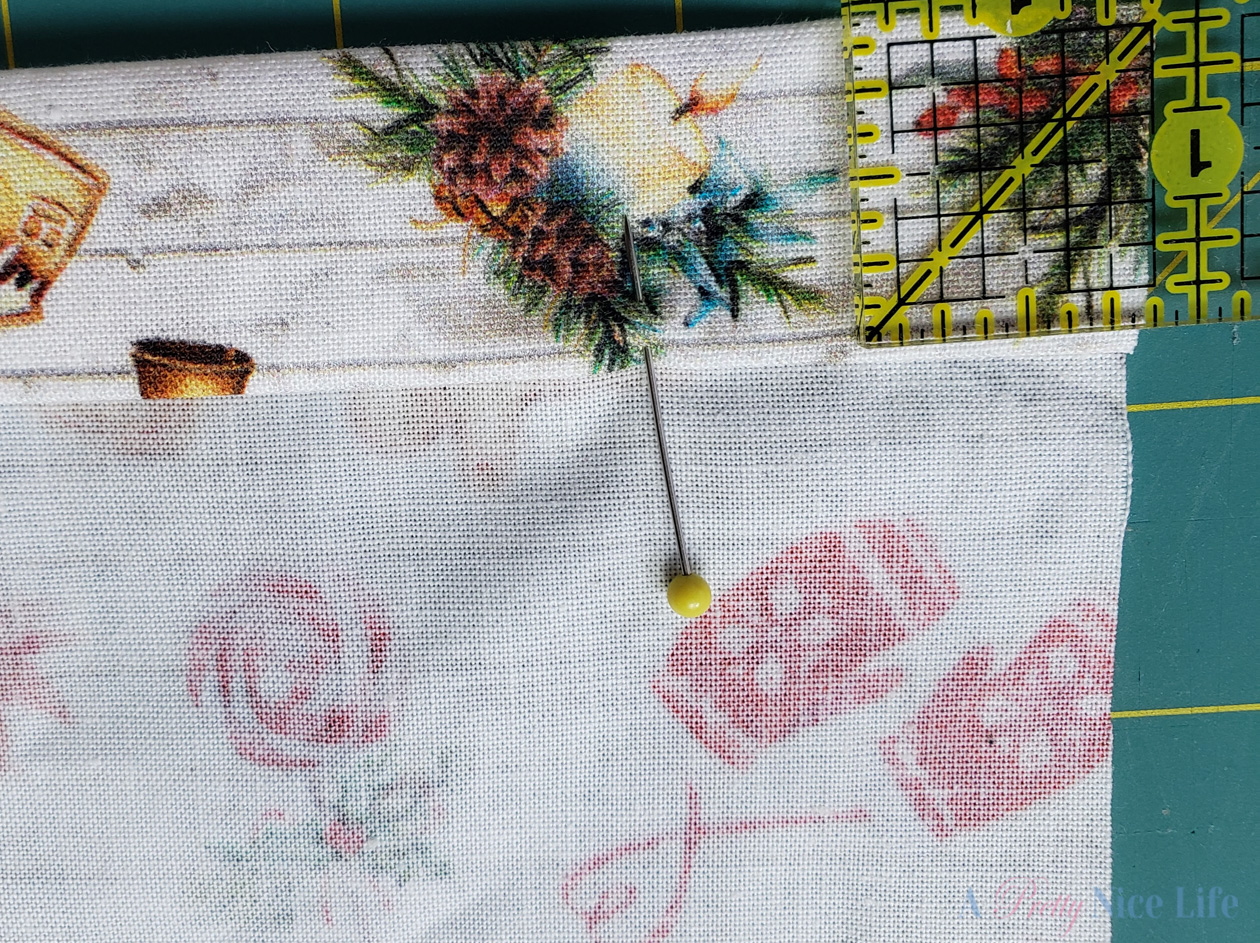 Fold again, about 3/4" and press, then pin. This will become the casing for your ribbon and elastic, so if yours is wider, you can make the casing wider to accommodate it.
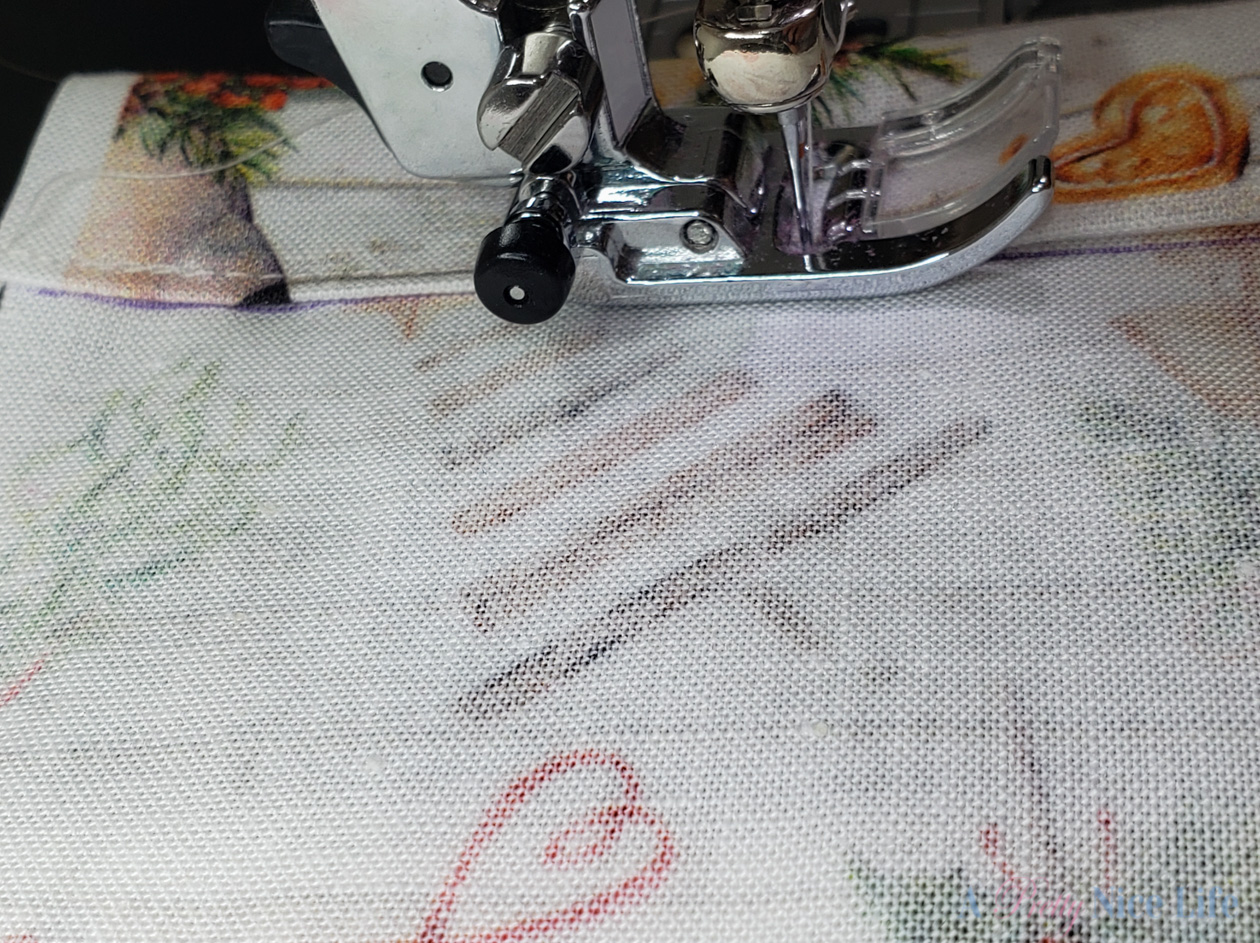 Sew both hems close to the edge, backstitching at the beginning and end.
 Fold the hemmed fabric in half lengthwise, right sides together.
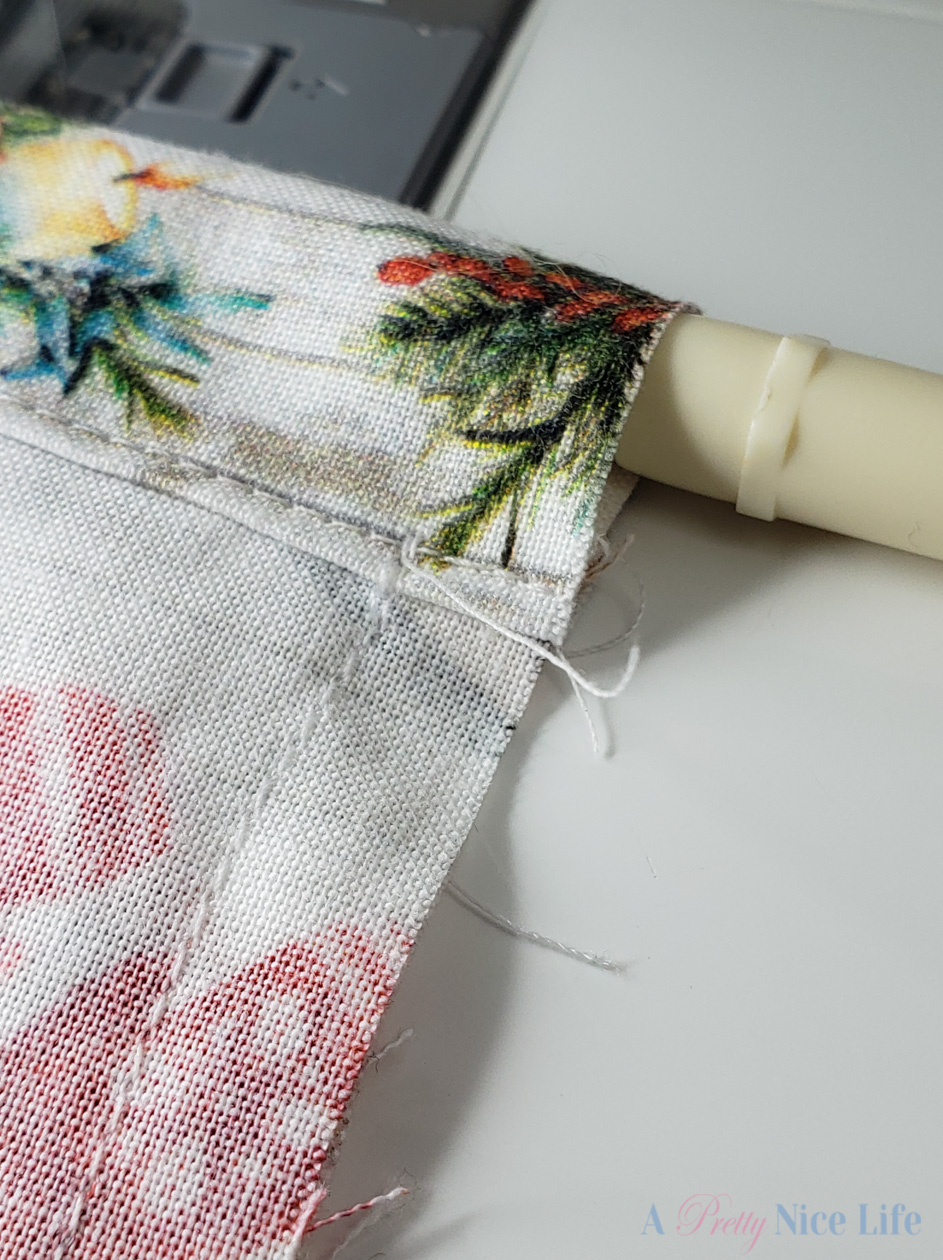 Using a 1/4" seam allowance, begin at the very bottom of one casing and sew the length of the fabric, stopping short of the other casing. (In other words, sew the length of the fabric to form a tube but don't sew the casings closed.)
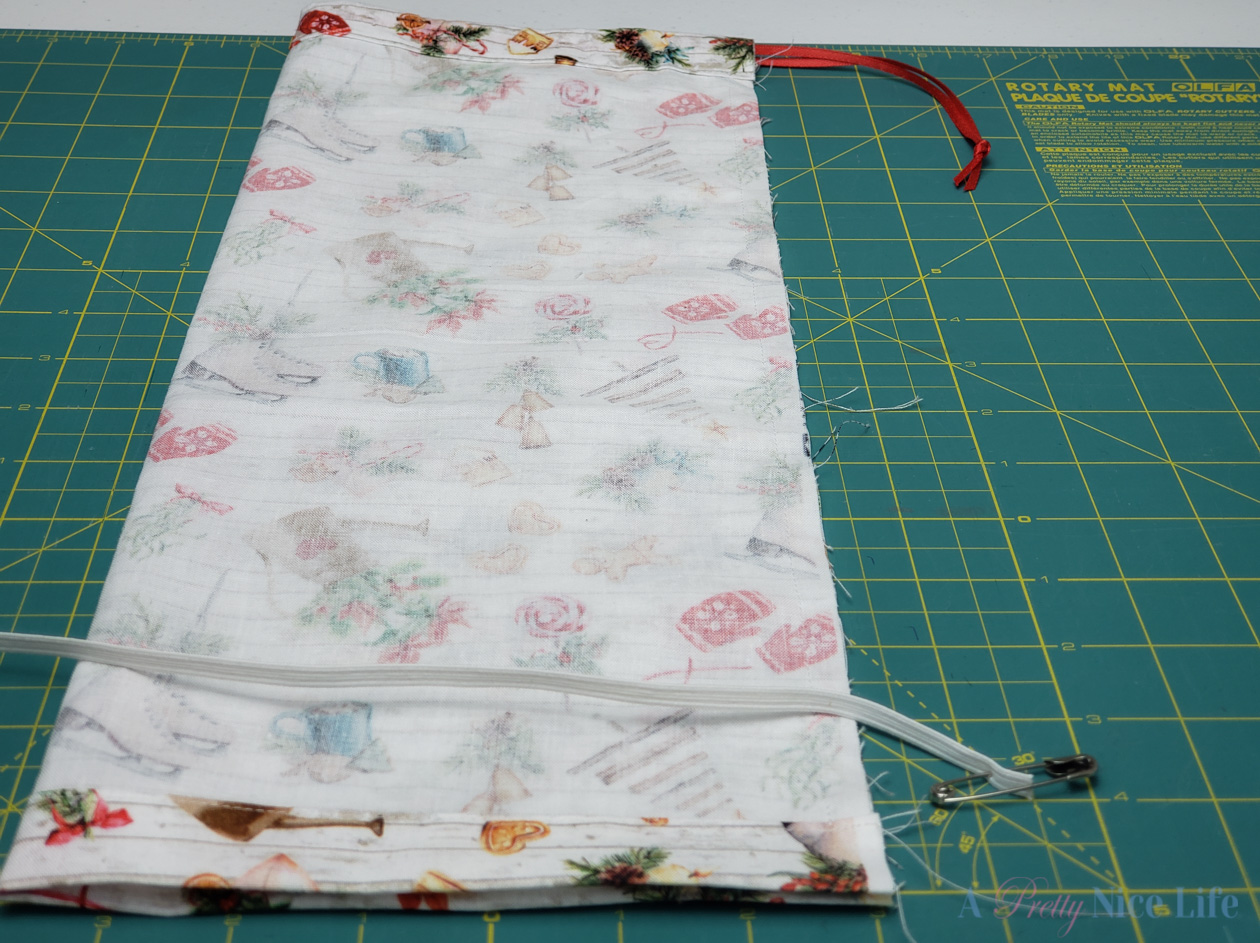 Use a safety pin attached to one end of your elastic, thread the elastic through the bottom casing. The length of elastic you need depends on how wide your opening is and how stretchy your elastic is. (You could start with elastic a half-inch shorter than the width of the fabric; you'll shorten the elastic further when you tie it closed.) Once you have it gathered the way you want it, cut the elastic and tie it very securely.
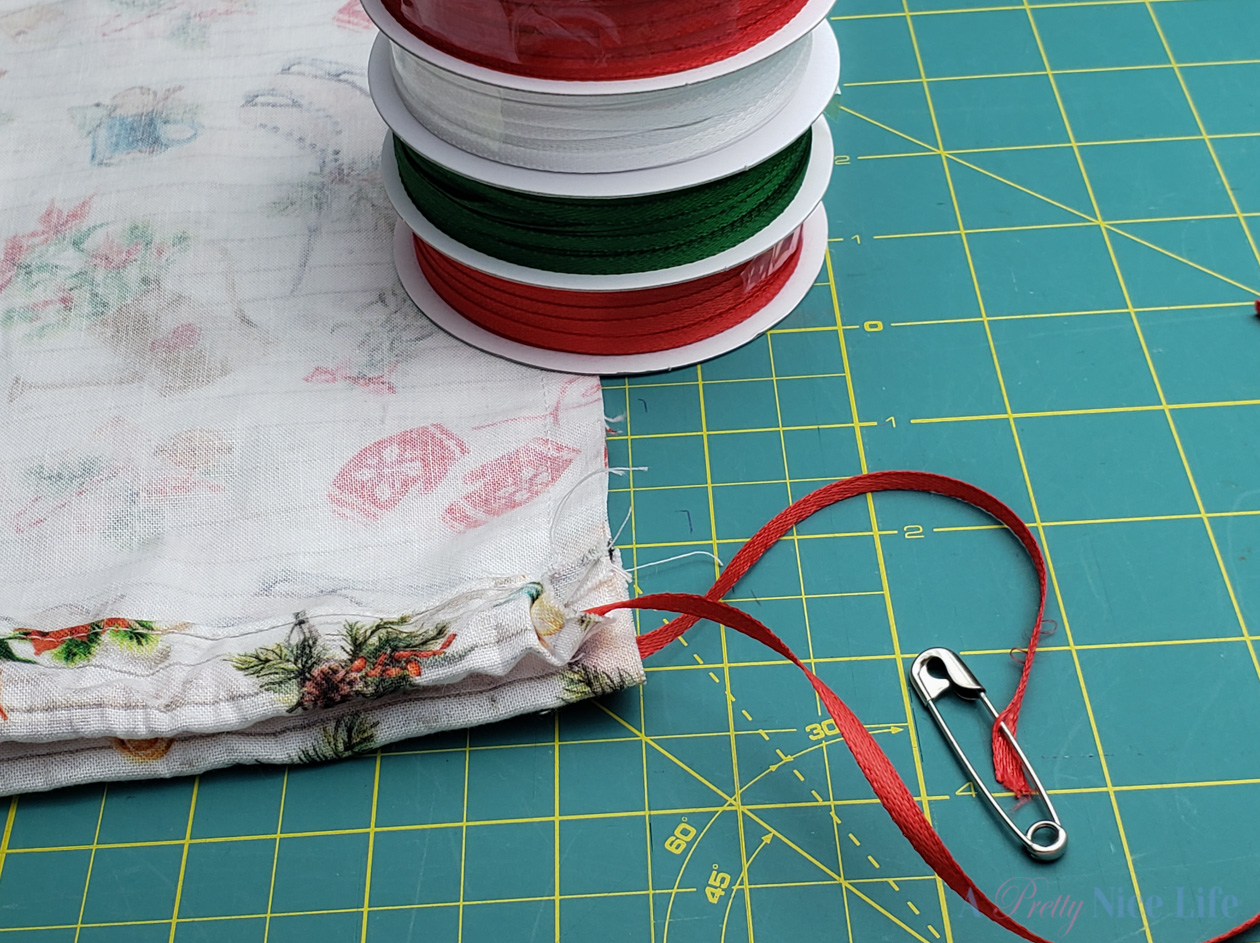 Use the safety pin to thread your ribbon or string through the top casing. Be sure to leave it long enough to allow for hanging on a doorknob or hook inside your cabinet.
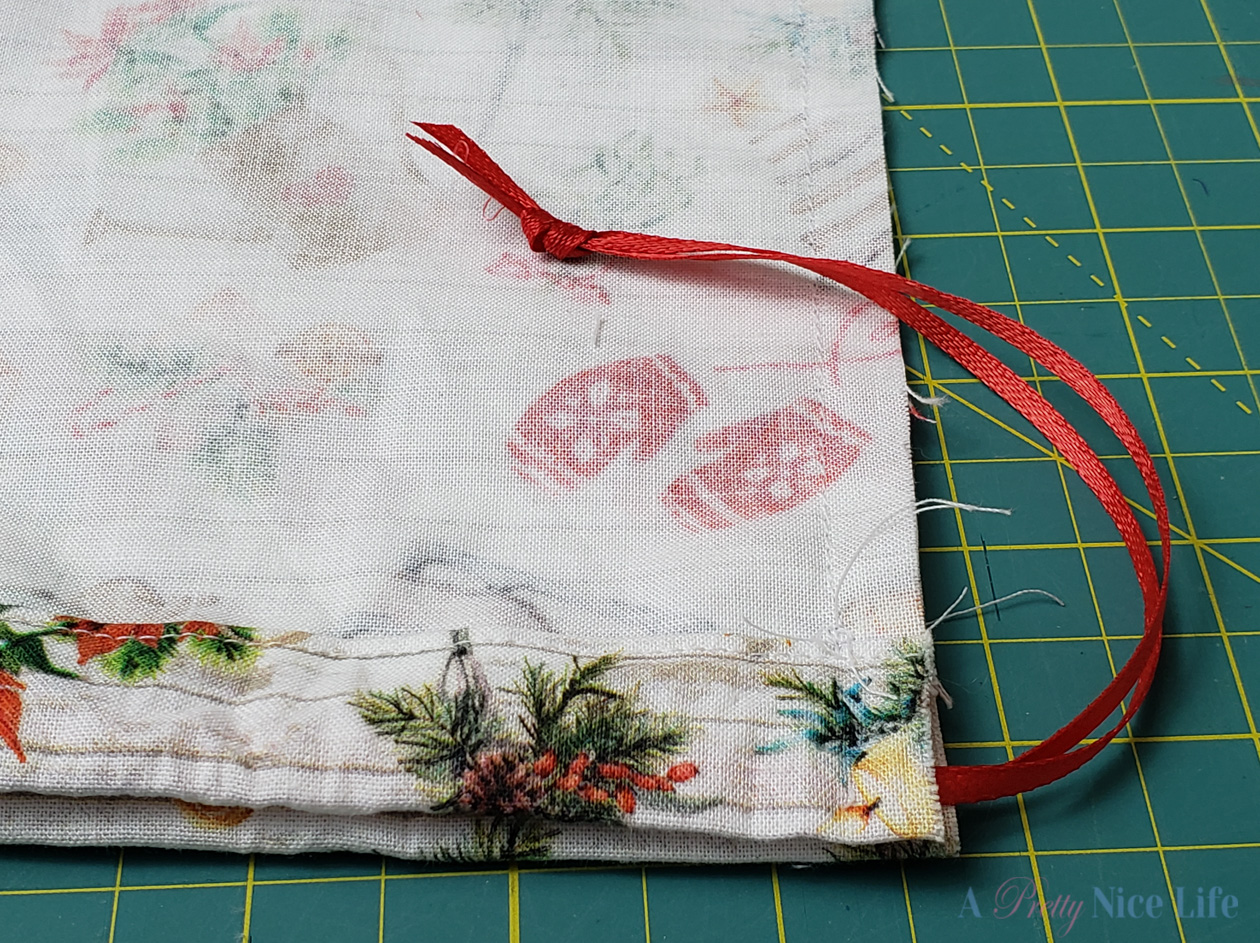 Knot the ends of the ribbon.
 Voila! Look at your project to ensure all seams are closed, threads are clipped, and your elastic/ribbon are tied securely.
 Stuff it with plastic bags and hang in your kitchen!


More fun & easy sewing projects:
- Easy DIY Basket Liner Sewing Projects
- Sew a pretty Easter basket liner
- DIY picnic basket liner sewing pattern – summer sewing project
- Easy Kitchenaid bowl cover sewing project
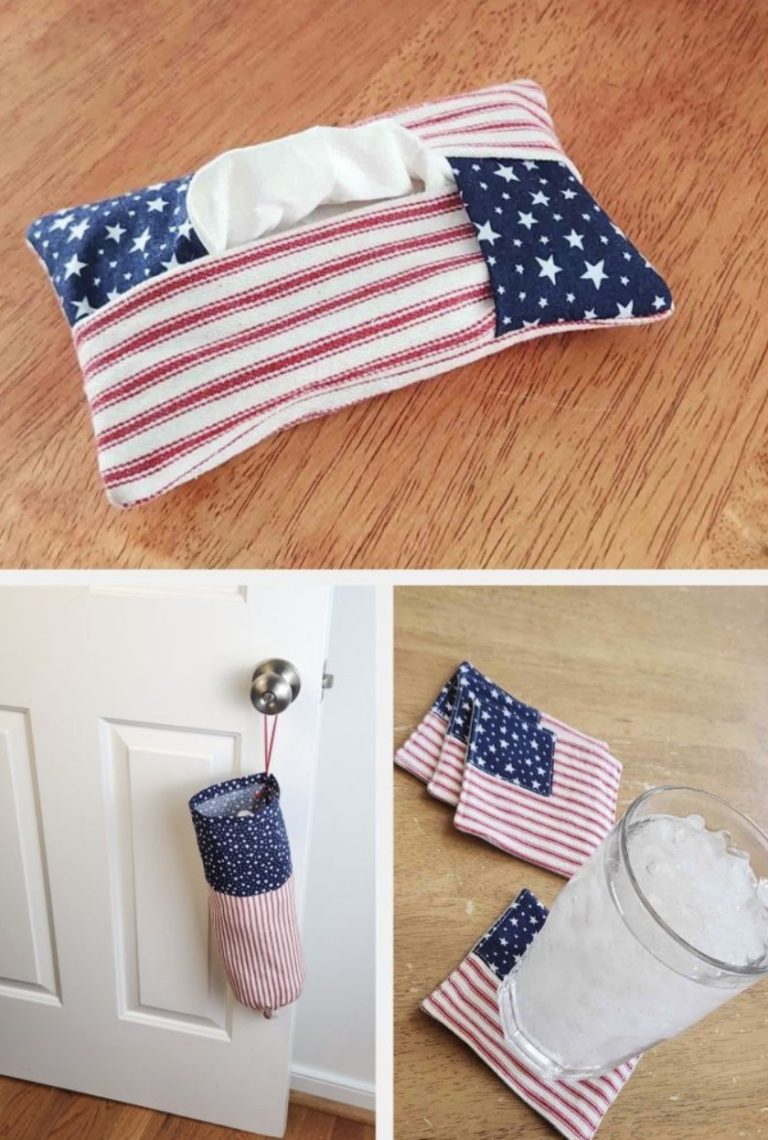
- How to sew a travel size tissue holder
- Sew pretty fabric strawberry bowl fillers
- Easy DIY craft/sew: spring fabric carrots
- Fall leaf coaster sewing pattern
Fun craft DIY projects to try: