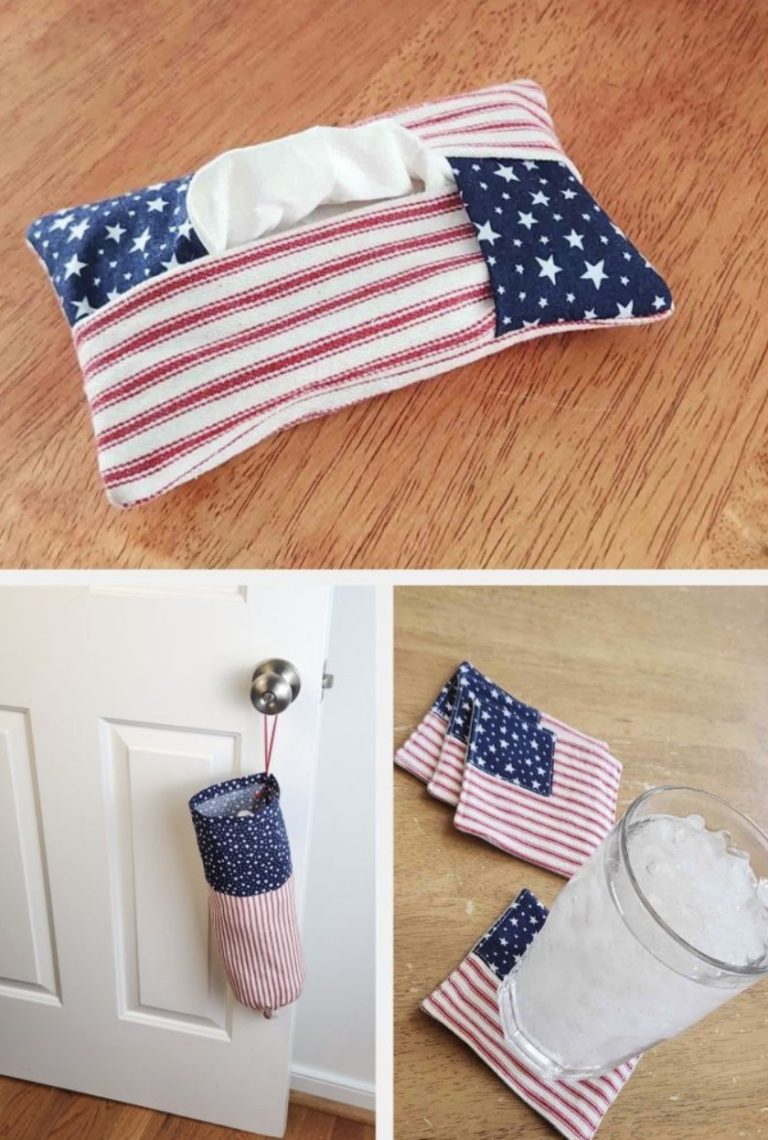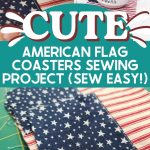
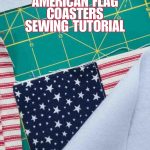
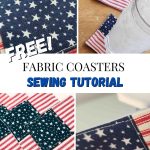
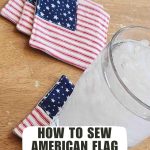
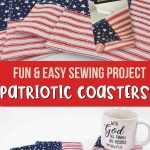

Decorate for the 4th of July, Memorial Day, or any Americana-themed occasion with these easy DIY patriotic fabric coasters! Designed to look like mini American flags, these red, white, and blue coasters are a quick and beginner-friendly sewing project that also make for a festive handmade gift.
Whether you’re hosting a backyard BBQ or relaxing with sweet iced tea, these cute American flag coasters will add a classic patriotic flair to your summer home decor, show off your American pride, and protect your tabletops.
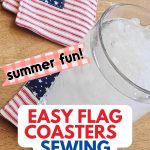
Time investment: Minimal. You will need time to find fabrics that will work, but I picked all three of the fabric I used for my fabric flag coasters in minutes at the craft store. Of course, it helps if you’re shopping in early summer when they start putting out all the patriotic decor! With shopping, cutting fabric, and sewing, these can be made faster than you could get them if you ordered them from Etsy!
That said, allow yourself time to enjoy the project.
Why You’ll Love Making These Red, White, and Blue Fabric Coasters
Enjoy some crafting time and get a quick and festive way to decorate your home for Memorial Day, Independence Day, or any other patriotic occasion. This step-by-step tutorial will guide you through making these American flag coasters. This DIY project is:

- Quick and Easy Patriotic Craft: Satisfying project for even beginner sewists and those with limited time, for any patriotic occasion.
- Scrap-Friendly: A fantastic way to use up your red, white, and blue remnants for a touch of American pride.
- No Batting Needed: The flannel provides enough absorbency and thickness.
- Festive and Functional: Adds seasonal style, reusable, washable, and protects your furniture during any celebration
- Perfect for Hosting or Gifting: A practical gift for friends and family who love to celebrate patriotic holidays.
- Fun: The most important reason to make them! You deserve a little free time for crafting, and this is a quick and satisfying sewing project.
Materials Needed for DIY Patriotic Coaster Sewing Project
Affiliate Disclosure: Whenever possible, I use affiliate links to products, which means I may earn a small commission if you make a purchase at no extra cost to you. Thank you for supporting my blog!
| Item | Size | Link |
| Red-and-white striped ticking fabric | 5″ x 5″ | Buy ticking fabric here |
| Blue cotton with white stars | 3″ x 3″ | Shop star fabric here |
| Light blue flannel fabric | 5″ x 5″ | Find soft blue flannel |
| Coordinating thread | Red, white, or blue! | |
| Fabric scissors or rotary cutter, quilt ruler, and mat | I use Omnigrid rulers and Olfa cutting mats and rotary cutters, but there are other brands too | |
| Iron and ironing board | Chi steam iron | |
| Pins or clips, sewing machine or hand needle | I have these Dritz pins in cute colors |
Preparing the Fabric
No one likes to hear this part (least of all, me), but when we have brand new fabric, there’s a strong possibility it will shrink when washed. Since these cute, adorable coasters are going to be catching coffee and tea drips, we will likely want to wash them later … which means we should really pre-wash them now.
When I have to pre-wash fabric, I like to do it the night before my project so the next day I can jump right in to the fun part: cutting and sewing!
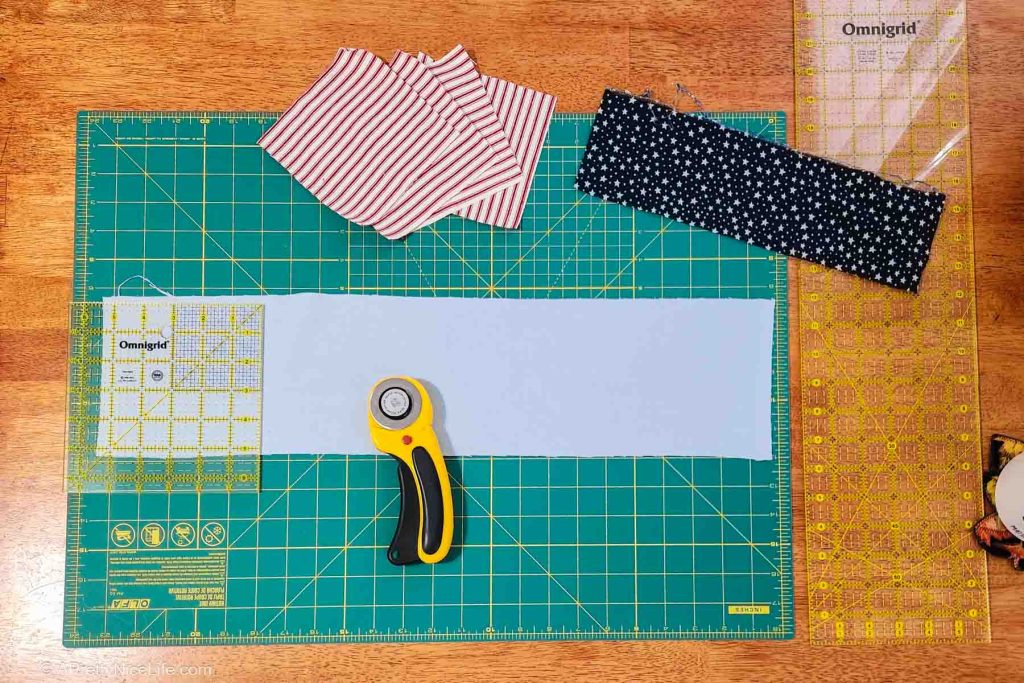
These coasters are easy to cut: I cut long strips of prewashed fabric, then use a smaller ruler to cut the 5×5 and 3×3 square pieces.
Step-by-Step Tutorial: Sewing Patriotic Fabric Coasters
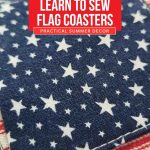
Step 1: Prepare the Blue Star Square

Take your 3×3 inch blue fabric square with white stars. Turn under approximately 1/4 inch of the fabric on two adjacent edges (not the outer edges that will be sewn into the final seam). Press these folded edges.
Step 2: Attach the Blue Star Square to the Ticking
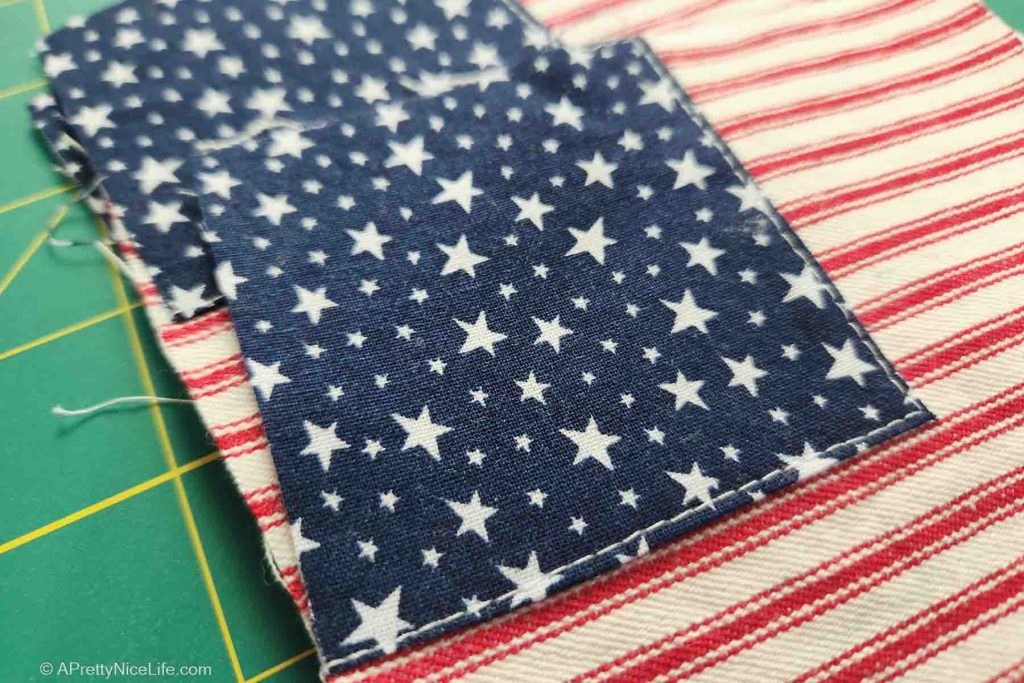
Position the prepared blue star square onto the top left side of your 5×5 inch red and white striped ticking square. (Position the stripes horizontally to mimic the flag.)
Pin the folded edges of the blue square to the ticking, just to hold it in place for sewing.
Stitch these two folded edges down, about 1/8 inch from the folded edges.
Step 3: Layer the Fabrics

Align the flannel square with the red and white ticking fabric (which now has the blue square attached), right sides together.
Pin or clip the two squares together, if you like, to hold them in place for sewing.
Step 4: Sew Around the Edges

Using a 1/4 inch seam allowance, stitch around all four sides of the layered square. Remember to leave about a 2-inch opening on one side for turning.
Backstitch at the beginning and end of the opening to secure the seam, since this is where you’ll be turning the fabric.
Step 5: Trim the Corners

Carefully trim the excess fabric at each corner diagonally, being careful not to cut through your stitching. This will help you get sharper corners when you turn the coaster right side out.
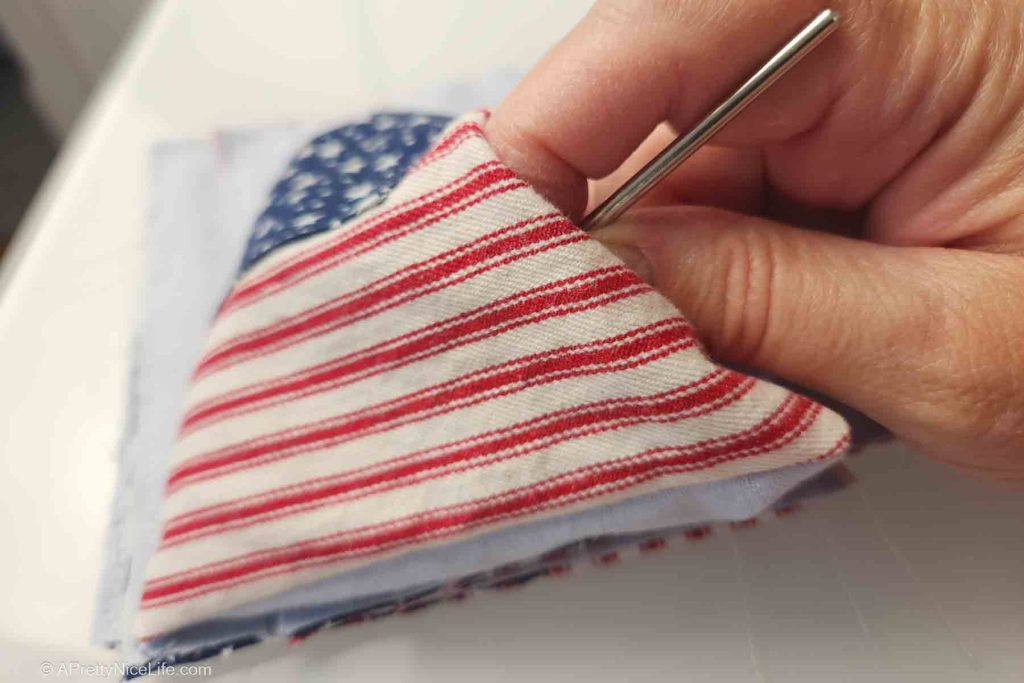
Step 6: Turn Right Side Out

Gently turn the coaster right side out through the opening you left. Use a point turner, a crochet hook, or the end of a pencil or pen to carefully push out the corners and make them sharp. (If your point turner is too sharp or you push too hard, you could end up poking a hole in the corner. If that happens, just turn it wrong side out again and re-sew that corner.)
Step 7: Press Your Coaster

Use your iron to press the coaster flat. Pay special attention to the opening, folding the raw edges inwards by 1/4 inch and pressing them in place.

Step 8: Topstitch to Finish

Topstitch close to the edge (about 1/8 inch) all the way around the coaster. This will close the turning opening and give your easy 4th of July sewing project a clean, finished look.
Try this
Take your coasters up a notch with decorative topstitching (maybe even in metallic thread), or swap in denim or canvas for a rustic farmhouse feel. Another alternative is to make an American flag mug rug by elongating the red and white ticking.
Step 9: Repeat for a Festive Set!

Repeat steps 1 through 8 to complete the whole set of easy patriotic star coasters for all your Memorial Day, 4th of July, Veterans Day or other Americana themed gatherings.
I’d love to hear how your patriotic coaster set turned out! Did you use alternative fabrics or try some topstitching? Let me know in the comments—and don’t forget to share your photos on Pinterest or tag me on Instagram!
Now that you have completed these snazzy DIY American flag style fabric coasters, what other types of handmade patriotic decor do you plan to sew?
More fun & easy sewing projects:
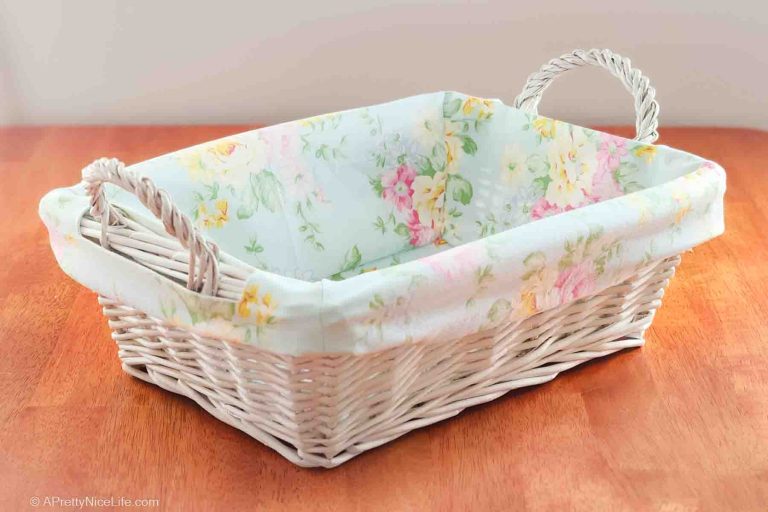
- Easy DIY Basket Liner Sewing Projects
- Sew a pretty Easter basket liner
- DIY picnic basket liner sewing pattern – summer sewing project
- Easy Kitchenaid bowl cover sewing project
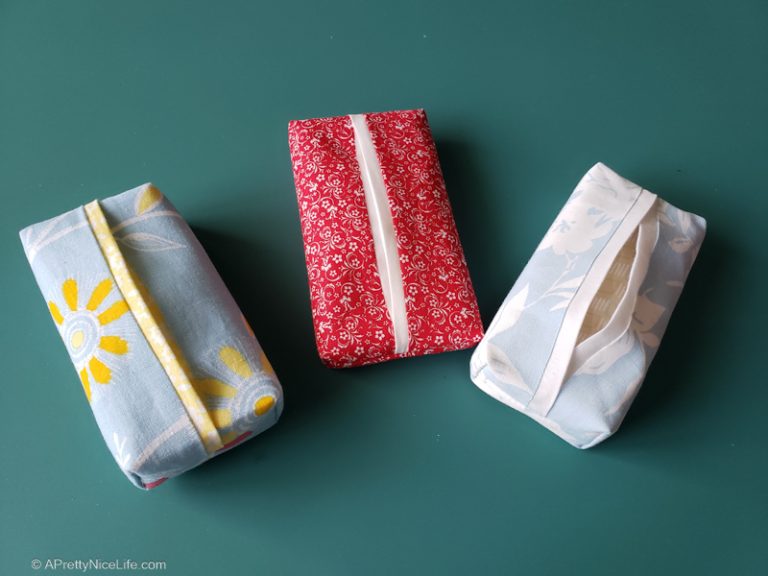
- How to sew a travel size tissue holder
- Sew pretty fabric strawberry bowl fillers
- Easy DIY craft/sew: spring fabric carrots
- Fall leaf coaster sewing pattern