I’ve got (five, currently) different methods for you to sew a quick and easy fabric tissue cover – made for travel size tissue packs – with scraps of fabric from your stash, fat quarters, 10-inch squares, or charm packs. Keep one in your purse so your tissues stay clean and neatly folded, and give them as gifts!

I hope you enjoy these tissue holder sewing tutorials as much as I enjoyed putting them together.
No matter which method you use, this is such a fun and quick sewing project for beginners or experienced sewists, and it’s a scrap-buster too! I like to make something useful with my pretty fabric scraps. You can make your fabric tissue holder with all one fabric, or find pleasing combinations of colors and patterns in your stash.

I’ve included several variations for you. The simplest sewing pattern for a pocket tissue pack cover uses three rectangles of fabric and only needs two lines of straight stitches. It’s perfect for beginners!
The other variations of the tissue pocket pattern not only give you a more “finished” look, but they also let you try some intermediate sewing skills, like adding a lining, turning a project, and boxing corners. Each variation needs different starting measurements, so your scrap pile might dictate which pattern you use, or you can choose based on looks. I’ll add photos of every pocket tissue cover I make using a different method so you can choose.
Any of these will work. I enjoy figuring out how to do things, so I couldn’t stick to just one method. I had to try every method myself. My favorite is the more “finished” one, because why do things the easy way when you can make it harder? (Just kidding!)
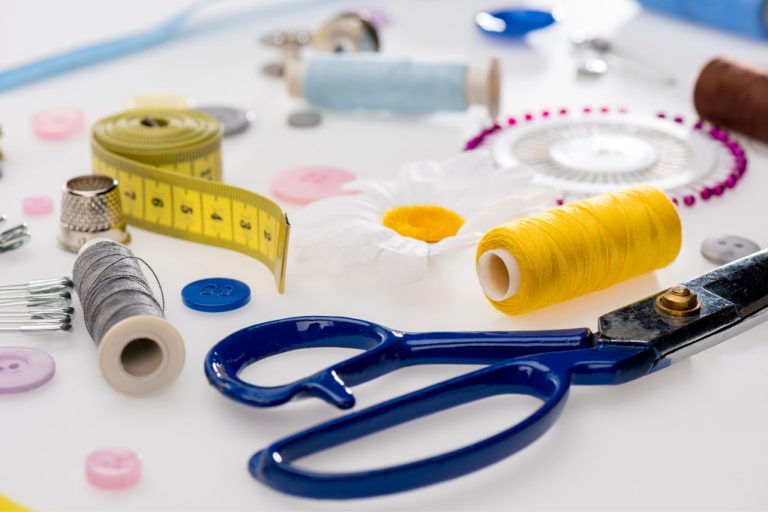
Supplies needed:
- Fabric scraps
- Tape measure or ruler
- Scissors
- Iron (optional, but nice)
- Sewing machine, thread, and needle
Although the supply list is simple, if you do need supplies, I purchase a lot of my arts, crafts and sewing supplies at Walmart because they usually have nice things at great prices. That is an affiliate link, which means if you use it to buy something at Walmart I may receive a small commission from them on the sale (at no cost to you).
1. Easiest purse tissue cover tutorial
The three rectangles method.
In my opinion, the very simplest pattern for a purse tissue holder uses three small rectangles of fabric (3 1/2 x 5 1/2 inches or 3 x 4 1/2 inches, depending on your travel tissue pack size). This is SO, so easy!
Did I mention how easy it is?
> Click here to open step-by-step instructions to make the easy 3-rectangle pocket tissue cover

STEP 1: First, cut your three rectangles. It helps to iron them nice and flat.

STEP 2: Then, fold two of the rectangles lengthwise in half, right sides facing out, and place them on top of the base rectangle. (See image)
The folded edges should meet in the center; all your raw edges should be to the outside of the rectangle.

STEP 3: Sew a 1/4″ seam all the way around the tissue cover. I like to backstitch once where the two rectangles meet just to strengthen that part a little.

STEP 4: To prevent the fabric from unraveling, finish the edges with a zig-zag stitch. If you have pinking shears, you can trim the seam allowances instead (as shown).

STEP 5: Then turn right side out and you have your finished tissue cover. So easy!!!

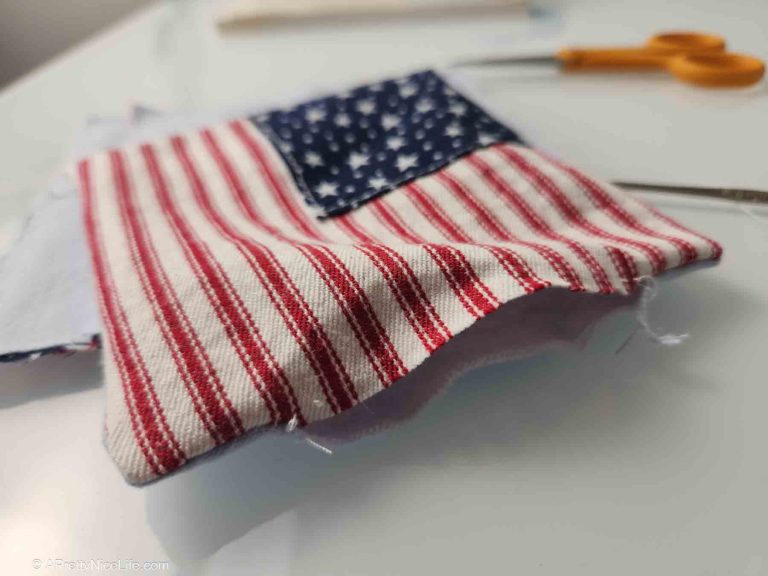
2. Easy lined fabric tissue cover tutorial with contrast piping
The second type of fabric tissue pack case is still realllllly easy. It has a contrast piping and is lined, but don’t let that fancy-shmancy sounding deal turn you away from making it because this is still totally a beginner sewing project.

What you need:
To make a lined fabric tissue pouch, you’ll only need two rectangles of fabric.
Your first piece should be 5 1/2″ by 6 1/2″. This will be the main exterior fabric. The lining piece should be 5 1/2″ by 7 1/2″. The lining fabric will become the piping that trims the tissue opening down the center of the pack. (See photo above.)
You can adjust the look of the piping by changing the lengths of your two pieces. The wider piping in my photo above is the result of using a 6″ exterior and an 8″ lining. It’s fun to experiment with different scrap sizes and see what you come up with. But to keep it super easy, just stick with the two base sizes.
Cut two scraps of fabric into these size rectangles:
- 5 1/2″ x 6 1/2″
- 5 1/2″ x 7 1/2″

Steps to make the tissue cover:
This is so simple.
- First, cut your two rectangles. One rectangle should be 5.5″ x 6.5″. The next rectangles should be cut to 5.5″ x 7.5″.
- Once you’ve cut out your two rectangles of fabric, lay them right sides together. Sew a 1/4″ seam allowance along the 5 1/2″ edge on the first side.
- Next, with right sides together still, match up the other end of the 5 1/2″ sides. It’s a little difficult to describe but the picture below should make it easy enough to see how to line them up.

4. Now that you’ve sewn both pieces together, flip them right side out and press with a hot iron. Center the shorter fabric so the contrasting fabric is about even on either side and press to hold it in place.

5. Fold this in half, lining side out, to get a crease down the center to help you fold everything evenly. Fold in each side, still with lining side out, meeting at the center crease in the middle or even overlapping slightly. (I like to overlap ever so slightly because it keeps the tissues protected a little better.)

6. Once you have the sides lined up the way you want them, sides lining side out, press again.
7. Now take the cover back to the sewing machine and stitch across the two edges. Finish the raw edge with a zig zag stitch or carefully cut the seam allowance with pinking shears so the woven fabric doesn’t unravel and you have threads everywhere. If you have an overlock stitch on your machine, you can do this all in one step. My Babylock sewing machine has a button you can press (and then I adjust the stitch lenth to 3 x 2.5).
3. Easy lined tissue cover with boxed corners

This method results in more of a boxy, fitted look. It’s exactly the same as above but with an optional bonus step.

Here is the bonus step, totally optional: make a teeny-tiny boxed corner by sewing across 1/4″ from the pointed edge of each corner.
Follow the regular instructions for a lined tissue cover until you’re all the way at the last step. Boxing corners is easy, but if the picture above didn’t “click” for you, study the pictures and instructions below for more detail.
Now, at the corner, fold back the seam allowance and make a triangle with the fabric as shown in the picture. Sew across in a straight line, back stitch, and sew again. When you turn it right side out, you should have a box corner as shown.


Repeat this process on all four corners.

These cute tissue covers are so easy you’ll want to make dozens of them. You could even use seasonal fabric to give them a holiday twist. They make terrific little gifts for friends, as well.


4. The “one scrap of fabric” method
Okay, the first method was the easiest but this might be the second easiest way to make a travel-size tissue cover tutorial. It only takes one scrap of fabric, 6 1/2 x 9 1/2. I will take pictures when I make it, but basically all you do is fold over a seam allowance (double fold), then fold those finished edges to the center, wrong sides out, then sew the two ends. I think the 6 1/2″ measurement might be a tad too long but I’ll try it and let you know for sure.
Update: Okay, yes! The measurements of 6.5 inches by 9.5 inches is more than ample (read: too big!) for a one-piece pocket tissue holder. I made this and used a 1″ hem on both sides, then used the French seam method of sewing the ends so that all the edges were finished, both inside and out. The tissue pack still fit in the fabric pouch easily. Next time I make it, I’m starting with a smaller scrap of fabric. I’ll update with the ideal size when I figure it out.
See my picture gallery for the steps to sew this one-piece pocket tissue holder tutorial:


5. The “contrasting corners” method
You get a little extra flair with this pocket tissue pouch, but it’s still JUST as easy a job as any of the others. This tissue pouch pattern does require the most pieces of all the scrapbuster projects, so use it if you have a bunch of tiny scraps you want to make something useful out of.

Here is your list of pattern pieces:
- Two 4″ squares
- Three 4″ x 5 3/4″ rectangles
You can use a different fabric for every one of your pieces if you want. You’ll have endless varieties of “looks” as a result. This could be super fun.
- Fold and press your two squares in half. Fold and press two of the long pieces lengthwise. The remaining piece stays unfolded; this becomes your backing piece.
- Now lay out your backing piece, right side up.
- Lay one of the long pieces on top, with the fold edge toward the center and the raw edge facing the perimeter (outside) of the rectangle.
- Lay one of your folded squares across the bottom of the backing piece. Again here your folded edge should be toward the center of the backing piece; the raw edge should face the perimeter.
- Lay the next long piece on the opposite side of the first long piece, across the top of the bottom square. Make sure the folded edge is to the inner (center) of the rectangle, like all the others.
- Place the second folded square across the top of the two folded long pieces.
- Lastly, clip or pin all your pieces in place and take them to the sewing machine. Sew a 1/4″ seam all around the perimeter of the project. Clip stray threads and corners (optional) if you like.
- Turn right-side out and voila! Fancy four-corners tissue holder design.
See? Easy!
6. How to get a finished interior for your DIY pocket tissue holder
So, I saved my favorite method for last. It’s just a smidge bigger and has an extra step, but of course it’s still an easy sewing project. (And fun.) The difference with this one is just that there are no raw edges inside.
I started with two scraps: one was *6.5×6.5 inches and the other was 6.5×7.5 inches.
With right sides facing each other, sew a 1/4″ seam on the short sides of the fabric. (Do this on both short sides.)
Flip the fabric right side out and press with a nice warm iron. Fold the short sides in toward the middle, overlapping a bit.
Sew a scant 1/4″ seam along the two open ends. In case you don’t know, “scant” means it’s just a little less than 1/4″. You eyeball it. You’re sewing the fabric RIGHT SIDE OUT. This is different from what you usually do, but what we’re doing is called making a French seam.
Trim the seam allowances down to about 1/8″.
Now, turn the tissue cover WRONG side out. On each end, sew a 1/4″ seam again. Be sure to back stitch in these three spots:
1. when you start the seam 2. in the center where the two edges meet and 3. as you finish the seam.
Now you’re done. It’s gorgeous, isn’t it???

*Note: This was slightly too roomy overall, so next time I will decrease the size of those fabric rectangles to 6×6.5 and 6×7.5 inches and see if that makes for a perfect fit.