

I love cute little holiday coasters! This Christmas Ornament Coaster Pattern is a quick, easy, inexpensive, and beginner friendly sewing project that will give your decor a nice shot of holiday flair.
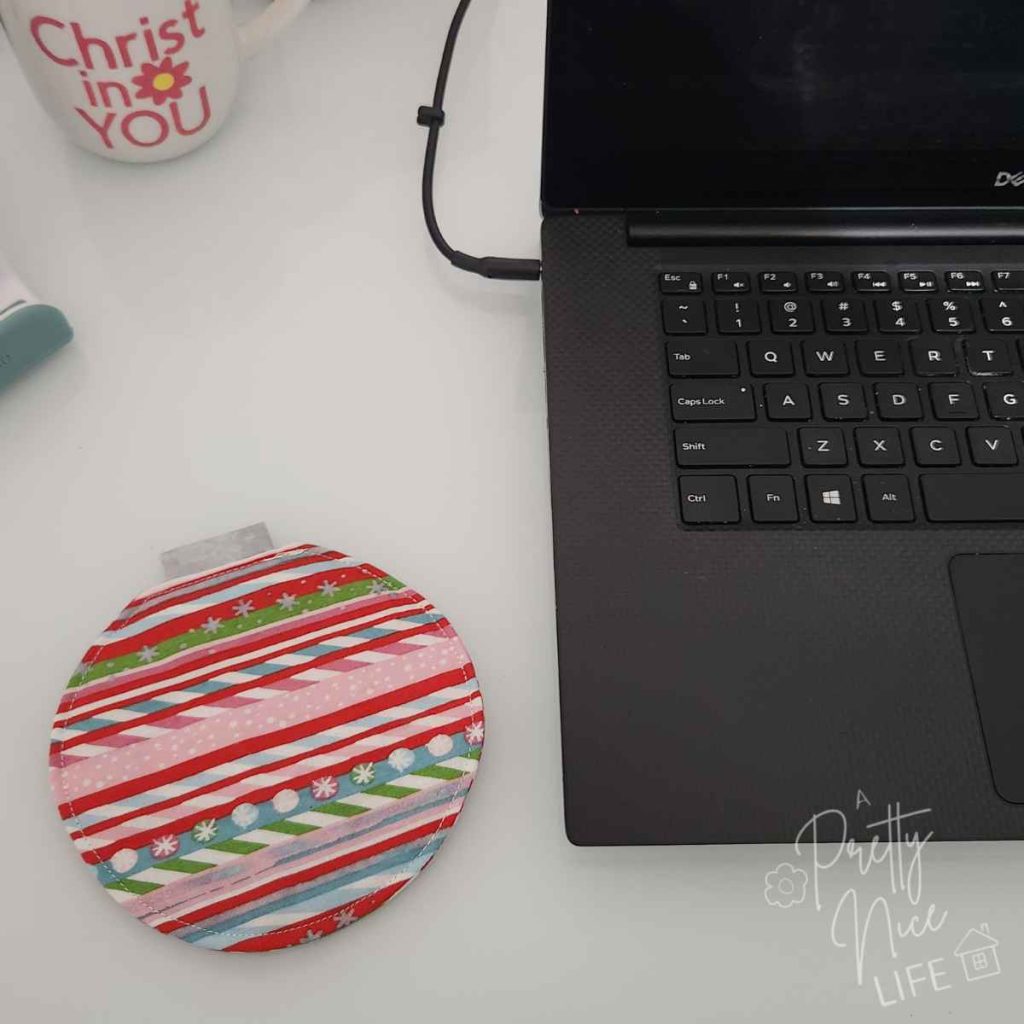
We frequently host Bible fellowships in our home, so coasters are something we use often. I have some great tile coasters our daughter made in school that have Bible verses on them, but I like to supplement them with different fabric coasters for different seasons.
This design is so simple. It hearkens back to a familiar Christmas ornament shape that anyone might hang on a tree or wreath. It isn’t difficult to make if you follow the steps below. It’s so much fun, and these are sew cute!
Holiday Ornament Coasters
A flat, quick-sewn coaster shaped like a glass ornament, with a little cap at the top. There is no hanging loop. The cap sits over the turning opening and closes it, so there is no gap to hand stitch and no curve to fold under. (Quick and easy construction!)
Materials Needed
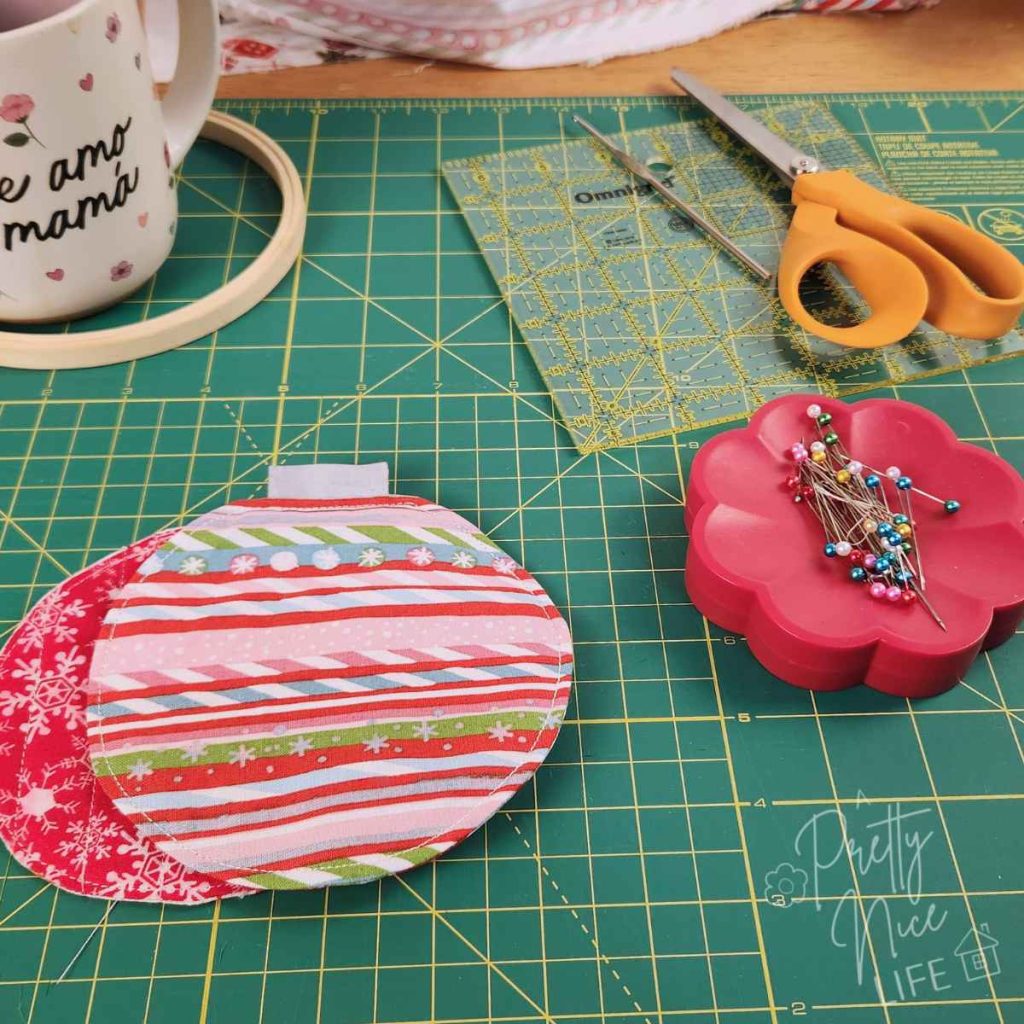
- Two pieces of holiday fabric, at least 6″ square
- One piece of batting, the same size (at least 6″ square)
- One 2″ square of light gray/silver or yellow/gold fabric, for the cap
- A template or something round to trace. Examples: an embroidery hoop (trace the outside edge, the inside edge for a smaller coaster, or just the center ring); a sour cream, spreadable butter, or whipped topping lid; a saucer. The rim of a standard drinking glass is too small.
- Fabric marker
- Pins or clips
- Scissors, and pinking shears (optional)
- Point turner, or a crochet hook
- Iron
- Sewing machine and thread
Directions
- Stack the layers with the batting on the bottom and the two fabrics right sides together.
- With a fabric marker, trace the ornament shape onto the wrong side of the top piece of fabric. If you are using directional fabric, be sure to position the rectangle that becomes the cap at the top of the print. Pin the layers in place. If you aren’t using the template, add a rectangle at the top of the circle about 2″ wide and 1/2″ tall.
- Sew around the circle along the traced line, but do not sew the rectangle. (This will be the opening where you turn the project.)
- Cut around the outside of the stitches with pinking shears, close to the stitches but be sure not to accidentally cut into the stitching. Cut along the line of the rectangle too.
- Turn the ornament shape right side out through the opening. Push out the edges of the circle by running a crochet hook or point turner smoothly along the seams from the inside. Then, working on the outside with your fingers, roll the edge between your fingers all the way around the circle, which puts the stitched edge right at the center of the seam. Alternate between using the tool and your fingers to smooth the edges of the circle. Iron flat if you like; it helps keep the seams in place.
- Fold the raw edges of the opening to the inside and finger press or iron it neatly into place.
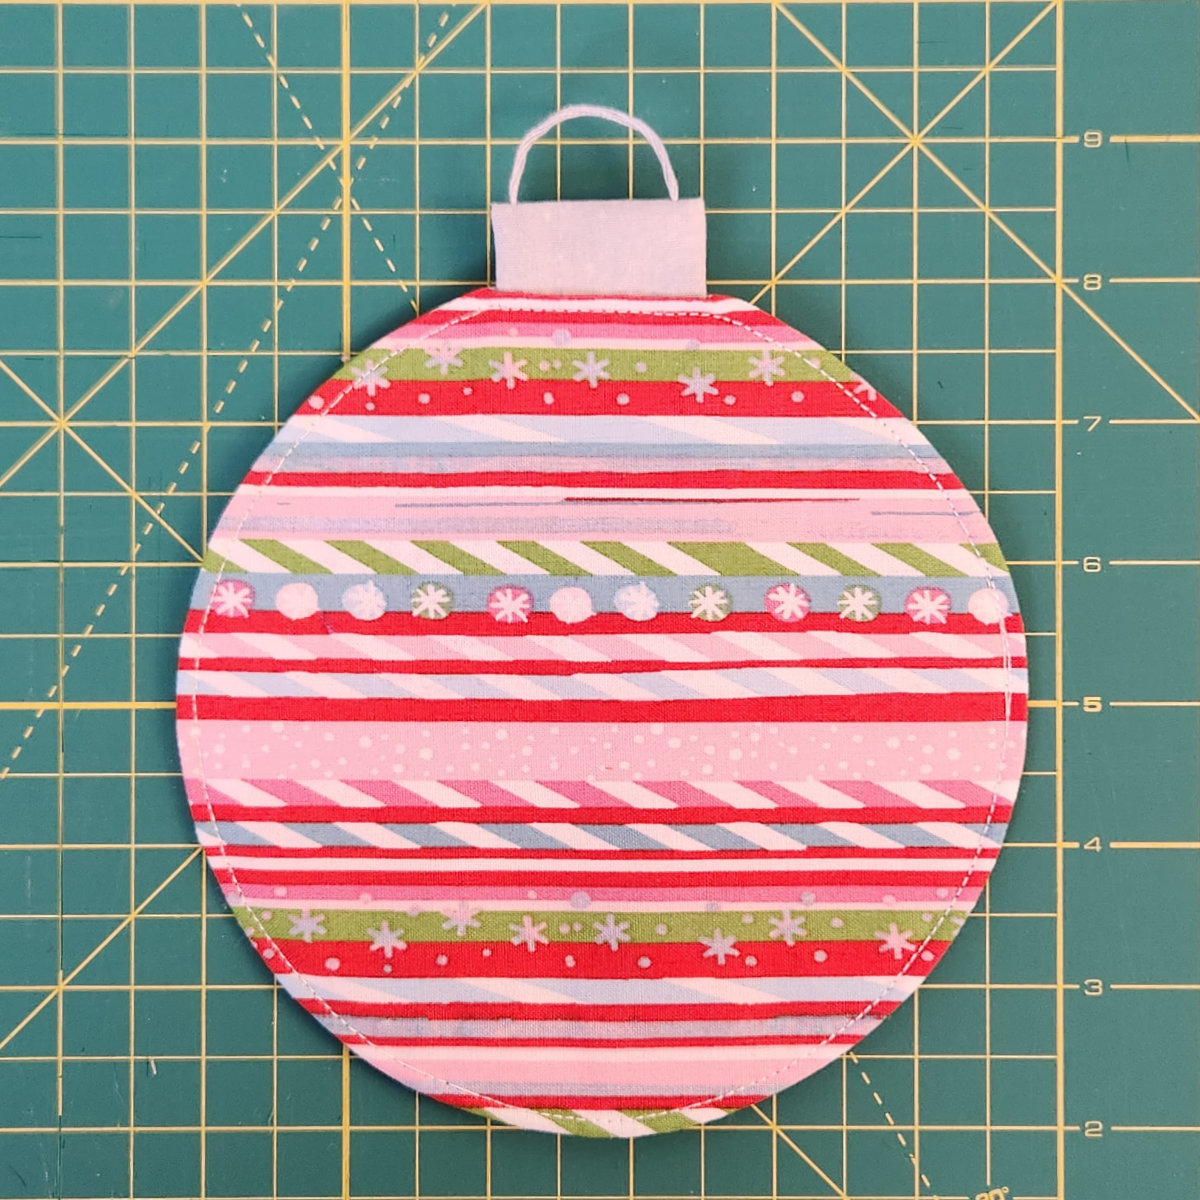
- Fold the 2″ square in half, right sides together. With an embroidery needle and six strands of embroidery floss, sew a loop on the fold line. (See image below.) Sew 1/4″ along the two short ends and leave the long raw edge open. Turn right side out and use the point turner to square the two corners. This becomes your cap.

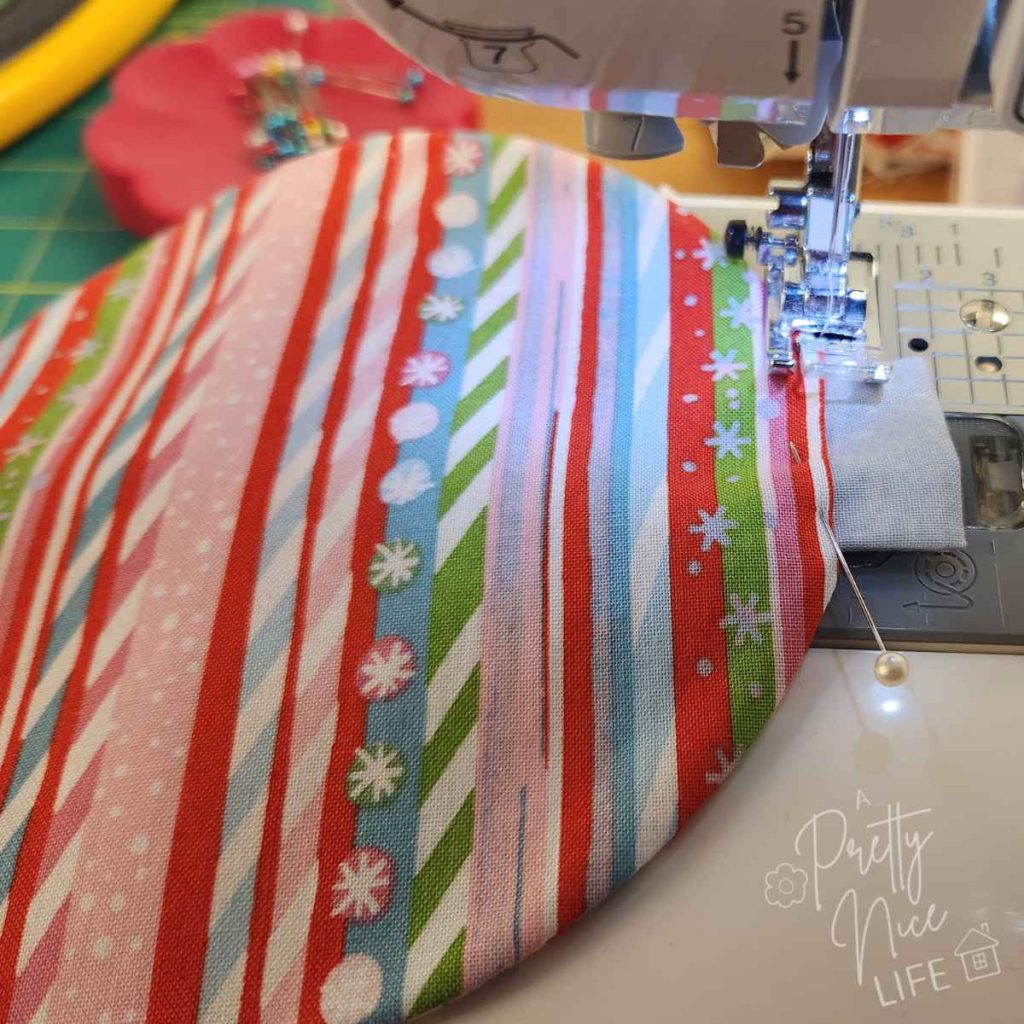
- Slip the raw edge of the cap inside the circle opening and adjust until you like its placement and everything is neat and tidy. Pin or clip in place.
- Carefully topstitch 1/8″ from the edge, across the straight opening, with the cap in place, and continue stitching all the way around the circle back to where you started. Finish with one small back-and-forth stitch.
- Iron the ornament coaster and you’re done!
Variations and Notes
- You don’t have to use the provided template. You can find something circular to trace around, such as the lid of a sour cream container or Cool Whip tub. I used an embroidery hoop that is 5 1/2″ across the outside.
- Fabrics:
- Use the same fabric for front and back or two different fabrics to change up the look.
- Replace polyester batting with cotton batting, fusible fleece, flannel, or denim.
- Simple quilting lines may add a nice touch, especially with higher-loft batting. I preferred the look of my ornament coasters without quilting.
- The same 2″ square worked as a cap for my 5″ round coaster and my 6″ round coaster. You may want to adjust the cap size if you go much smaller or larger. For coasters, less than 4 1/2″ across might be too small to work well.
Related Festive Holiday Craft Projects
Holiday Gifts to Sew – Pretty and Practical
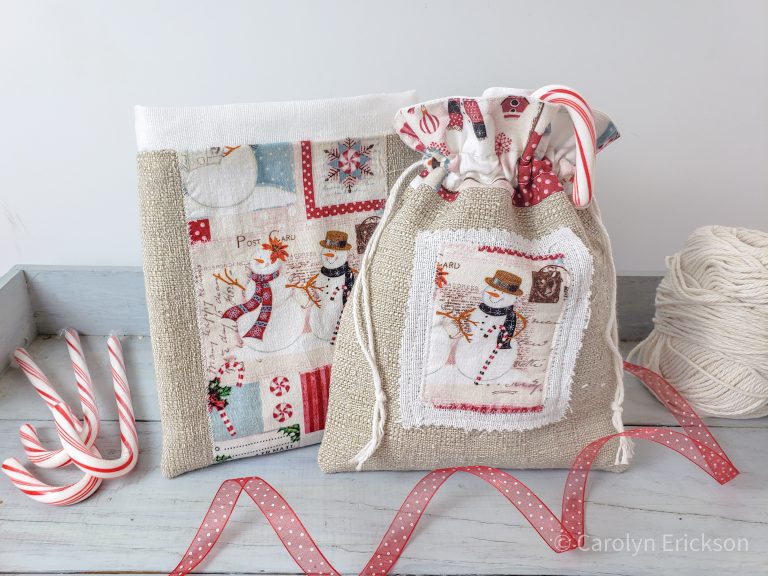
Quick and easy sew: fabric holiday gift bags
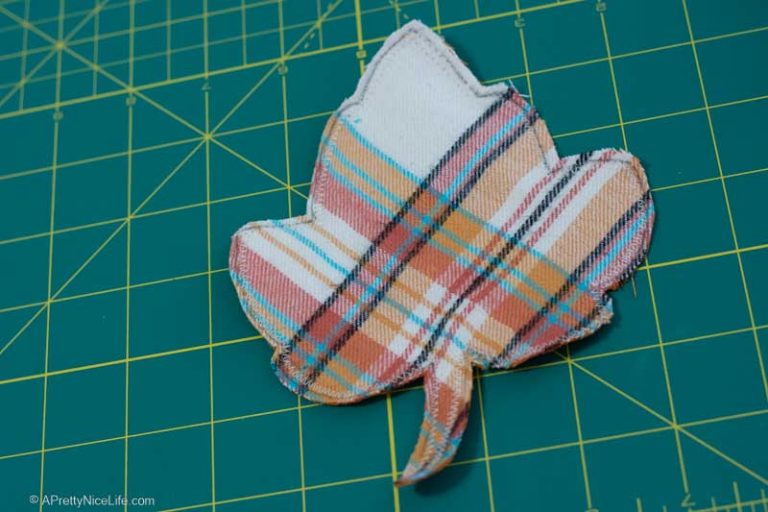
Fall Leaf Coaster Sewing Pattern
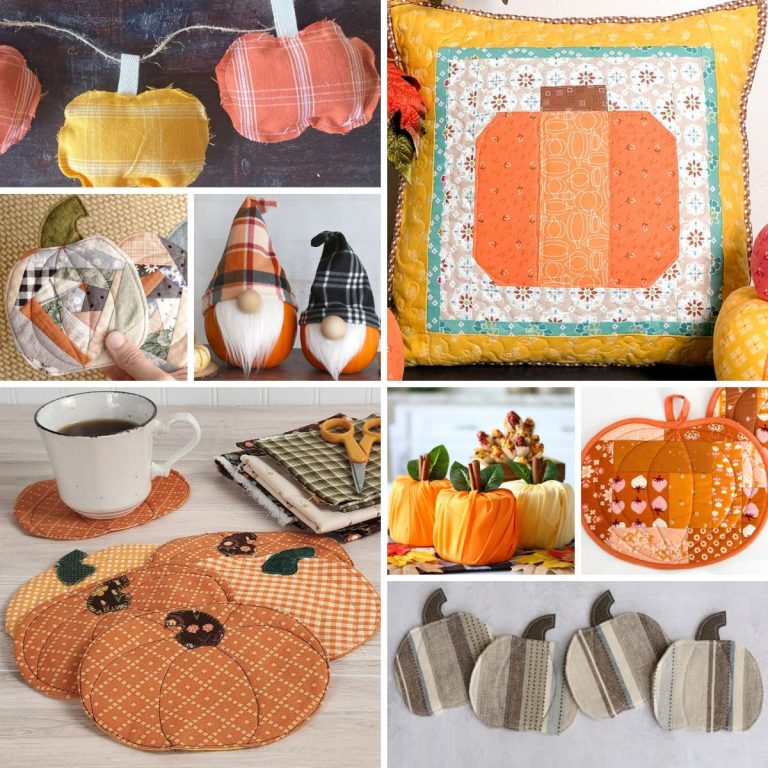
Quilted Pumpkin Coasters Sewing Pattern