


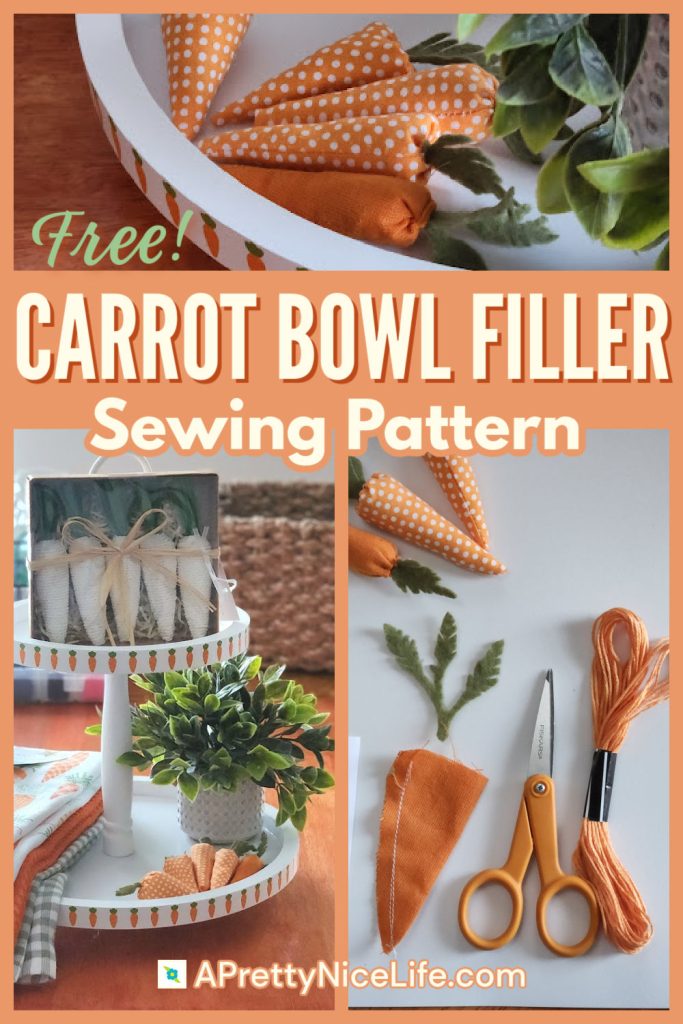
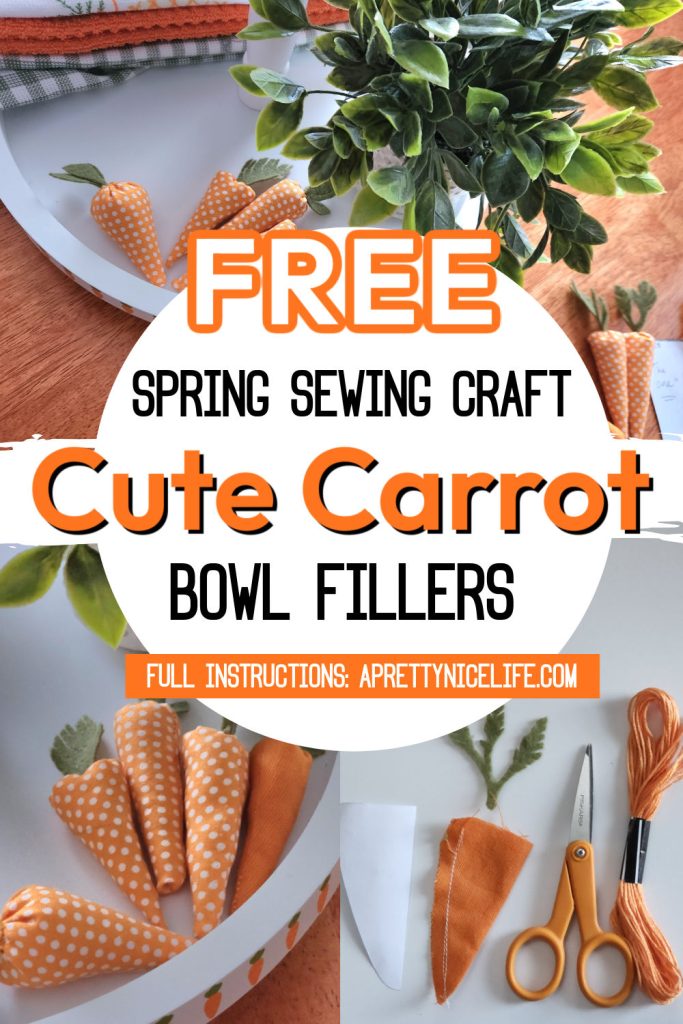
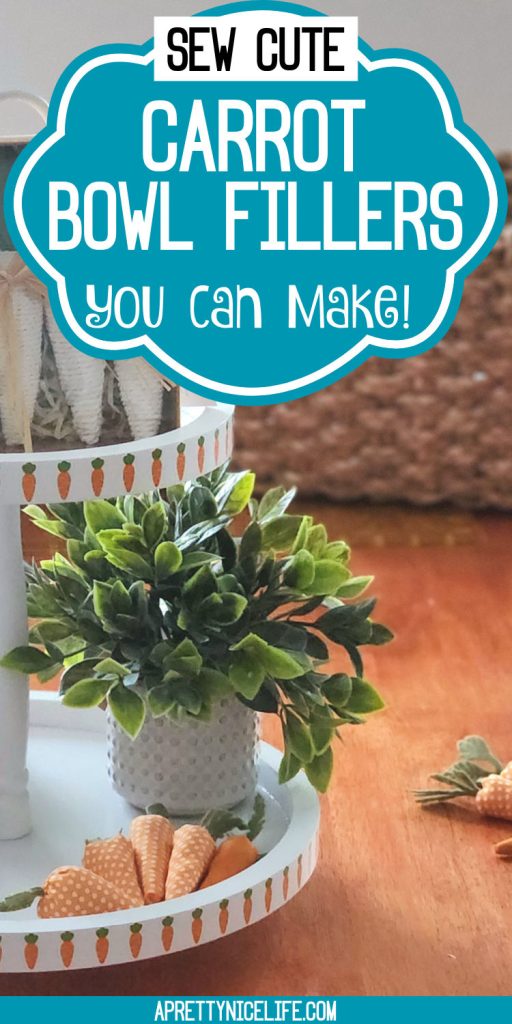
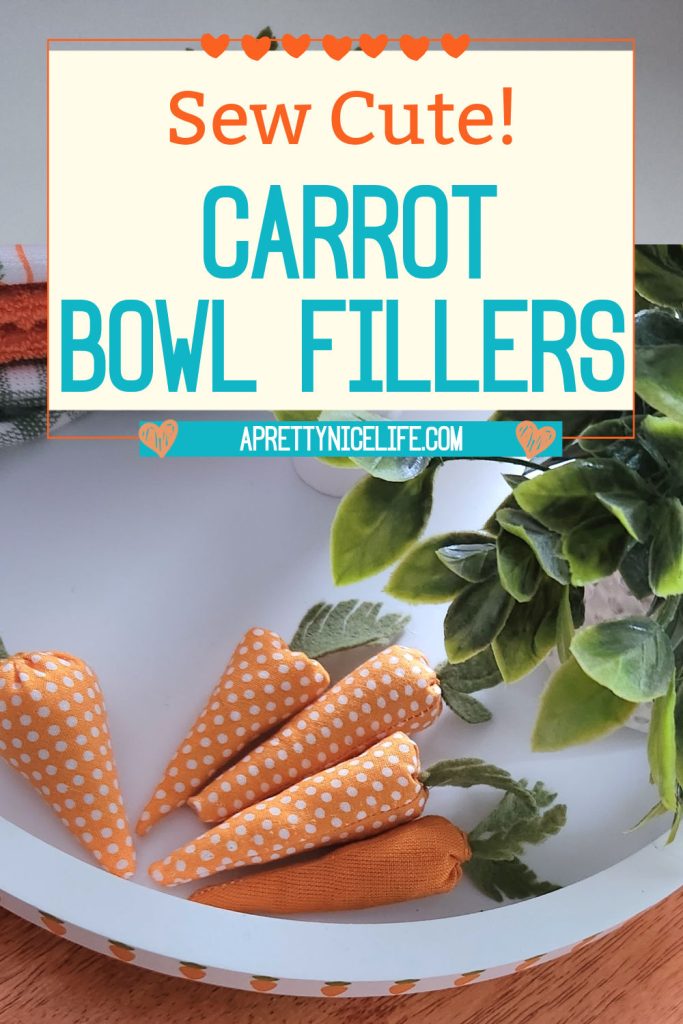
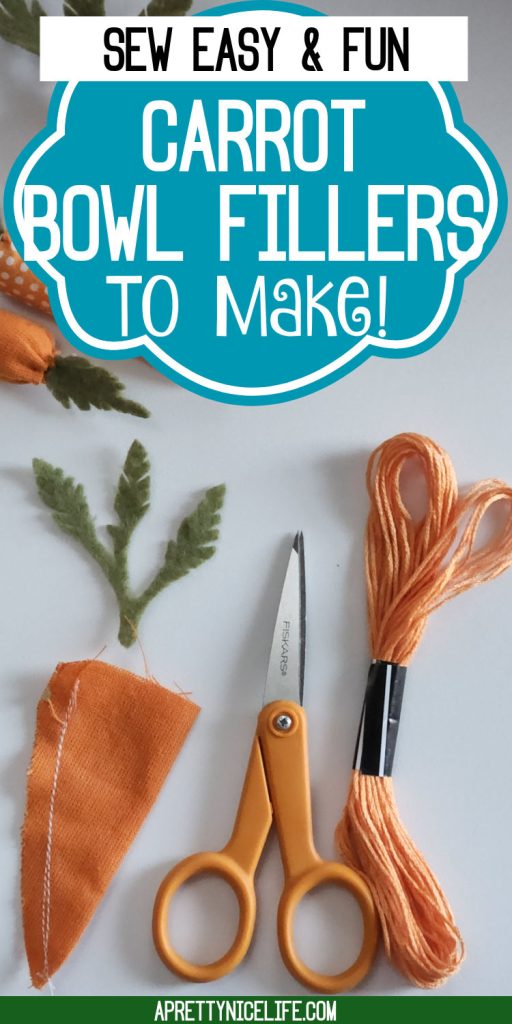
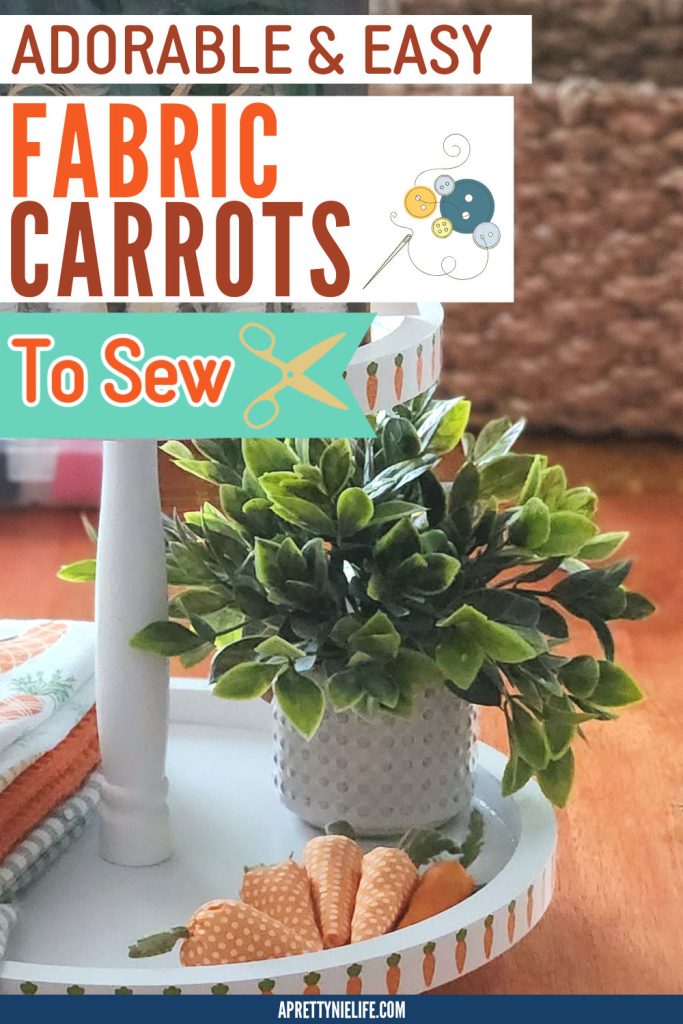
Check out these DIY fabric carrots I made! What a fun spring craft that will bring vibrant color (and extreme cuteness) to your home decor. These cheerful and cute stuffed carrots are an easy beginner sewing project and scrapbuster, and I’ve included a free printable carrot pattern and two different patterns for the felt leaves.
This will be a fun spring craft project. Some will want to add them to Easter craft decorations.
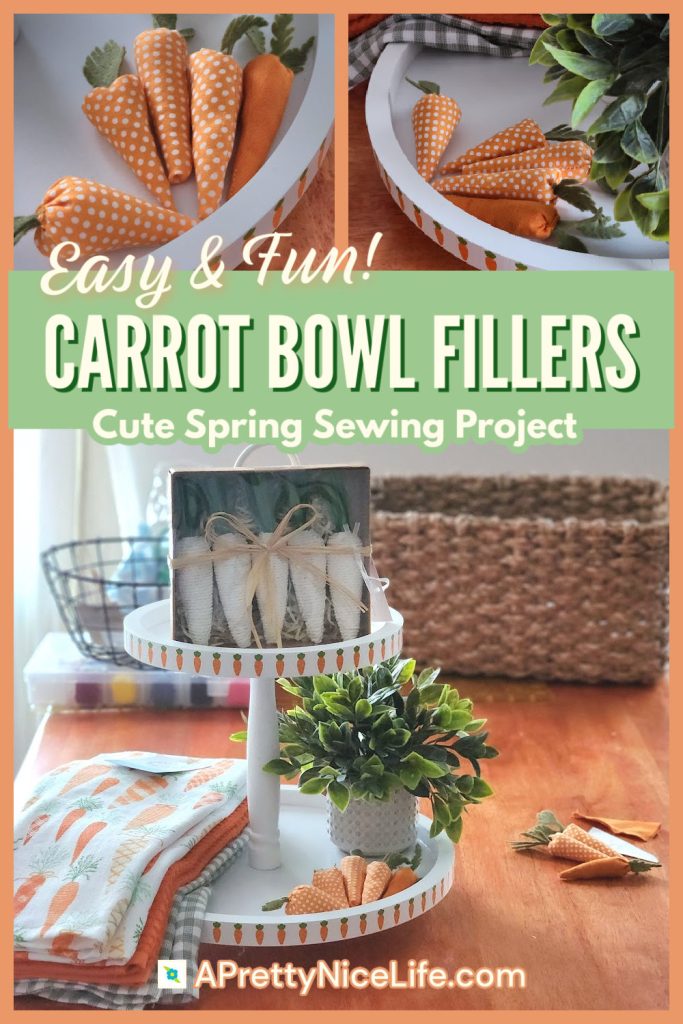
Sewing is optional, as you can do most of this with hot glue if you like, but I just love sewing, so my instructions will be for that. And again – everything is easy to do and no special supplies are required. Why should you make these easy and quick DIY carrots? Because they are fun to make and fun to decorate with.
Also inexpensive. You could buy adorable fabric carrots, but these are easy and cheap to make. But mostly you should make them just because they are fun to make. I mean, that’s why we dye eggs this time of year, right?

Materials needed for fun fabric DIY carrots:
We really don’t need too much for this spring craft. You don’t even need a sewing machine if you don’t have one! The supplies are listed below.

Carrot Sewing Craft
Supplies
- Orange fabric (could be solid, print, or both!)
- Green felt
- Needle and thread
- Fiber fill or other kind of stuffing (you could possibly use scraps, although your carrots would probably look lumpy)
- Scissors
- Point turner of some kind, like a pencil, crochet hook, wooden skewer, etc.
- Orange embroidery floss (optional)
Note that you can use hand-sewing or a machine for these easy diy fabric carrots. I do a mix of both in the instructions below. There’s a running stitch and a regular sewing stitch involved. (Or, as I said, you can use glue if you don’t like to sew, ha ha!)
More cute spring craft patterns:
- Fabric Strawberry Pattern (free printable)
- Easter Basket Fabric Liner DIY (custom liners for your baskets)
DIY fabric carrot tutorial/instructions
So here are the easy-peasy instructions:
Step 1: Print Pattern
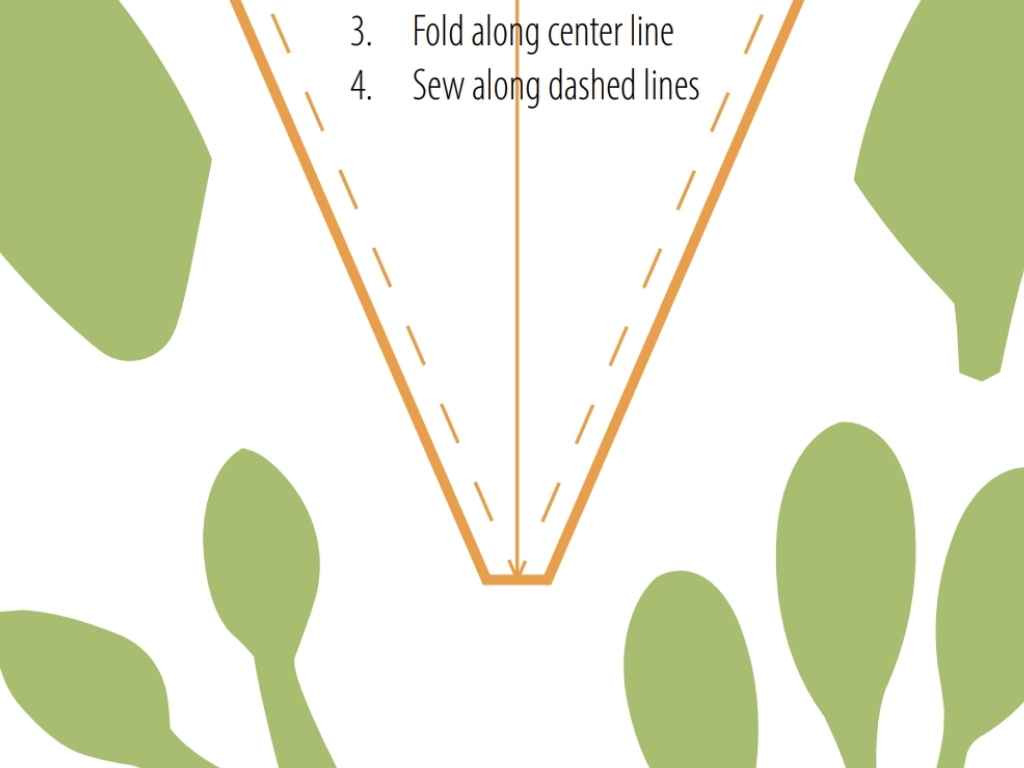
Start by printing out my free patterns for the carrot body and leaves. You can enlarge the patterns to make bigger carrots if you like. These are about 3 inches long when they’re finished, designed to be bowl fillers.
Step 1
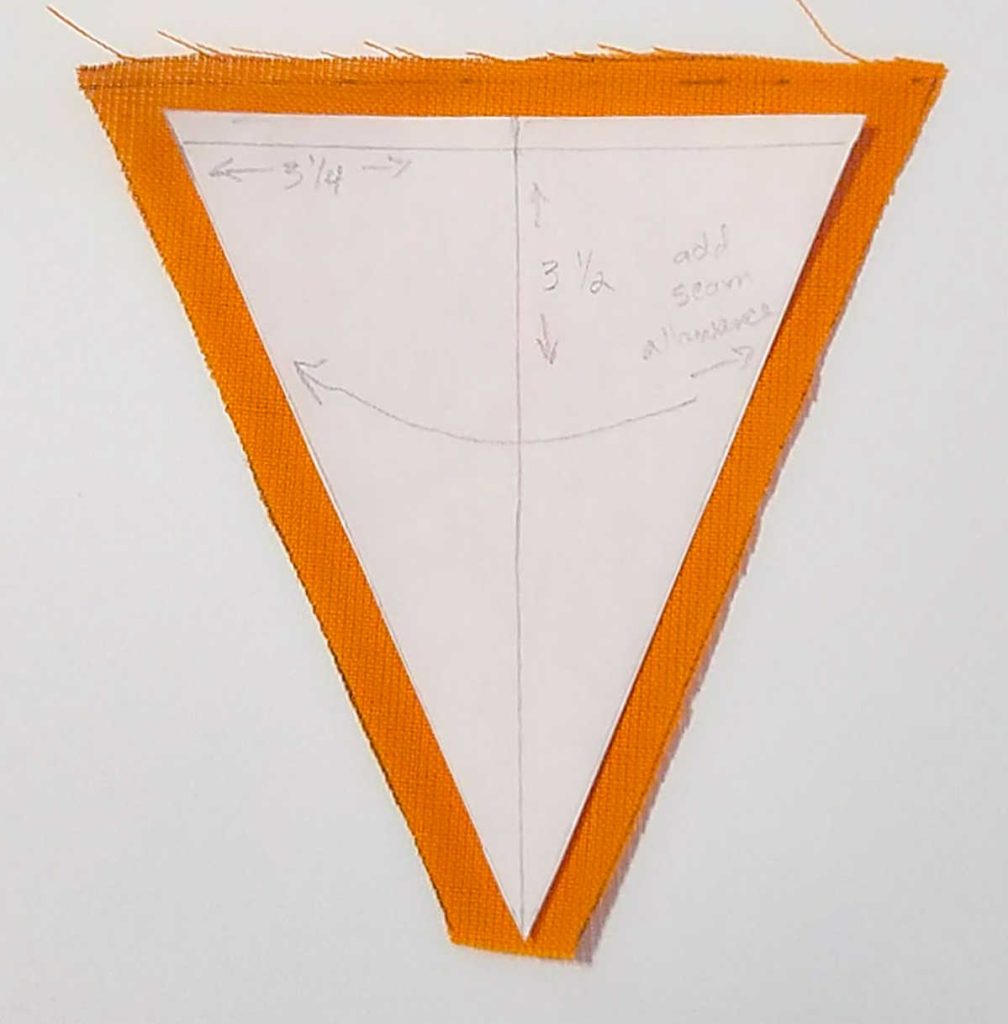
Cut your carrot body out of the orange fabric and use the green felt fabric to cut the leaves. (See my tips for realistic looking leaves at the bottom of these instructions.)
Step 2
Thread your needle, knot one end of the thread, and sew a running stitch across the top of the orange fabric. This is what you’ll later pull to gather and enclose the stuffing, but for now you’re just making the stitch across the top. I leave my needle attached for later.
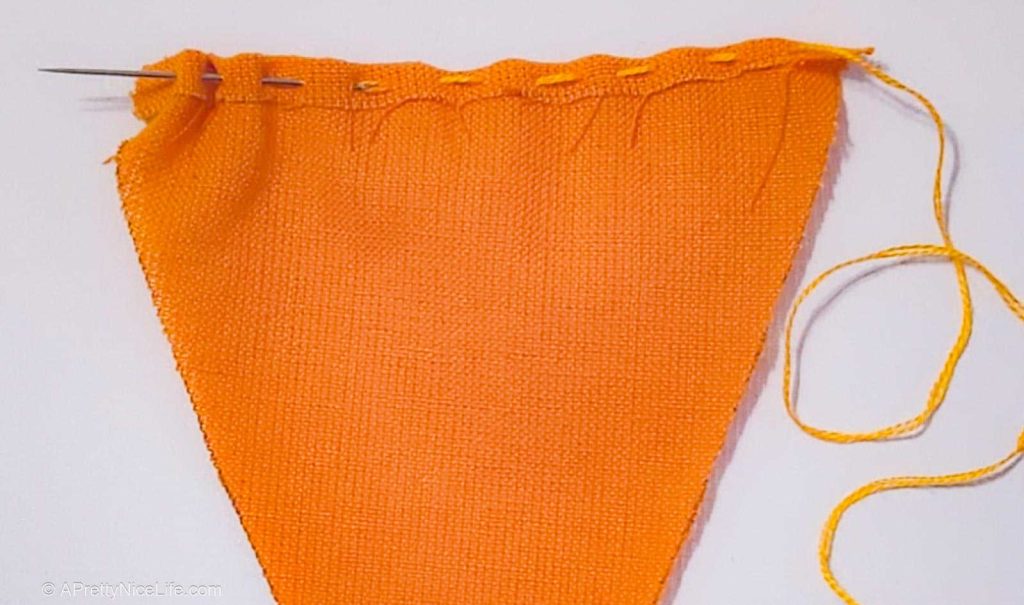
Step 3
Sew long edge closed. Fold your orange fabric in half lengthwise, wrong side out. (i.e. the “right” or pretty face of the fabric will be the inside.) Begin 1/4 inch below your running stitch and use your sewing machine to sew down the long edge of the carrot. I use a 1/4 inch seam allowance, and I do a reverse stitch at the beginning and the end of sewing to secure the stitching.

Step 4
Use pinking shears if you have them to trim the excess seam allowance. Also, carefully clip the excess fabric at the point of the carrot without accidentally cutting into the stitches.

Step 5
Turn carrot body right side out. Use your point turner to turn the carrot right-side out.

Step 6
Stuff the carrot. Get some fiber fill and roll it between your fingers to make a little pointy end to stuff down into the point of the carrot.

I often will “cuff” the fabric to get my stuffing a little closer to the tip of the carrot. This part can be fiddly if you’re making the small size of carrots, so go ahead and fuss with it just a bit. Use your point turner if it helps push the stuffing down to fill the ends.

Step 7
Then finish up stuffing your carrot the rest of the way until it’s topped out. Gather top fabric.

Step 8
Gently pull the loose thread end of your running stitch to gather the fabric closed. Don’t pull it all the way tight yet, because you still need to add your carrot leaves.

Step 9
Stitch stem in place. Push the stem end of your leaves down into the top opening of the carrot and now you can pull firmly on the thread to tightly gather the fabric and close up the gap. Sew a few stitches down into the green felt to secure the leaves, then poke the needle one more time down into the center of the carrot top and bring it back out on the side of the carrot.

Step 10
Pull lightly on the thread that’s now sticking out of the side of the carrot and snip close to the fabric. Once you let go, the thread end will disappear back inside your cute little carrot.

Voila!
You have an adorable bowl filler that’s perfect for your spring decor. Betcha can’t make just one!

Orange you glad you have some pretty fru-fru items you made yourself?
Tip for making realistic carrot leaves: Have you ever seen real carrot leaves? They have a million little tiny, delicate fronds at the end of long straight stems. If you want them to look a little bit realistic, you can carefully make small snips all around the edges of your carrot leaves. I like the look both ways – realistic or just smooth – so just do whichever is most fun for you!


So cute, thanks!