
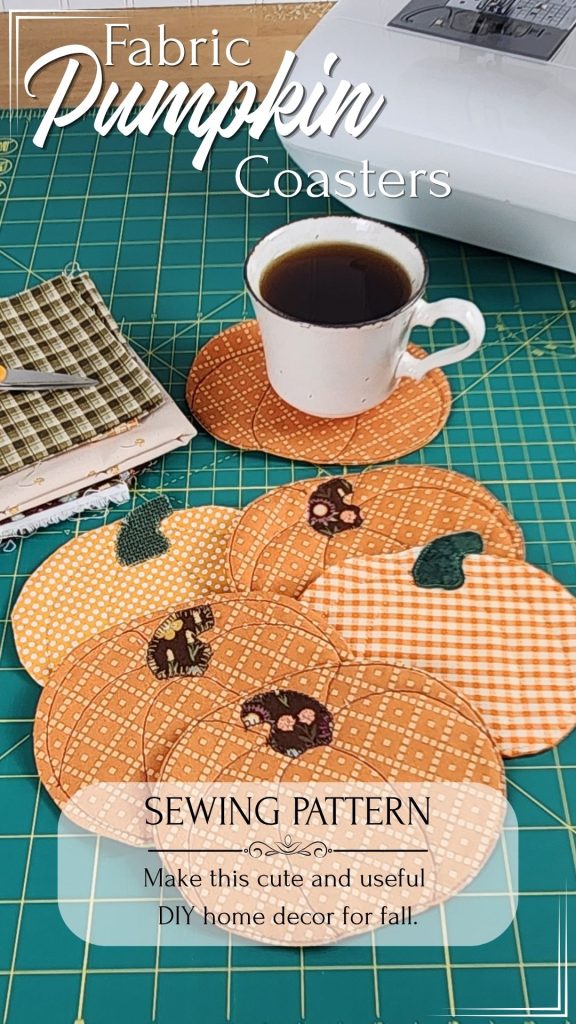
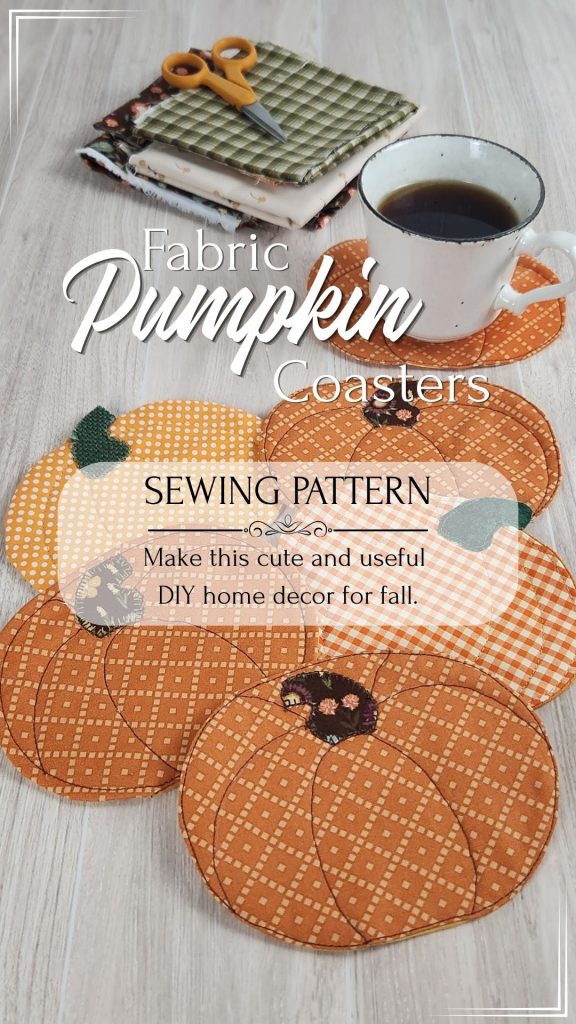
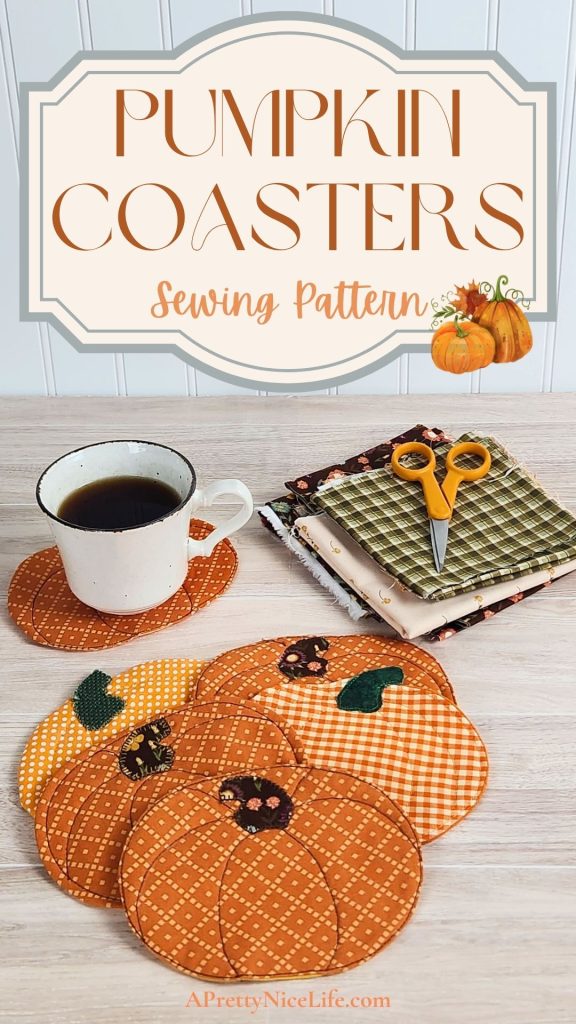
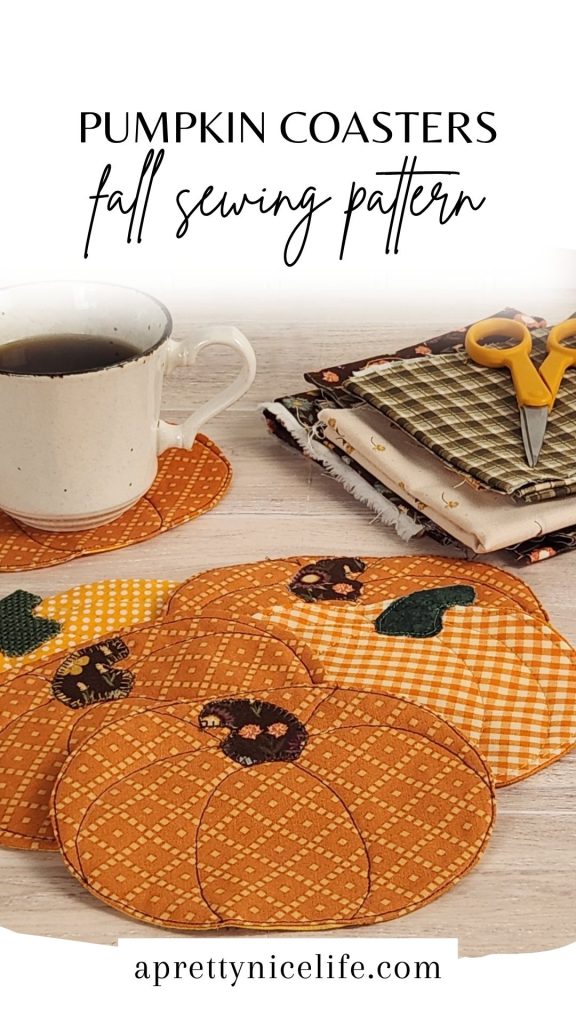
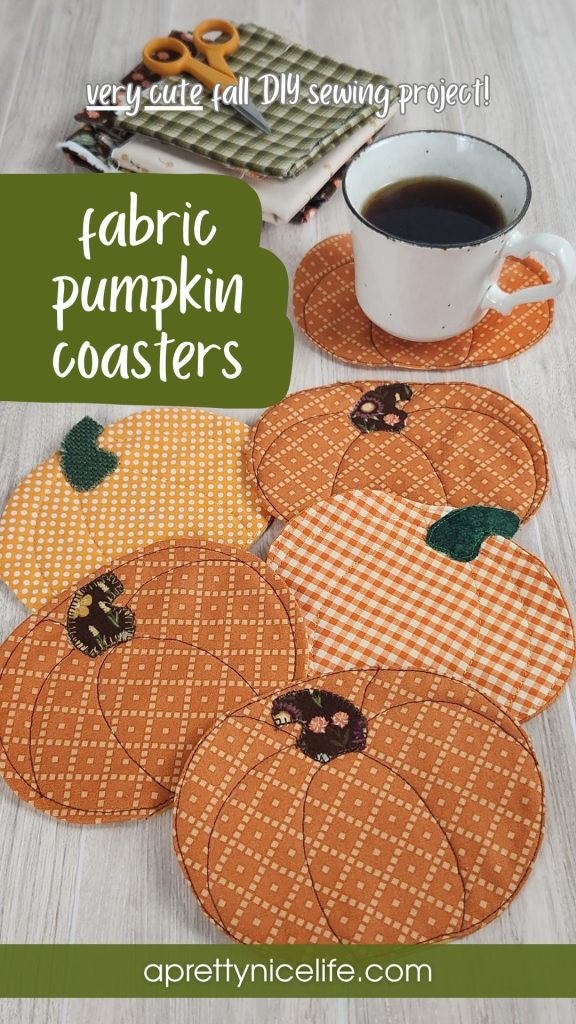
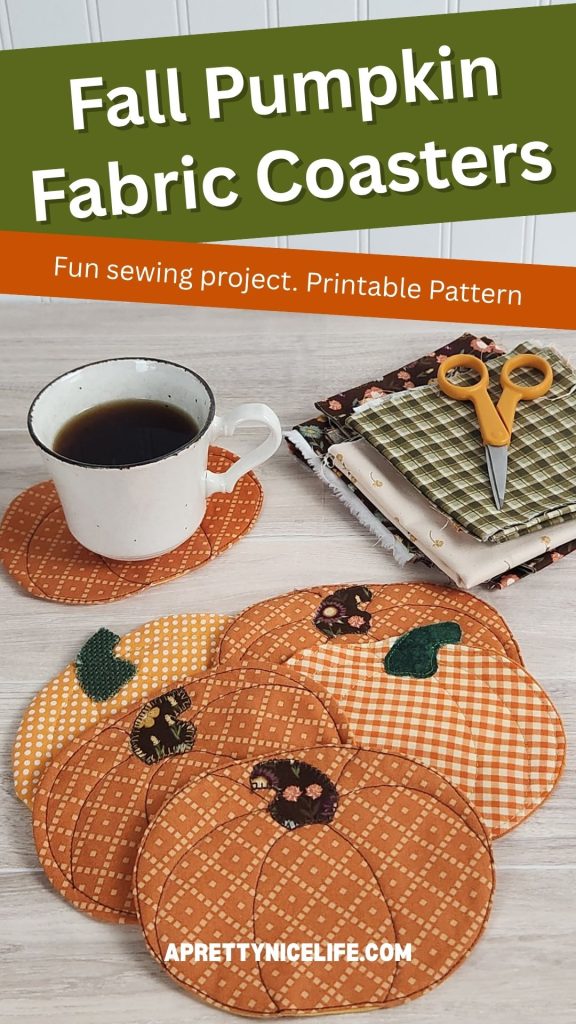
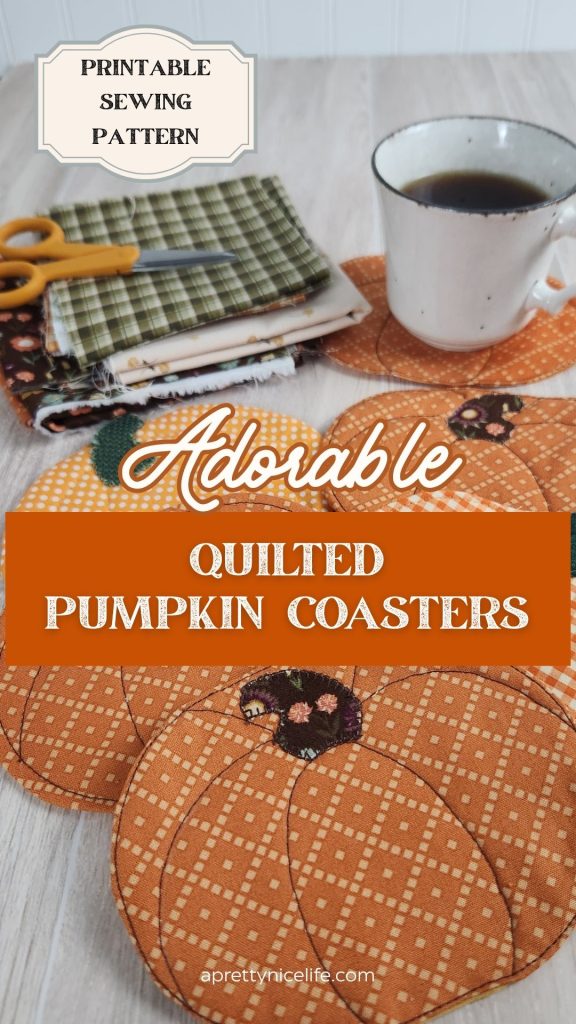
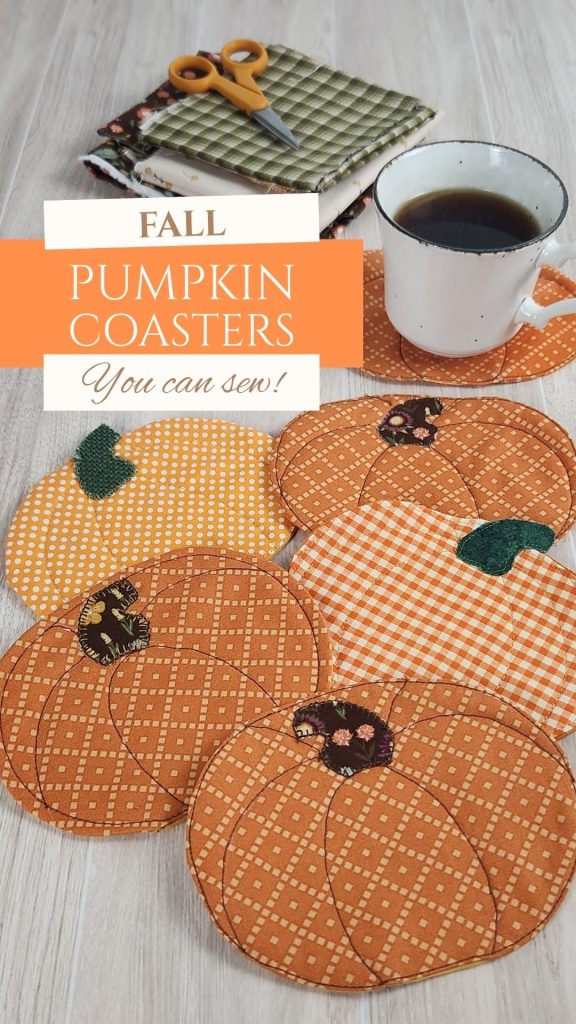
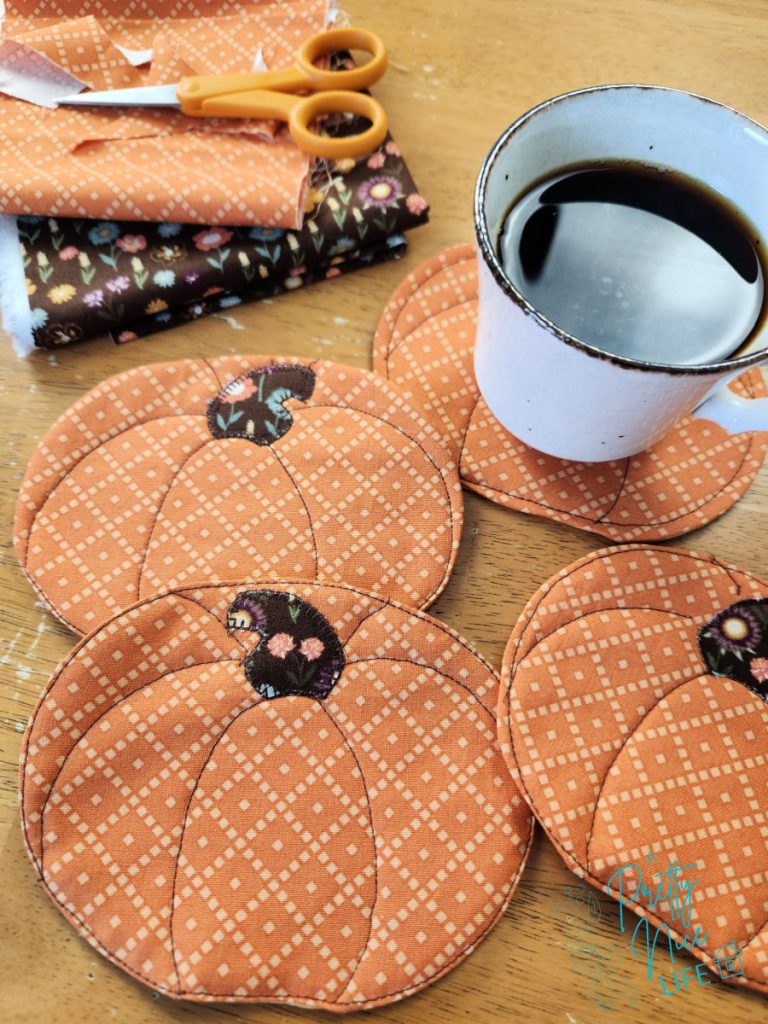
I just love sewing adorable quilted pumpkin coasters! This is a quick and easy sewing project for fall that just requires small scraps of fabric or batting, and brings a fresh, seasonal feel to your home decor!
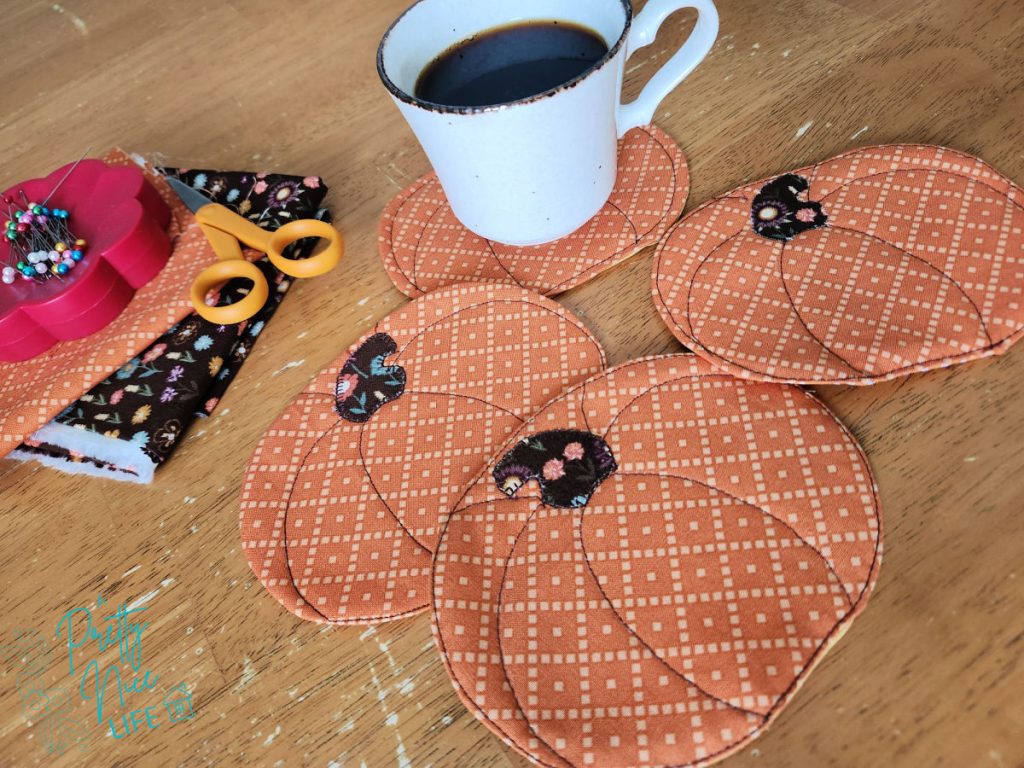
I made these fabric pumpkin coasters about a year ago, and may have gone a little bit overboard, designing every little detail because for whatever reason, I wanted the stem to be inside the circle. This required a certain perspective, so I pored over realistic pumpkin images to come up with my sketch, then my digital design. I absolutely love the result!
One of my earliest versions ended up looking like a basketball. Ha! That will come in handy for basketball season, I guess. So that YOU don’t get basketball coasters when you meant to have pumpkin coasters, I’ve included a link to the pattern below.
These are not only easy, but scrap-friendly. I used batting for the center layer, but you could use flannel, fleece, or even felt. The type of batting is not really important.
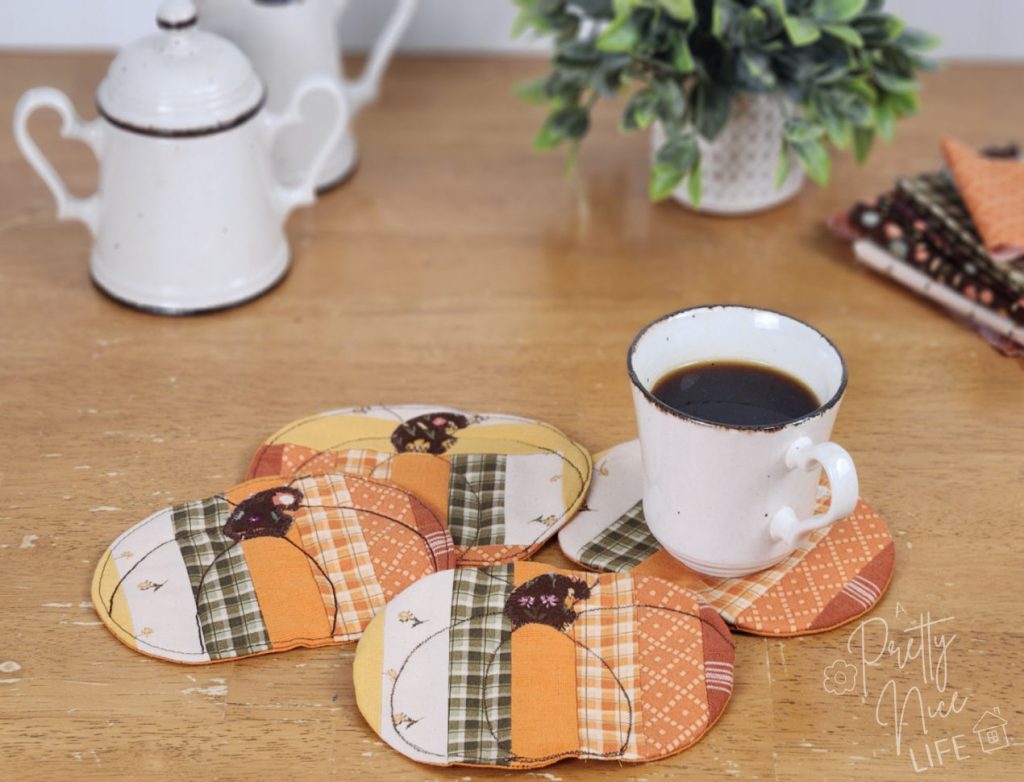
One of the things I love about sewing up a batch of seasonal fabric coasters is that the designs you can come up with are nearly limitless. They add a colorful seasonal flair to your decor, and they let you get in a little fun sewing time. If you know me, you know I rarely take on big sewing projects. I like to get in the sewing room, play with some pretty fabrics, and come out the other end with something super-cute to show my friends and to use! A set of these would also be a nice fall gift.
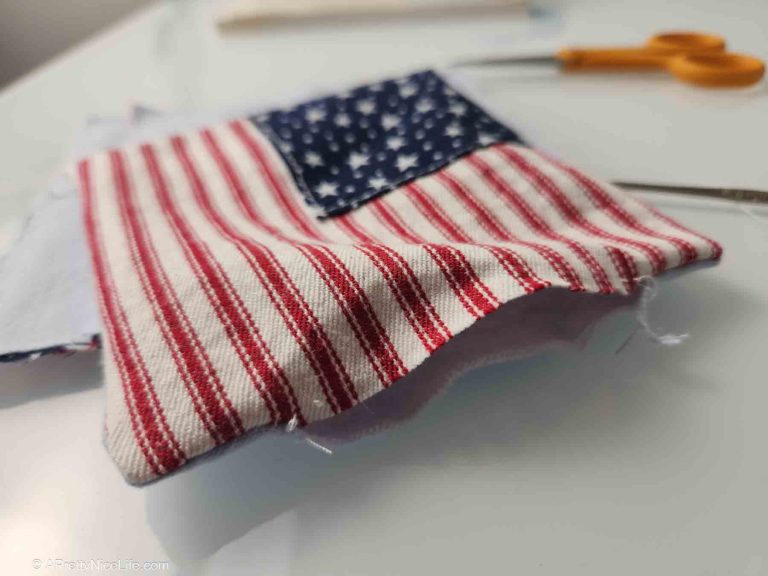
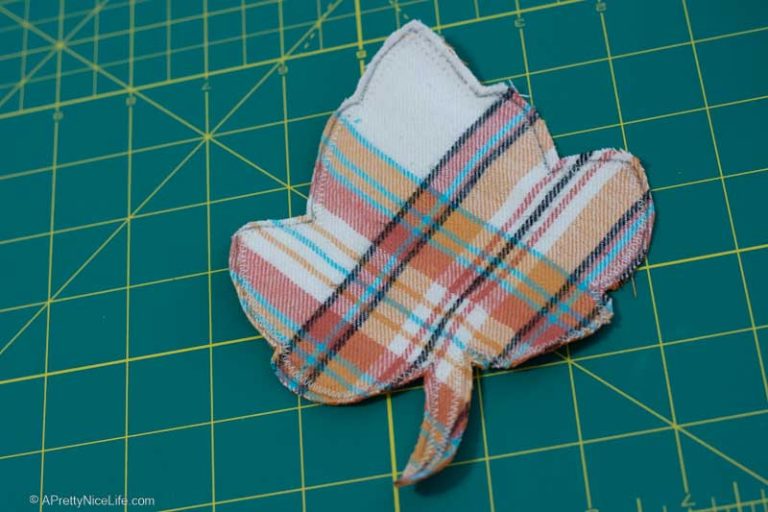
If you love sewing fabric coasters as much as I do, I’m trying to build a whole collection here at APrettyNiceLife. So far, I have American flag coasters and fall leaf coasters. If you’re interested in seeing more Fall Sewing Projects or Pumpkin Sewing Patterns, those links will lead you to more.
Materials Needed
Materials below are to make ONE fabric pumpkin coaster, but you’ll absolutely want to keep making more and more of them.
- Two scraps of orange or fall print fabric (you can mix and match colors), larger than 6″ x 5″ each.
- the same size layer of polyester or cotton batting, flannel, fleece, or felt
- a small scrap of green or brown fabric for the stem
- thread to match (or contrast!) the fabric
- fabric marking pen or chalk
- basic sewing supplies: scissors, pins, iron, sewing machine; optional: glue stick or double-sided paper-backed applique adhesive to hold the stem in place while you sew it down
- pumpkin coaster pattern in my post
Pumpkin Coaster Sewing Pattern
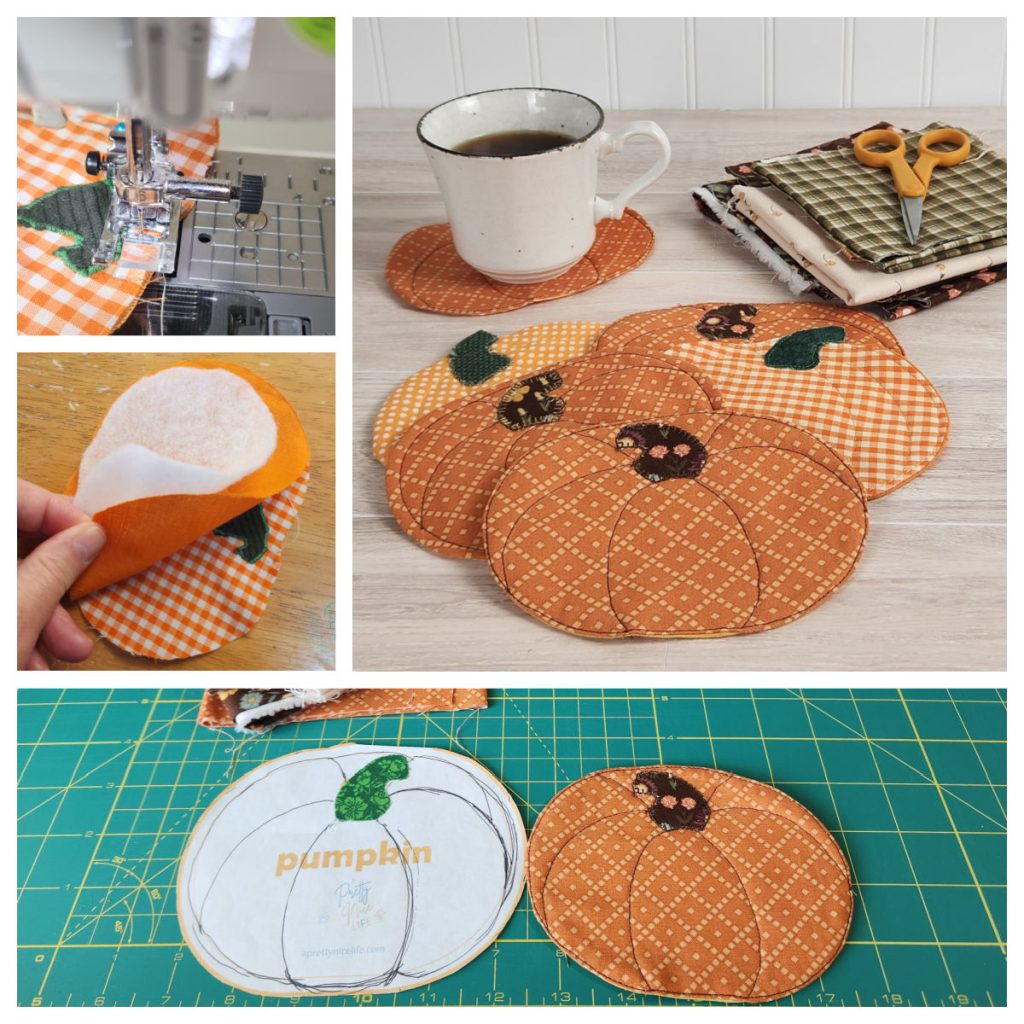
The pattern includes three pieces: the main pumpkin body with a stem placement dot, the stem, and rib line tracing stencil to mark your quilting lines.
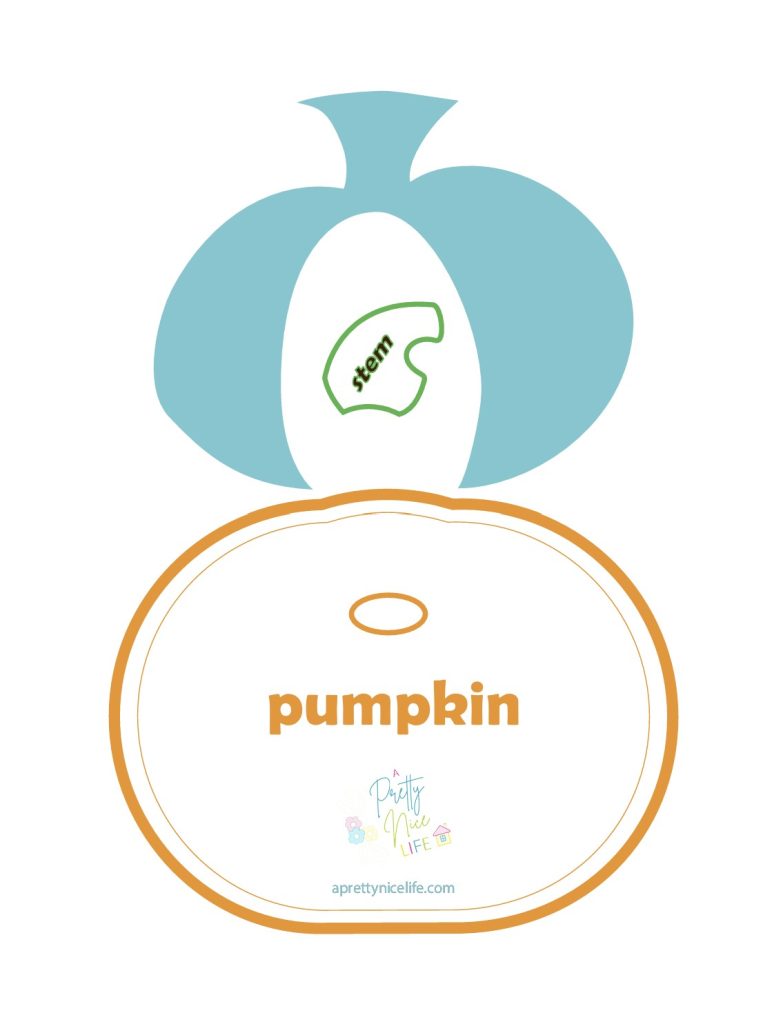
At 100%, the pattern piece is 6″ x 4.75″. Your finished coaster will be smaller than that, at about 5.25″ x 4″, which is just the right size for a coffee cup. You can scale the pattern up or down to make the size you want. It’s your coaster.
Make a Quilted Pumpkin Coaster Step-by-Step Instructions
Step 1: Print and cut your pattern pieces.
(Don’t use your fabric scissors for this part, of course. You probably know this, so it’s just a reminder. Cutting paper will dull your good fabric scissors fast.)
Set aside the teal stencil piece; you’ll use it later to draw the rib lines on the pumpkin (so it doesn’t look like a basketball). Keep it somewhere you can find it again.
In the main pumpkin piece, the small oval near the top center is meant to be cut out and traced onto the top of your coaster. This is to help you position the base of your stem piece. I’m calling it the stem placement dot.
Step 2: Cut Your Fabric and Attach the Stem
For each coaster, cut:
- 2 pumpkin shapes from fabric (front and back — they can match or just coordinate)
- 1 pumpkin shape from the batting or flannel
- 1 stem from a small scrap of fabric
(You can use your fabric scissors for this part, ha ha.)
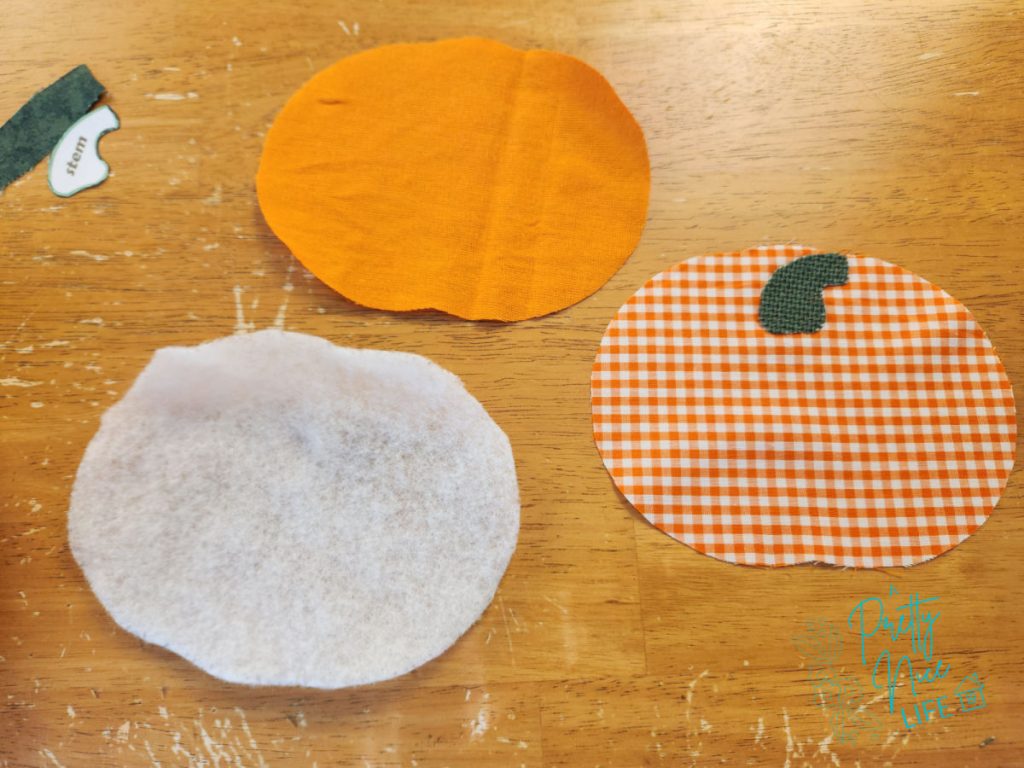
Step 3: Attach the Stem
After your pieces are cut, position the stem on the top fabric. Try to keep it at least 1/4″ away from the edge so your stem doesn’t end up in the seam allowance.
Applique adhesive is nice for this, or you can lightly baste it with a couple dabs with a glue stick. (Don’t use a lot of glue or you will gum up your needle.) Use a raw edge applique technique to sew the stem to the pumpkin shape. This could be with a zig-zag stitch, satin stitch, or straight stitch. Use whatever method you’re most comfortable with and go slow. (I started with straight stitch on my first few pumpkin coasters, and they look great.)
Step 4: Layer the pumpkin fabric pieces
Line up the fabric pieces and stack the layers in this order:
- Top or front piece on the table, right side UP
- back fabric piece right side DOWN
- batting on top
Pin or clip around the pumpkin shape to hold all three layers together.
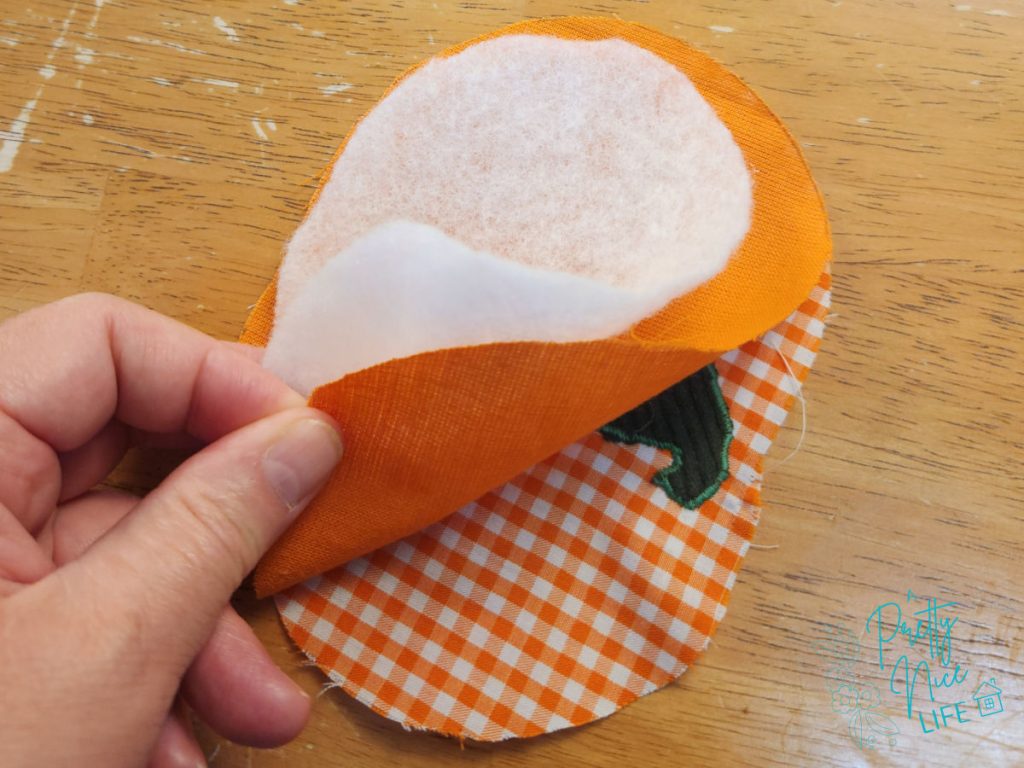
Step 5: Sew Around the Perimeter
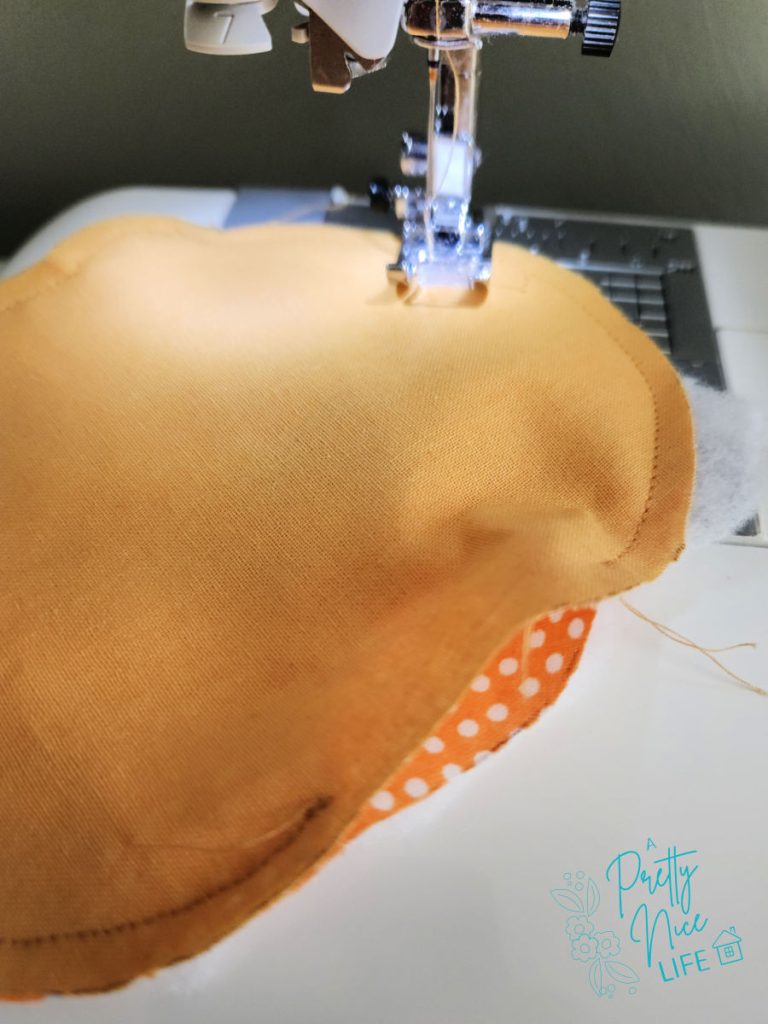
Use 1/4″ or larger seam allowance to sew almost all the way around the pumpkin shape, avoiding the stem and leaving a 2″ gap at the bottom of the pumpkin. Backstitch at the start and stop to secure. Just take your time as you sew around the curve. Slow and steady wins the race.
Step 6: Pink or Clip Around the Curve
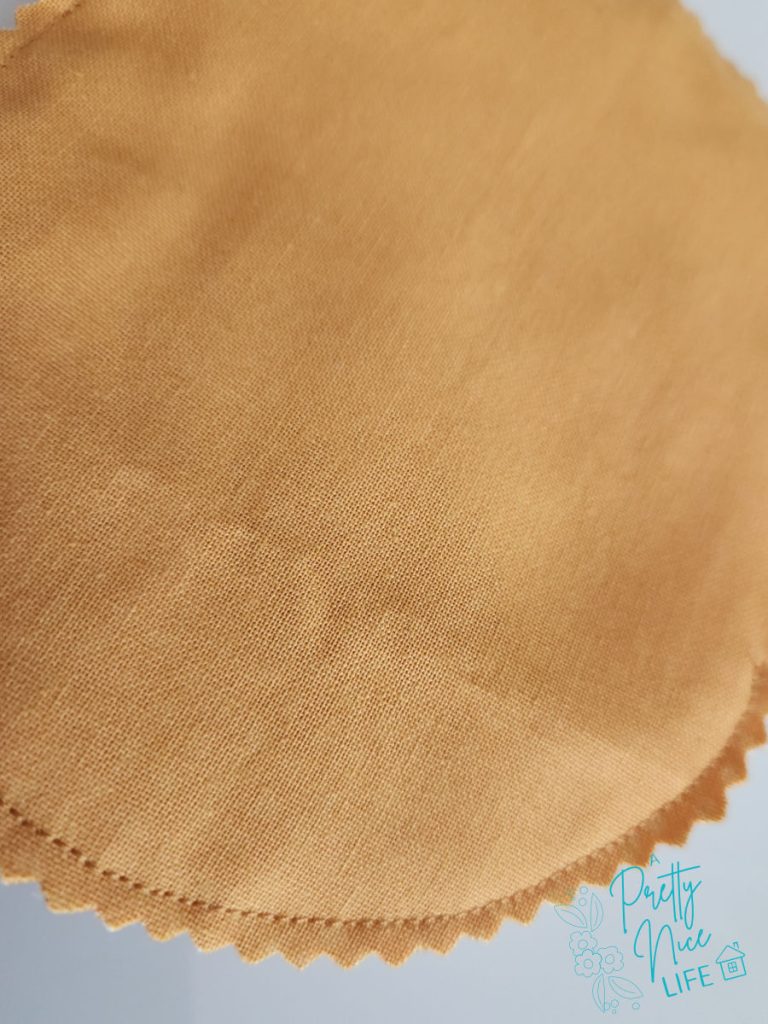
Use pinking shears to trim the seam allowance, being careful to avoid cutting into your stitching. Alternatively, you can use small scissors to make tiny snips into the seam allowance all the way around. This step will help your edge be crisp instead of lumpy, and the coaster will lay smooth when you turn it.
Step 7: Turn Right Side Out and Press
Reach into the gap you left and gently pull the coaster right side out. Work your fingers around to poke out the entire curved edge fully. I sometimes use a larger crochet hook for this part.
After you turn it, it will be wrinkly. Give it a little press with the iron, taking extra care to fold under the 1/4″ hem on both top and bottom raw edges of the opening. You’ll close that gap in the very last step.
Step 8: Trace the Rib Lines
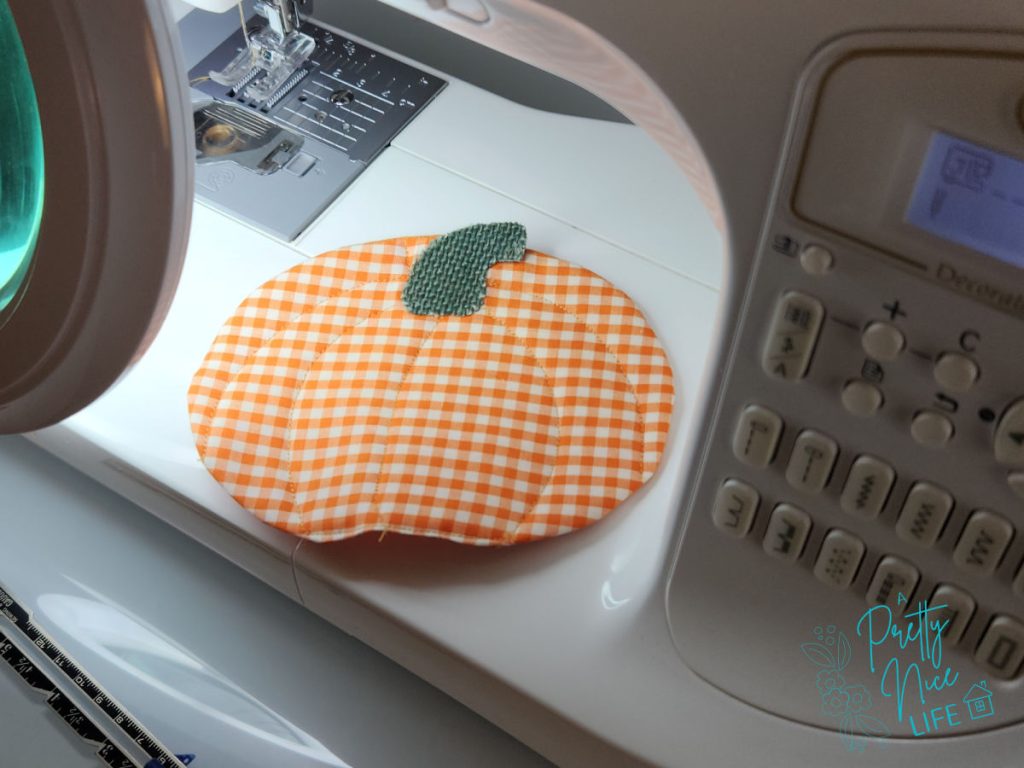
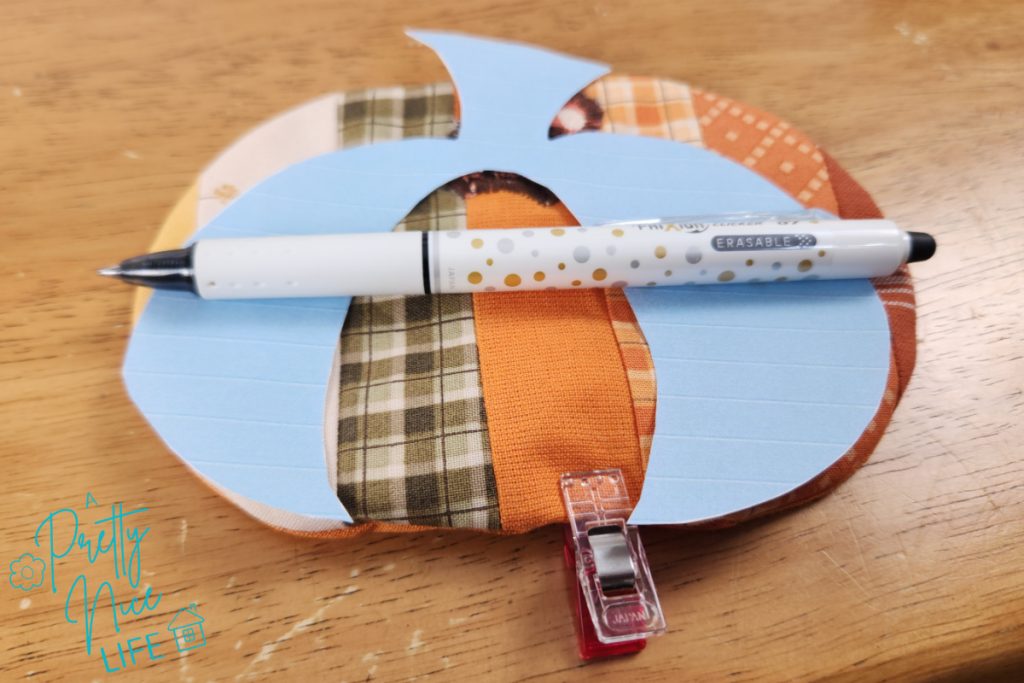
Position the teal pattern piece on the top layer of fabric where you want it and trace the pumpkin lines. My favorite way to do this is with a Frixion heat-erasable pen because the lines disappear the next time you iron it. Chalk will work too, but it might not be as easy to see.
The picture below shows my pen and the rib lines stencil cut out of paper.
Step 9: Machine Quilt the Rib Lines
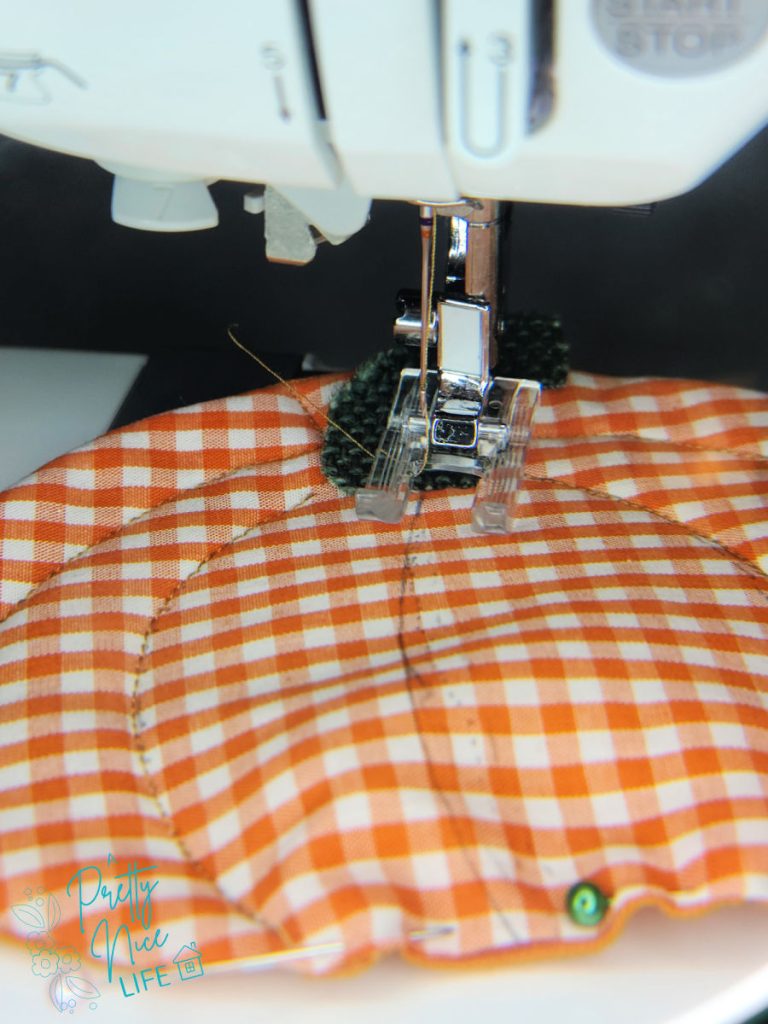
Increase your stitch length slightly and sew along each of the traced rib lines with a straight stitch, going slowly and keeping your stitching right on the line. I used contrasting brown thread to make the lines obvious (a detail that both of my male “testers” said was important). These defined lines help make it look like a pumkin and not just a big orange oval. I also go around the edges of the stem to help define it.
Step 10: Topstitch Around the Edge to Finish
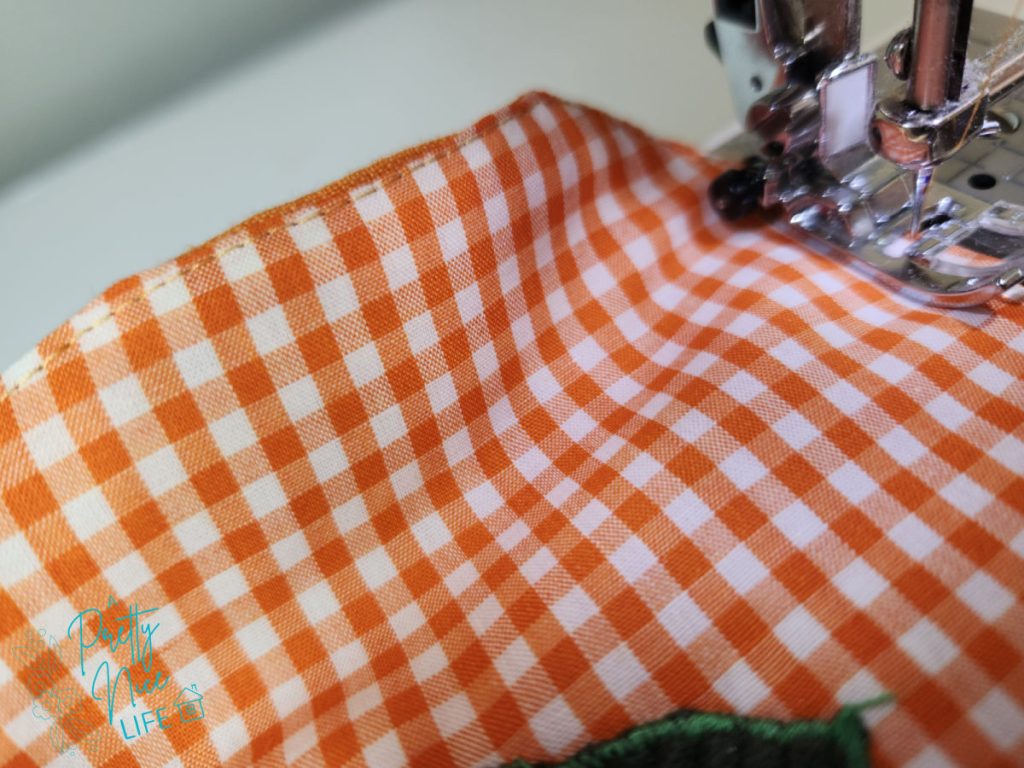
You’re so close! All that is left is to enclose the gap you left earlier and topstitch around the edge. With the stitch length still increased (gives it a pretty look), topstitch near the edge, all the way around the pumpkin in the contrasting thread color.
And now start back at step 1 to make more pumpkin coasters!
Tips and Notes:
- This is a GREAT scrap buster project. You need very little fabric per coaster, and the fabric doesn’t even all have to be the same color or print.
- I’ve made these in gingham, polka dots, solids, and other prints. I have even made them in turquoise. I’ve used brown scraps, green corduroy scraps, and even burlap for the stems. You can really have fun varying the look of your pumpkins.
- I personally recommend making one the first time, then batching whole sets. Cut out multiple pieces at once and run them through each machine step in a row. Saves time and is fun.
More Coaster Sewing Projects
- Easy DIY American flag coasters
- Fall leaf coaster sewing pattern
- Ornament Coasters (Coming soon.)
Also see: Fall Sewing Projects, Pumpkin Sewing Projects, and Holiday Gifts to Sew
These are adorable! Where is the pattern please? I cannot find the link.
Thank you, Bridget! Your kind words made my day. I intended to add the pattern to the library last week but hit a snag. I will send it to you by email!
Can you send me the pattern too?
Yes, absolutely. Sent! 🙂
Hope you love making them.