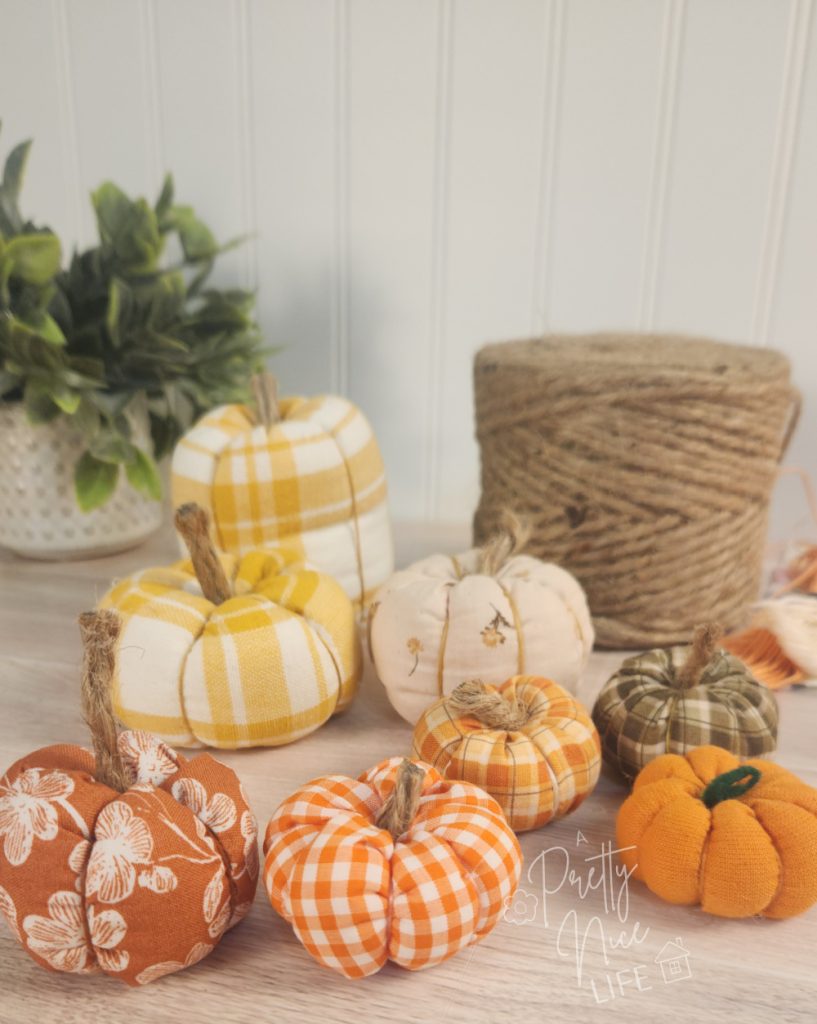


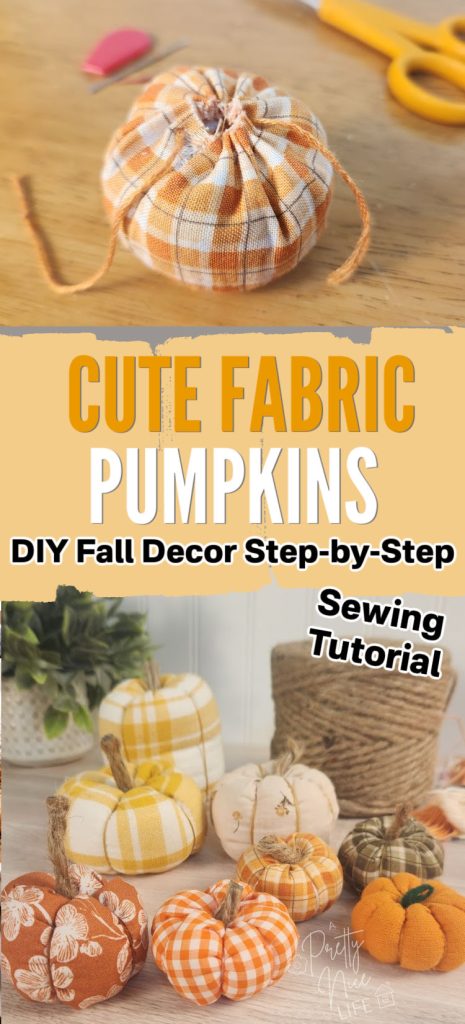
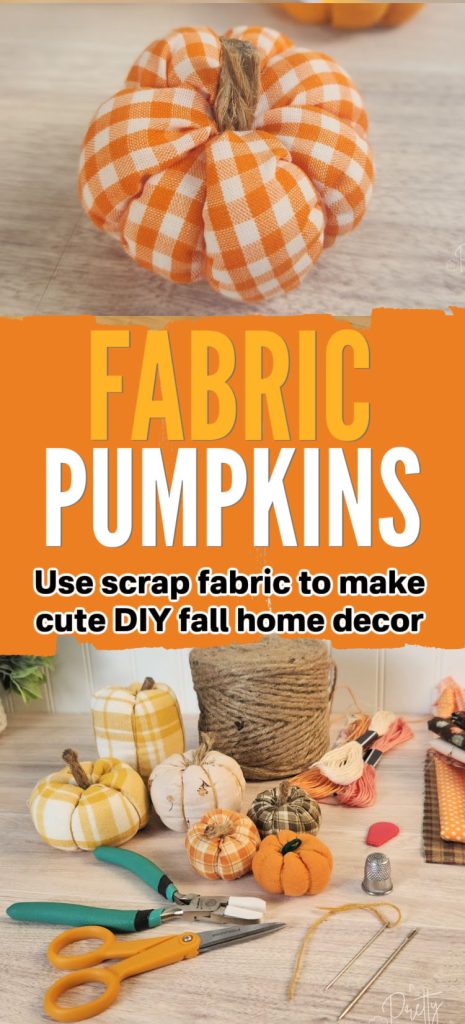
Learn how to make these cute stuffed fabric pumpkins for your fall home decor! DIY sewing pattern tutorial included. Use any scrap fabrics you have on hand, some sturdy thread or embroidery floss, some felt, twine, cinnamon sticks, or twigs for the stems, and basic sewing supplies.
Making fabric pumpkins is one of those projects that looks like it takes a lot of effort but actually goes pretty quickly once you understand the basic technique. And these cute little pumpkins are a perfect use for fabric scraps.
I’ve made different versions of these cute fabric pumpkins over the years. There is one way of making them that uses scrap-fabric ovals you cut out and sew together, and there is another way that just uses a rectangle of fabric. Obviously, the quicker way is to use a rectangle of fabric, and it’s just as cute, in my opinion. Tbh, I think both ways produce adorable looking pumpkins and I love them so much.
Fabric pumpkins are small stuffed decorations sewn from a single rectangle of scrap fabric. To make one, sew the rectangle into a tube, stuff it, then use embroidery floss to gather both ends closed and pull the thread through the center repeatedly to form the ribbed sections that give it the pumpkin shape. They can be made in any size — the proportions of your fabric rectangle determine whether your pumpkin turns out round and squat or tall and slim.
DIY Fabric Pumpkin Materials
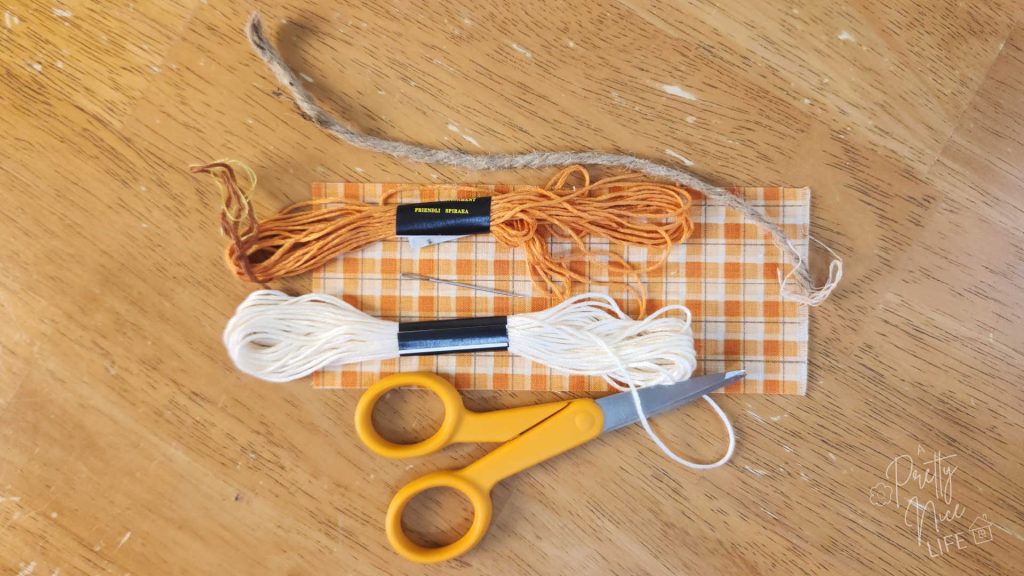
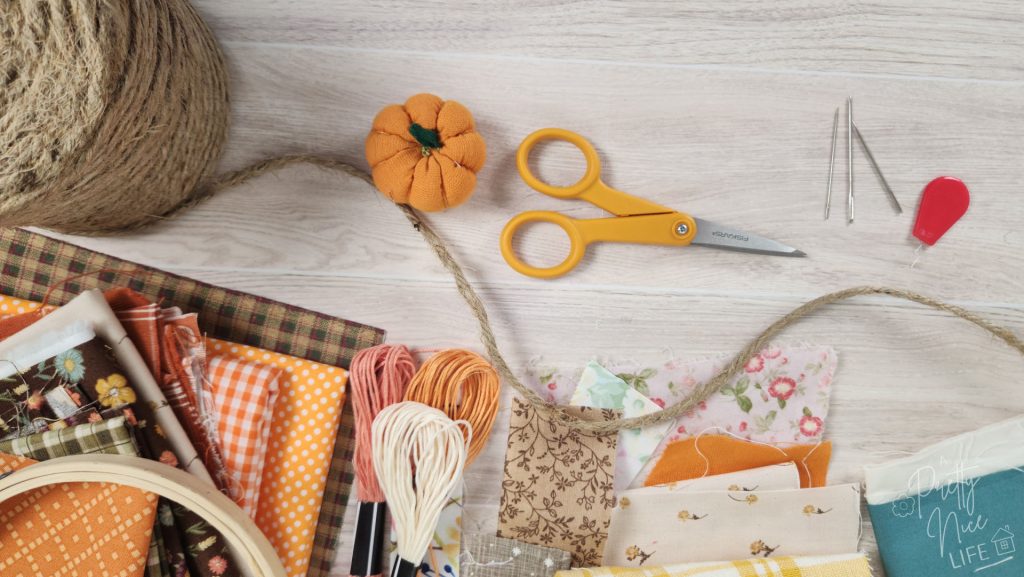
This pumpkin project requires very few materials: a scrap of fabric, some embroidery floss or sturdy thread, a tapestry needle and some scissors. A few other items can make the project a little easier, though, so if you have them, go ahead and grab them now:
- Fabric scraps, approximately 3.5″ x 7″ (or whatever size you happen have)
- Embroidery floss in a coordinating color, or sturdy thread
- Polyfill or fabric crumb scraps (or a combination; Polyfill is easier to work with)
- Scissors
- Tapestry needle (the longer the needle, the easier this project will be)
- A length of jute, a twig, a cinnamon stick, or a scrap of felt to be the stem
- Thimble
- Small sewing pliars (to grab the needle if it’s hard to pull through)
A note on needle, pliers, and thimble: The ribbing step, where you pull the thread all the way through the center of a stuffed pumpkin, repeatedly, is the hardest part of this project. A long needle gives you the reach you need. Nylon-jaw pliers let you grip and pull the needle when it gets stuck in the stuffing, which it will. The thimble is helpful for pushing the needle into the pumpkin stuffing; the pliers are nice for pulling it out the other side.
Make the Stems
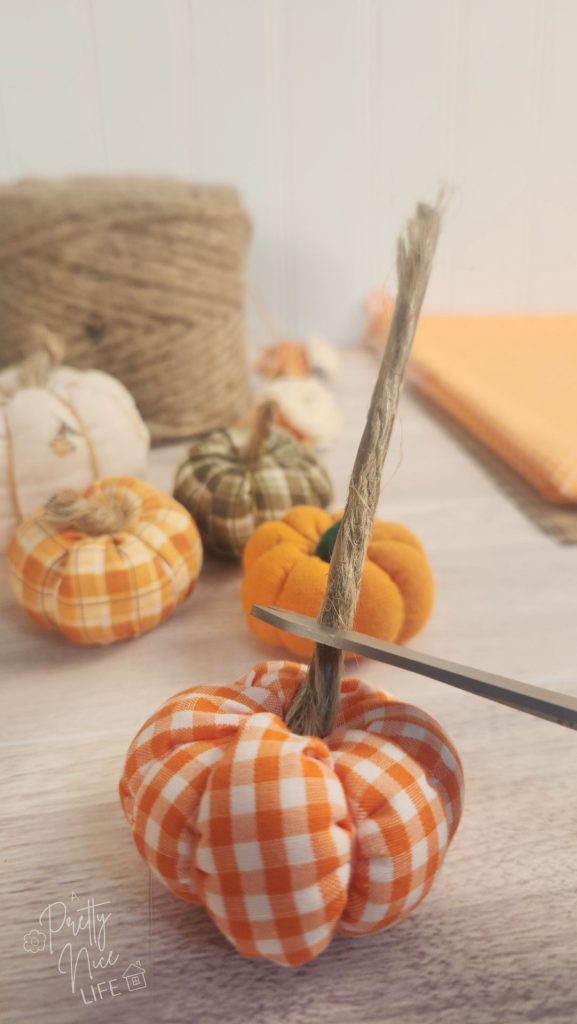
You have choices when it comes to making the stems. In the pictures below, you’ll see I chose to use some jute twine to make the little pumpkin vine stems. It was a little thin to use as-is, so I cut two equal lengths of jute, unraveled one of them and hot glued two or three of the strands to the other length. While the glue was still slightly soft, I used a silicon mat to roll the twine back and forth to press all the strands into a compact, uniform little rope. Once it cooled all the way, I cut the long rope into shorter stems as I needed them.
Cut and Sew the Tube
Cut a rectangle of fabric. The basic rule for dimensions is to make it approximately twice as wide as it is tall. For example, the orange gingham you see here is about 3.5″ by 7″. It isn’t exact, and it doesn’t have to be. Changing the proportions will change the shape of your finished pumpkin. A taller rectangle makes a taller, more elongated pumpkin. A wider one makes a rounder, squatter one. (Real pumpkins come in all shapes, so yours can too.)
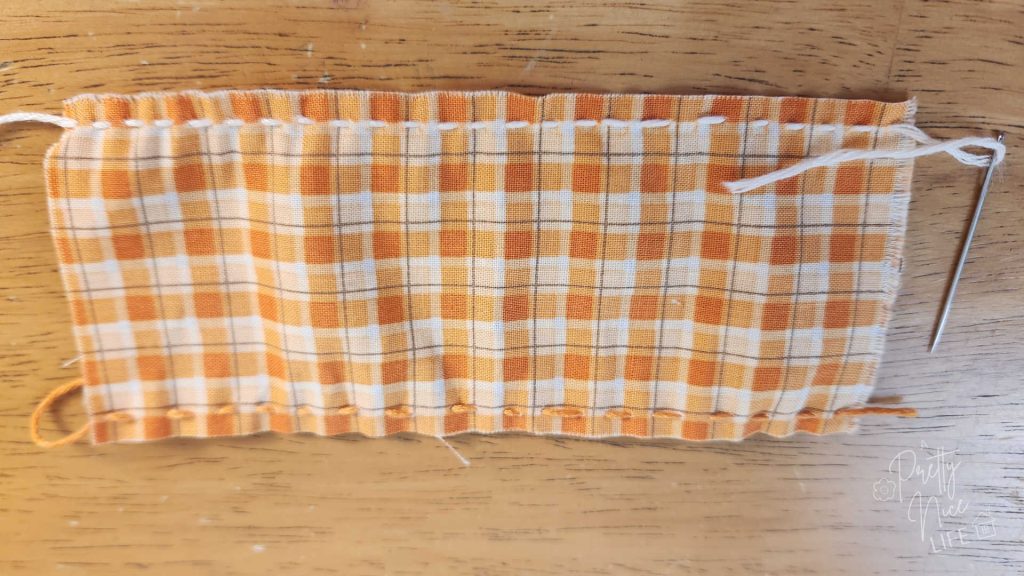
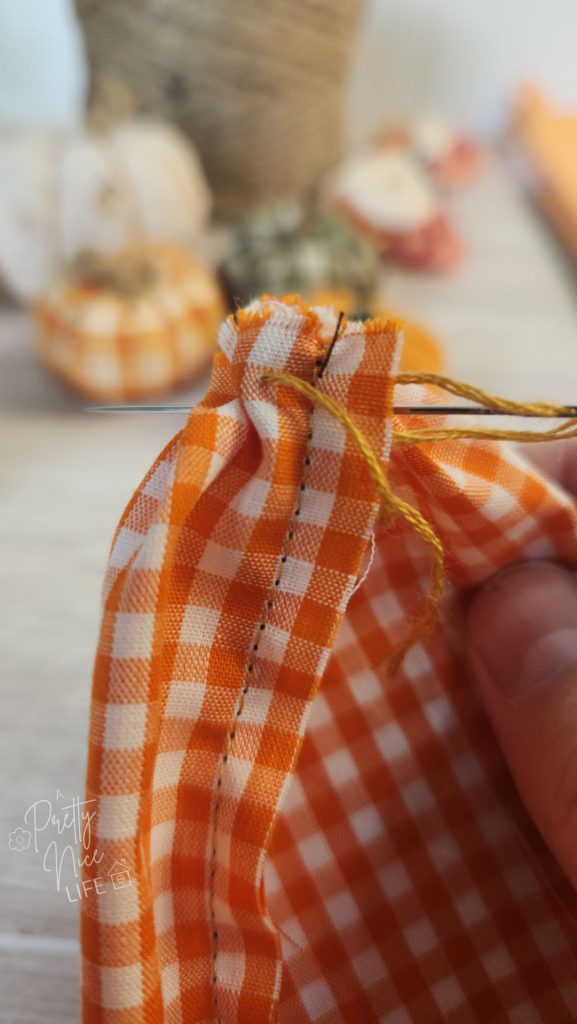
Make the gathering stitches while the fabric is still flat. Just stop short of each end by 1/4″ to leave room for the seam. To make the stitch, which is also sometimes called a running stitch, you simply go in and out of the fabric with the needle, all the way across each long edge.
Once you’ve made your running stitches, fold the fabric right sides together and sew with the sewing machine, leaving a 1/4″ seam allowance to form a tube.
Stuff the Fabric Pumpkin
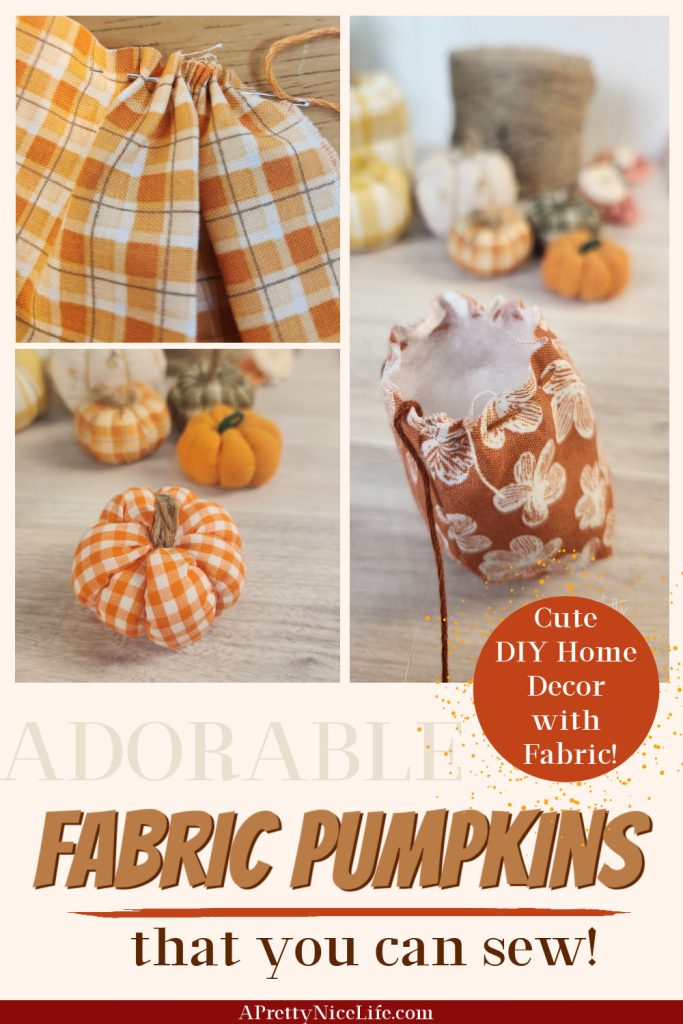
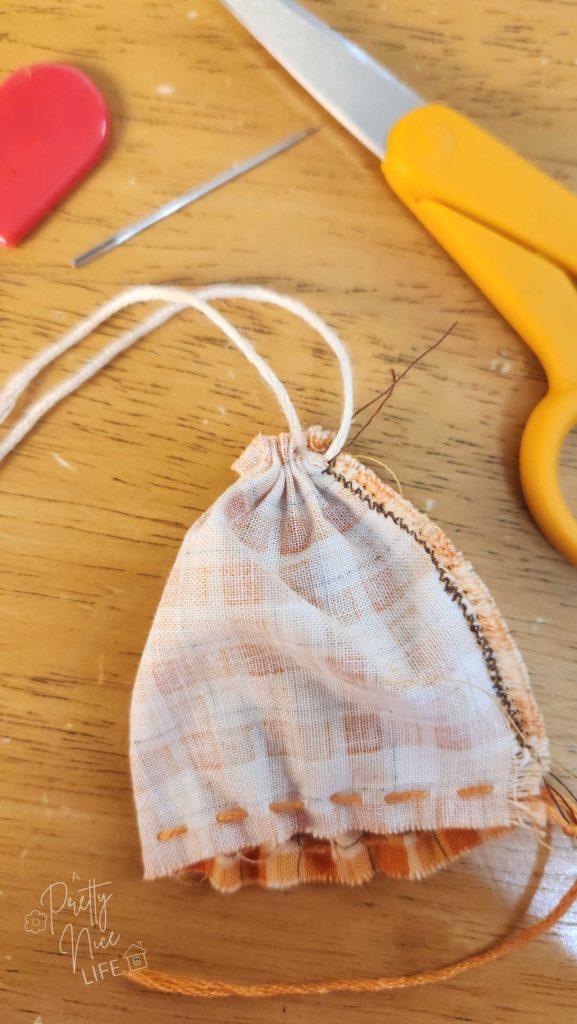
While the fabric is still wrong side out, pull the ends of the bottom thread to gather it. In the photo below, I haven’t sewn my tube yet, but it’s just to make it easier to see how the gathering stitch works.
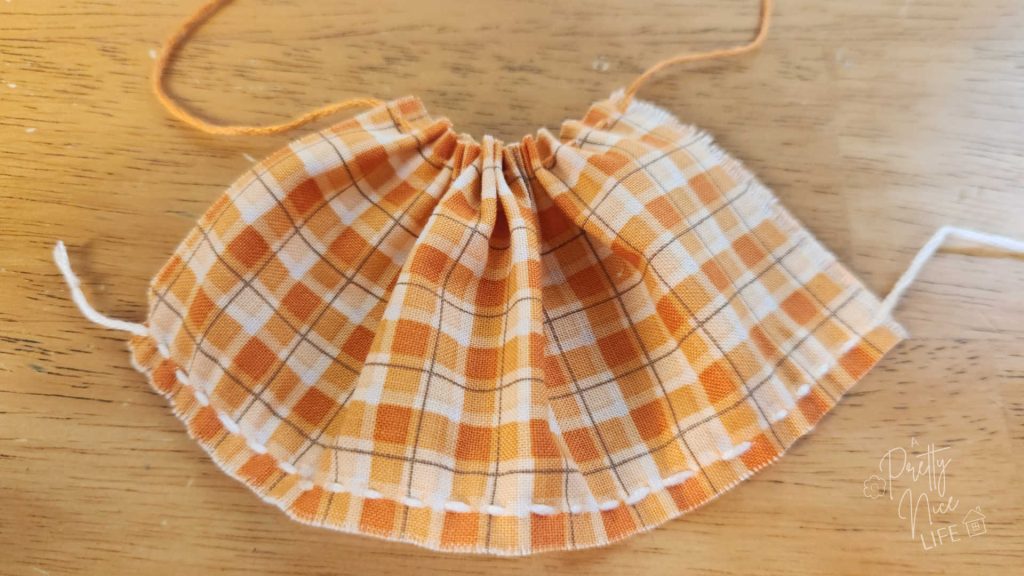
After you have gathered the bottom edge, tie the threads into a knot. Then thread one of the ends through your needle and run it back and forth through the gathers to help secure it.
Turn the tube right side out and stuff it firmly with polyfill or fabric scraps. I love using up every scraps; I save all my small trimmings and thread snippets for exactly this purpose.
Pro tip: If you’re using fabric scraps along with polyfill, put the polyfill in the center. It is wayyy easier to pull your needle through polyester fill than through fabric.
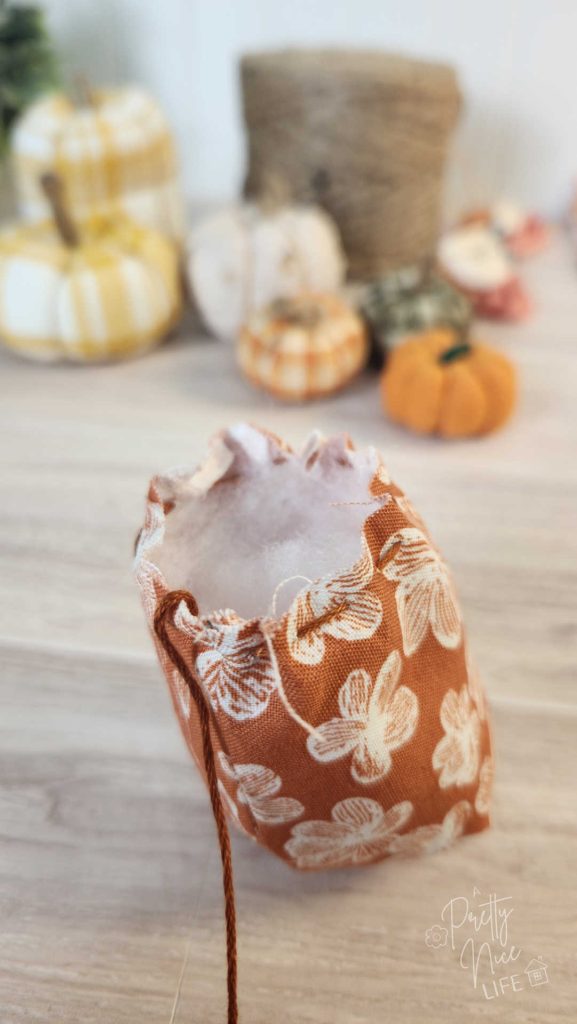
Now gather the top almost all the way, leaving a small opening for your stem.
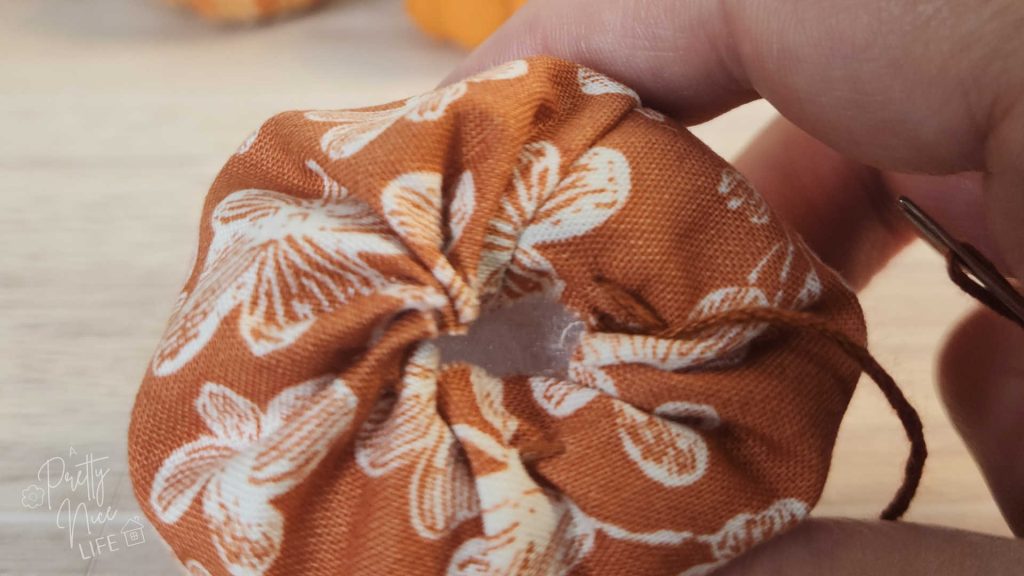
Attach the Stem and Start the Ribs
Next, get a long length of embroidery floss to make the ribbing. You’ll want enough to go around the circumference of the pumpkin several times, plus a little bit extra for tying off. I usually loosely wrap a piece of floss six or eight times around the pumpkin I’m making to ensure I have a piece that is long enough.
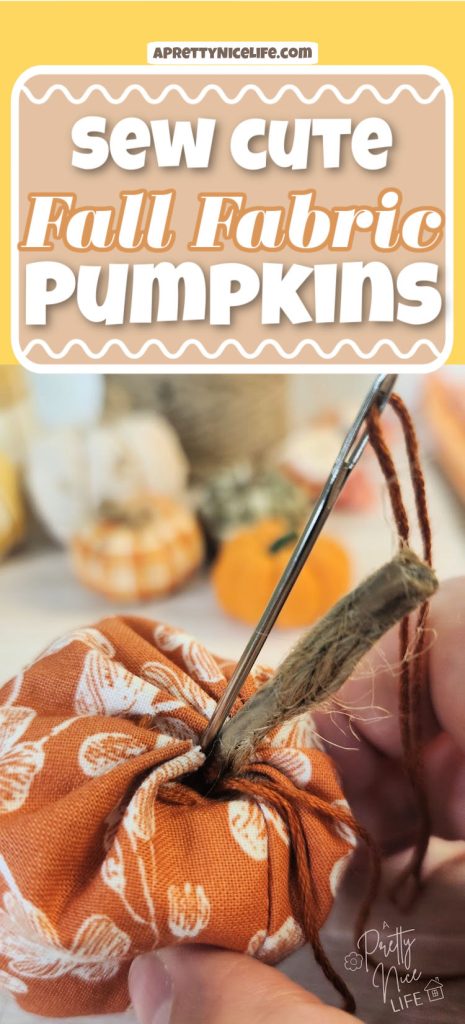
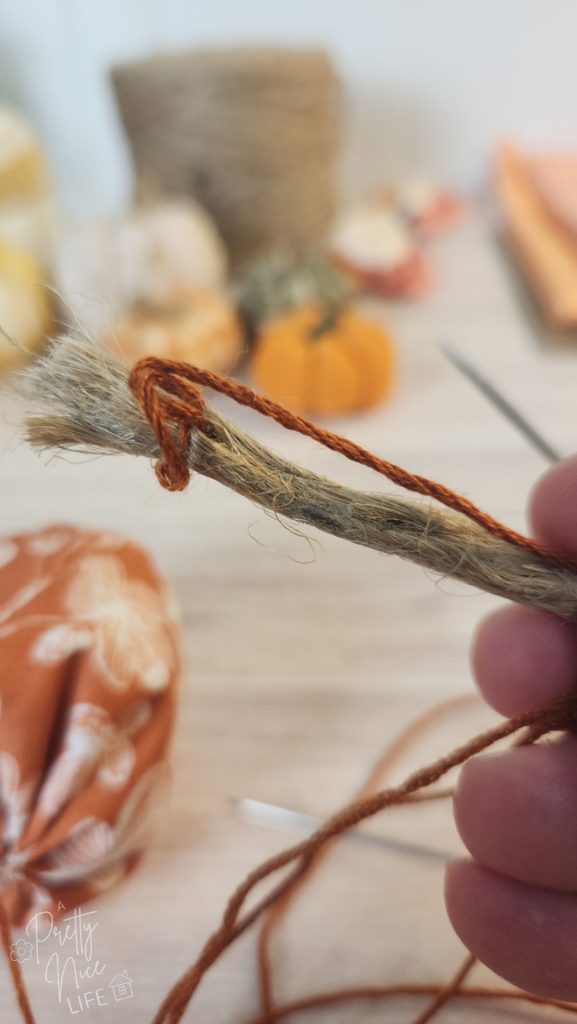
Cut a stem to length. Thread your tapestry needle with a long piece of floss. Poke the needle through one end of the jute stem, then slide the stem all the way down to the tail end of the floss. Knot the floss around the stem once or twice and tug lightly to make sure it holds.
Push the needle down through the center of the pumpkin and out through the center bottom. Tug gently but firmly. This both starts the ribbing process and pulls the stem snug into the top of the pumpkin. It’s already looking so cute!
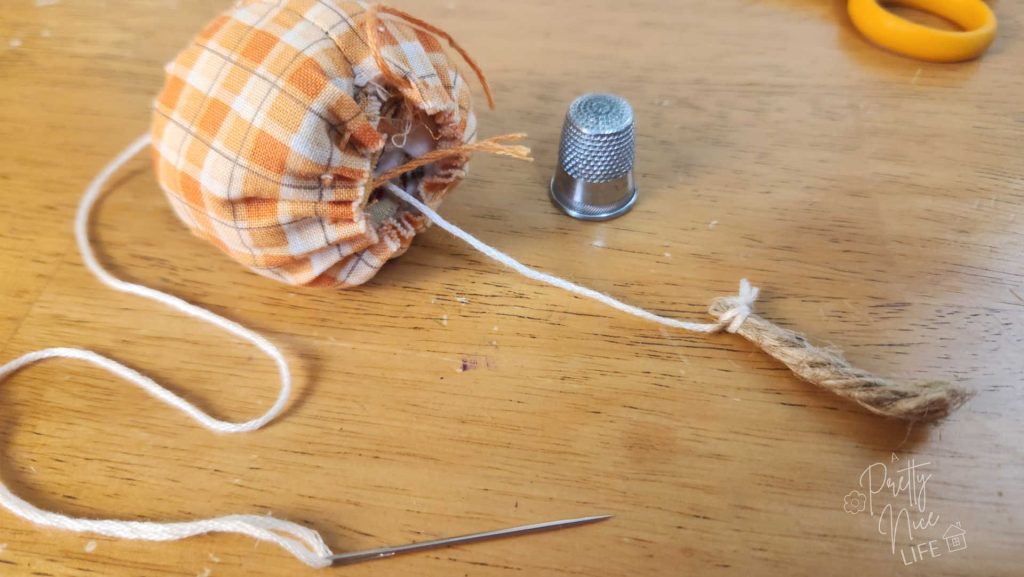
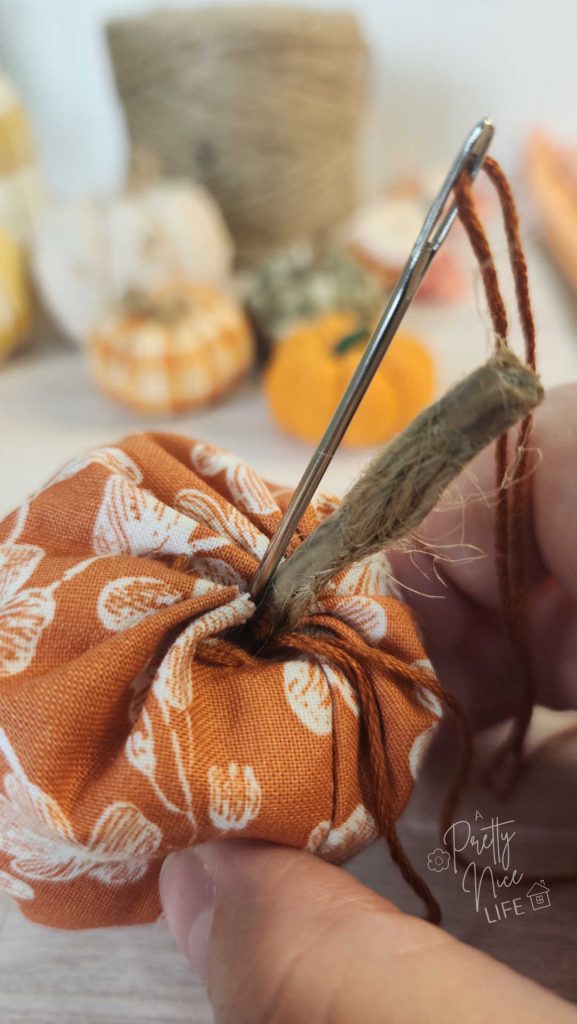
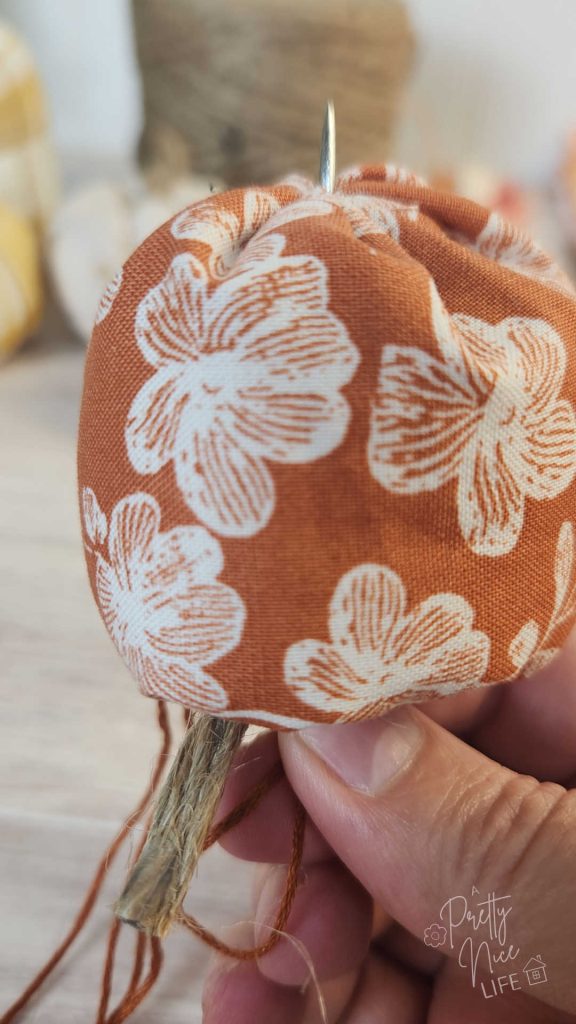
This is where the thimble and pliers might come in handy. If the needle doesn’t move smoothly out through the bottom of the fabric pumpkin, try pulling it back out a little, adjusting the angle slightly, and pushing through again. Be sure to keep your fingers alllll the way out of the way of the needle as you’re pushing.
Make the Ribs
This is the step that transforms a stuffed blob of fabric into something that actually looks like a pumpkin.
With your needle coming out the bottom center, bring the floss up and over one side of the pumpkin’s exterior, then push the needle back through the center from the bottom again. Tug firmly. That indentation is your first rib.
Repeat, working your way around, spacing the ribs as evenly as you can.
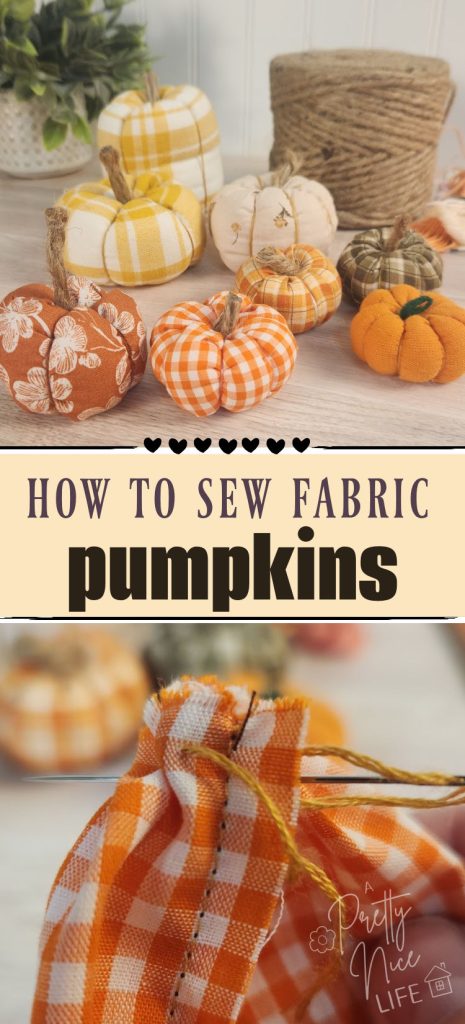
How many ribs? That’s up to you. Six gives you a classic pumpkin shape. Eight makes a rounder, more detailed look — the small orange pumpkin in these photos has eight. The tighter you pull, the more pronounced the sections.
Close the Top
Once your ribs are done, pull the top gathers tight and tie off. The raw edges don’t need to be turned under — they tuck in naturally as you tighten the gathers and the ribs pull everything into shape. Trim any excess floss tails. Your pumpkin is done! Isn’t it a cutie?