Here is how I make chicken broth or chicken stock homemade from scratch practically for free. It is easy to make and really delicious.

Why should I make homemade broth?
Sometimes people look at me funny when I say I make homemade broth, or homemade pizza, or whatever and ask, “Why? Can’t you just buy it premade?”
Yes! Sure you can. I’ve seen loads of great options for chicken broth in the grocery stores, and I know you can find low-sodium versions, all-natural, maybe even organic. The point is not *whether you should* make it. It’s fully up to you – you have choices and that’s a good thing. Homemade broth is one of many fine options.
Below, I’ve listed reasons you may or may not want to make your own broth. But the main reason I do? Because I can.
With that said, the drawbacks of making chicken broth from scratch could include:
- It takes some time
- It makes a lot of broth, so you need to find containers to store
- Once made, you freeze it; those containers take up space in the freezer
- You have to defrost the chicken stock when you’re ready to use it
Some reasons you should make homemade bone broth or chicken broth could include:
- It’s practically free
- It tastes great
- You will know every ingredient in it
- You can adjust the ingredients, including salt
- You won’t have to remember to put it on the grocery list; it will always just be something you have on hand
- There’s a certain satisfaction knowing you made something yourself
- There’s also a certain satisfaction knowing you used pretty much every part of the food you paid for
So, whether you should make homemade chicken broth from scratch is not the question. The question is, if I want to make chicken broth from scratch and practically for free, how do I do it?
Equipment you’ll need
When you click on product links in this article and make a purchase, I may receive a small commission. This doesn’t cost you anything extra, but it helps support my work.
One of the big benefits to making chicken broth at home is that you really don’t need anything fancy. Just some basic kitchen items:
- Cutting board and knife
- Freezer and heat-safe containers
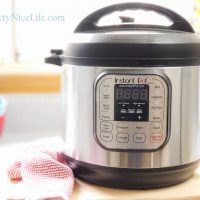
- Stockpot and burner or an Instant Pot
How to make chicken broth from scratch at home
I’ll share with you how I do it, and I believe it’s very adaptable so it will work in just about anyone’s kitchen.
1. Build up your stash
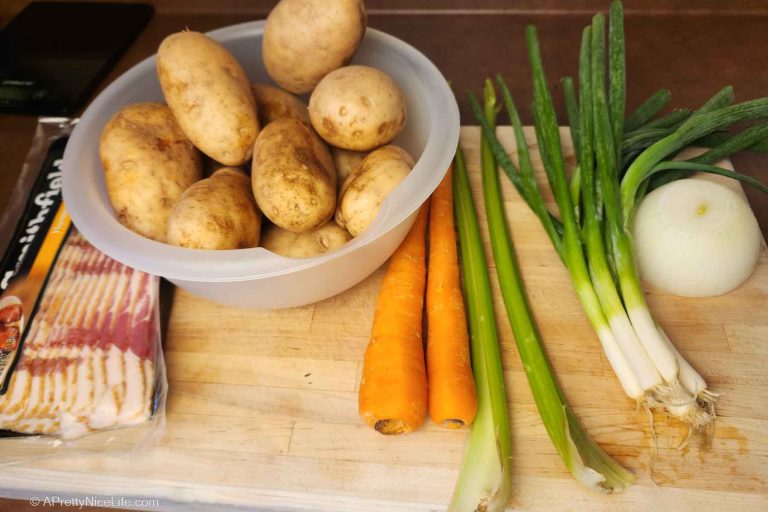
First, save the bones from cooked chicken. We frequently have bone-in chicken thighs, drumsticks, or leg quarters, and I’ll cook a pan of them, then separate the meat from the bones for recipes like chicken pot pie, chicken tortilla soup, or any number of other delicious meals. Or you might buy a rotisserie chicken at a warehouse club, and have a little left-over meat and bones.
The bones are not trash! But you don’t have to make broth right away. After cooking a de-boning a half sheet pan full of chicken, I’m not usually in the mood to make broth. So I just toss the bones into a freezer bag that I always keep in my freezer.
When I’m chopping celery or peeling carrots, or peeling and then chopping onions, for a wide variety of meals, I’ll keep the washed ends and/or peels in a similar freezer bag. You can put them in the same bag as the bones or you can separate them if you think you’ll make vegan broth sometime.
2. Find some time when you’ll be home for a few hours
When it’s time to make broth (aka when the bags are about half full), I combine the vegetable pieces with the chicken bones in the 8-quart Instant Pot, add water to the “Fill” line, and set it for the longest cook time available. For my Instant Pot, this is 120 minutes, or two hours. The pot will take some time to come up to pressure once you turn it on and it will take time for the pressure to release when it’s done cooking, so the whole process might take 3 hours.
But you don’t have to stand around checking on it for three hours! Just go live your life and get some other things done; the Instant Pot will switch over to a “keep warm” mode that will let you procrastinate for hours.
If you don’t have an Instant Pot, you can of course make homemade stock in a stockpot. But you will have to check on it occasionally. It still isn’t very time-consuming; just make sure you check that it isn’t boiling over, and when it has come to a boil, you’ll want to turn it down to a simmer. When it’s done, let it cool long enough that you can pour it into your containers.
3. Store your homemade broth in the freezer
Once you’re done procrastinating, though, you have to tend to your freshly made broth. If you’re using leftover plastic sour cream containers – which is what I usually use – you’re going to need to let the broth cool for a while. When it comes from the IP it is HOT, and will melt plastic. (Ask me how I know.)
Leave a little bit of room at the top of the container for expansion, then set it on a level surface in your freezer. I like to label my frozen chicken broth containers, so I’ll put a piece of masking tape on the outside with the date it was made and what is inside the container. You may want to note whether you salted it or not. I almost never salt mine, so I will just make a note on the rare occasion I do add salt to the broth.
A few tips about choosing containers:
I’ve tried several different containers for storing my homemade chicken stock and I’ve learned that, while almost anything will work, some containers are just better than others. I’ll add to this list as I learn more.
- Avoid containers that narrow at the opening. Most containers do have a smaller opening than the body of the container, literally a “bottleneck.” That makes it easier to pour liquids, but it’s extremely difficult to extract frozen broth. For that reason, I use straight containers or ones that widen slightly at the opening.
- Only use freezer-proof containers. Since you’ll be freezing the stock for storage, be sure the container you choose can be frozen. Not all glass jars are made for the freezer, but some are. I generally use plastic. And don’t subject your glass containers to sudden change in temperature, like putting jar of frozen stock in hot water.
- Use sturdy, heat-proof containers. When you pour it out of the stockpot or IP, it is hot. I have melted containers before. And if you’re using glass containers, _make sure_ they are really okay to have hot liquid poured into them. And never subject glass containers to sudden change of temperature, like putting hot glass into a cold environment.
- Use microwave-proof containers. Unless you don’t have or don’t use a microwave, you’ll probably end up defrosting the broth in the microwave. Not all plastics will stand up to the heat produced in the microwave, so consider this when you’re choosing containers.
- Clear containers make it easier to see what’s inside. While I will absolutely admit to playing the guessing game when I’m rummaging through the freezer, I would be remiss if I didn’t make the point that clear plastic containers would make your life easier.
- Honestly, if I could use straight up rectangle containers to freeze broth, I would. The ones I’ve seen are pricey, though, so I haven’t yet made the switch from my round sour cream or yogurt containers.
- I like to store my broth in the size I need it. For me, this usually means large quart-size plastic containers, because when I make soup, I make a bunch of it. But pint-size is sometimes preferable because the recipe only calls for a little broth. Once I thaw it, I try to use it within one or two days, so it’s nice to only thaw the correct amount I need. Some people freeze broth in ice cube trays, then transfer the blocks to gallon bags. Then there are these very popular silicone one- or two-cup trays available on Amazon. They look like they would work great and they get very good reviews, but I haven’t tried them yet.
4. Use your homemade broth or stock in recipes or meals
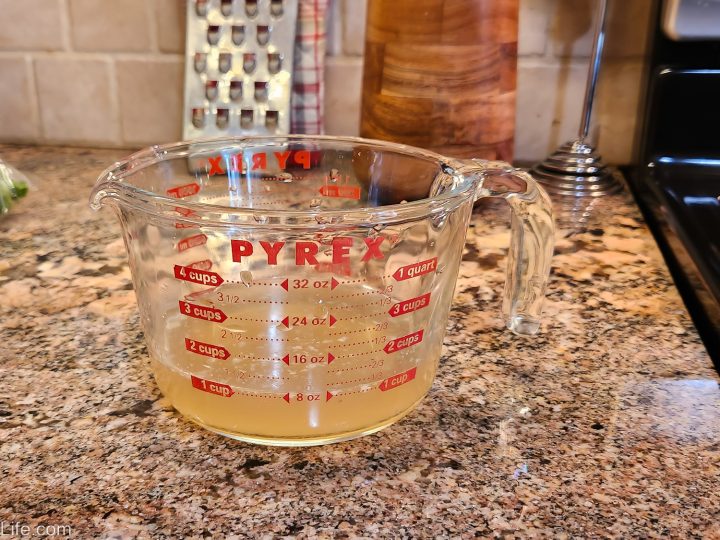
To use your chicken stock, pull it out of the freezer the night before (if you think of it), and just pour it into your soup as you would any other type of broth. If you forgot to defrost it, just run the closed container under warm water until the frozen block of broth is loosened enough to dump into your soup pot. Be careful! It will splash.
That’s it! Now you’re using your practically free, high quality, delicious homemade chicken broth that you made with your own hands in your own kitchen. Enjoy!
Homemade Chicken Broth Recipe
Homemade chicken stock or broth is easy to make from scratch, really delicious, and practically free! Save bones and vegetable peelings in a freezer bag rather than discarding them and use them to make your own broth.
Ingredients
- 1 lb of chicken bones
- 1 cup celery scraps or cut-up celery
- 1 cup onion scraps, including the golden peel, or cut-up onion
- 1 cup carrot peel or cut-up carrot
- Optional: parsley stems, mushrooms, green onion, garlic, salt, pepper
Instructions
- Place bones and vegetable scraps into the inner pot of the Instant Pot
- Cover with water to the Max Fill line
- Close the lid, turn the valve to the Sealing position, set the timer for 120 minutes. You can use natural release or quick release when it's done.
- Strain through a wire mesh strainer and discard bones and vegetables.
- Allow to cool, then to freezer-safe containers with wide openings. Label and freeze for 6 months or up to one year.
Notes
Save bones and vegetable scraps in separate freezer bags so you can make chicken broth, beef broth, or vegetable broth, depending on dietary needs or the recipe you're making.
Recommended Products
As an Amazon Associate and member of other affiliate programs, I earn from qualifying purchases.
Nutrition Information:
Yield:
15Serving Size:
1Amount Per Serving: Calories: 83Total Fat: 4gSaturated Fat: 1gTrans Fat: 0gUnsaturated Fat: 2gCholesterol: 28mgSodium: 64mgCarbohydrates: 4gFiber: 1gSugar: 2gProtein: 8g
Try it in my Olive Garden Soup recipe and these other recipes:
Your homemade broth is also the perfect base for chicken tortilla soup.
See more from A Pretty Nice Life:
Crafty makes (how-to, tutorials)


One Comment